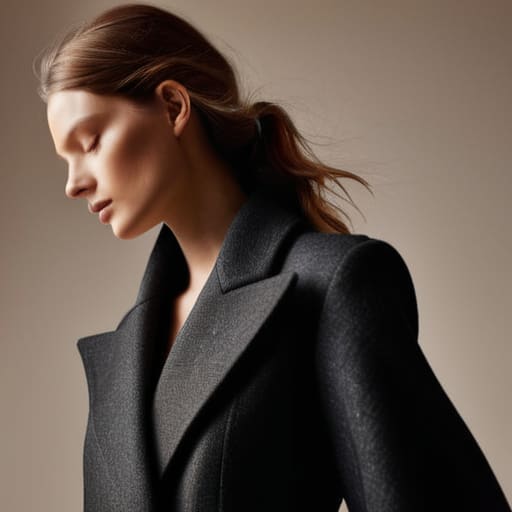
I remember sitting on the floor of my first shared studio, surrounded by half-printed blanks and a mountain of returns, staring at a heavy-weight hoodie that looked perfect on a mannequin but was a total disaster on a real person. The proportions were just off. Every time I tried to source something for clients with longer arms and sleeve length, I’d run into the same wall: brands either cater to a generic “standard” fit that leaves you looking like you’re wearing a hand-me-down, or they charge a ridiculous premium for “tall” sizes that actually just mean the torso is longer too. It’s frustrating because it’s not a sizing issue; it’s a pattern-cutting failure.
I’m not here to sell you on some new “oversized” trend that’s just a mask for bad construction. Instead, I’m going to pull back the curtain on how sleeve geometry actually works so you can stop wasting your money on garments that don’t sit right. We’re going to talk about armhole depth, shoulder drop, and how to find a silhouette that actually respects your proportions without needing a tailor to fix it every single time.
Finding Perfect Sleeve Fit Beyond the Trend Cycle
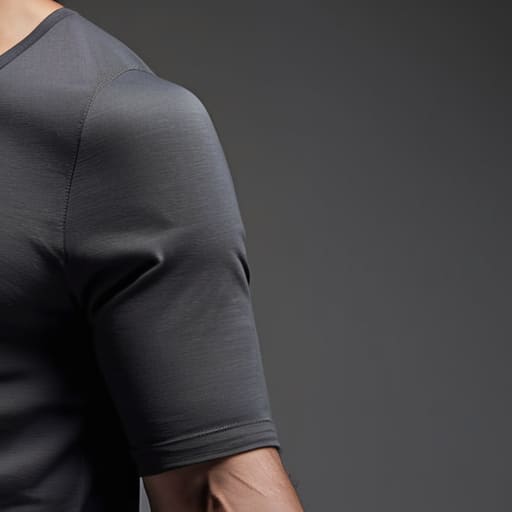
Everyone’s obsessed with that oversized, dropped-shoulder look right now, but if you’ve got long limbs, “oversized” often just means “unintentionally baggy in the wrong places.” I’ve seen so many brands try to chase the streetwear aesthetic by just making everything wider, completely ignoring the actual anatomy of the arm. If you’re looking for finding perfect sleeve fit, you have to stop looking at how wide the shirt is and start looking at where that seam actually hits your bicep. A heavy-weight blank can look incredible, but if the sleeve ends two inches above your elbow when it should be hitting mid-forearm, the whole silhouette collapses.
Instead of following whatever silhouette is trending on TikTok, I always tell people to focus on the technical side of how to measure sleeve length relative to their own reach. If you’re constantly hunting for apparel for tall and slim builds, you’re likely struggling with sleeves that feel like they’re migrating up your arm every time you move. Don’t settle for “standard” sizing that assumes everyone has a medium-length torso and arm; look for garments that actually respect your proportions.
How to Measure Sleeve Length Like a Pro
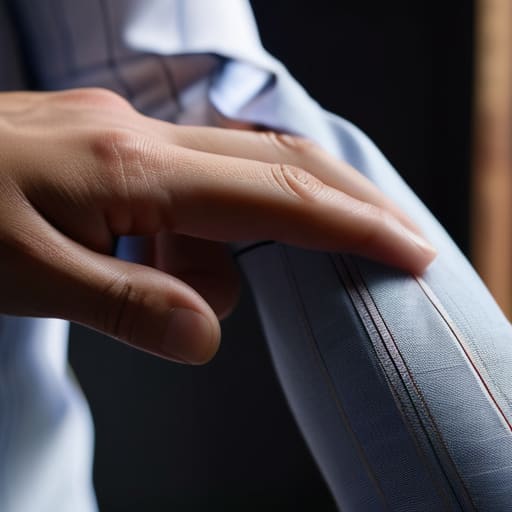
Look, I’ve seen too many people try to eyeball their measurements and end up with shirts that look like they’ve been borrowed from a younger sibling. If you want to actually master how to measure sleeve length without the guesswork, you need to stop looking at just the shoulder seam. Most people make the mistake of only measuring from the top of the arm, but that doesn’t account for how the fabric actually drapes when you’re moving.
The most reliable way—the way I’d do it if I were pattern cutting a custom run—is to measure from the center of your back, right at the base of your neck, across your shoulder, and all the way down to your wrist bone. This gives you a much truer sense of the total length. If you’re hunting for extra long sleeve shirts because you’ve got those notoriously long limbs, this “center back” method is the only way to ensure you aren’t accidentally buying something that’s going to ride up to your elbows every time you reach for your coffee. It’s about the math, not the vibe.
5 Ways to Stop Your Sleeves From Looking Like an Afterthought
- Check the armhole depth before you obsess over length. If the armhole is cut too low, a longer sleeve is just going to bunch up around your elbows and make you look like you’re wearing a hand-me-down that’s three sizes too big.
- Watch the sleeve taper. If you’ve got longer arms, a straight, wide sleeve can make your limbs look like tubes; look for a slight taper toward the cuff to actually give the garment some shape.
- Don’t ignore the weight of the fabric. A heavy, high-GSM jersey will hold a structured sleeve shape much better than a flimsy, cheap blank, which will just collapse and sag halfway down your arm.
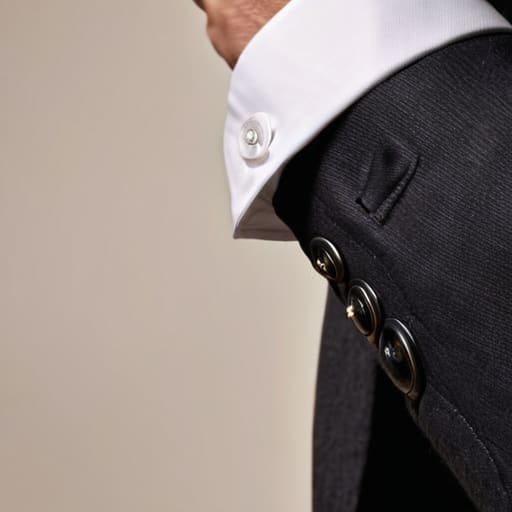
- Pay attention to the cuff construction. If you’re going for a longer look, a ribbed cuff is your best friend because it allows you to push the sleeve up to the forearm without it constantly sliding back down.
- Mind the shoulder seam placement. If the shoulder seam is already dropping halfway down your bicep (that “oversized” look), a long sleeve can quickly turn into a mess of excess fabric that kills your silhouette entirely.
The Bottom Line on Sleeve Proportions
Stop chasing “oversized” trends if the sleeve hits at a weird spot on your forearm; focus on where the seam actually sits on your shoulder to ensure the silhouette holds its shape.
Always check the sleeve length against your actual arm length, not just the size tag, because a “Large” in one brand’s blank can have completely different proportions than another.
Prioritize the weight of the fabric (GSM) when choosing longer sleeves, as thin, cheap material will just sag and lose that structured look you’re actually aiming for.
Frequently Asked Questions
If I’m working with a heavier GSM fabric, will the sleeves lose their shape and start sagging mid-day?
Actually, it’s usually the opposite. If you’re using a high GSM, heavy-duty cotton, that weight is exactly what’s going to hold the sleeve’s structure. Light, cheap blanks are the ones that lose their shape and start looking limp by lunchtime. The key is the ribbing on the cuff—if that’s flimsy, the weight of the heavy fabric will pull it down. Get a solid, tight rib, and those sleeves will stay exactly where you put them.
How much of a difference does a dropped shoulder actually make when I'm trying to figure out where the sleeve should end?
It makes a massive difference. If you’re working with a dropped shoulder, your sleeve length measurement is going to be way shorter than a standard set-in sleeve. Since the seam is sitting halfway down your bicep instead of on the shoulder bone, that extra fabric is already accounted for in the torso width. If you don’t adjust your math, you’ll end up with sleeves that look like awkward, stunted tubes rather than a deliberate silhouette.
Is it worth paying extra for a specific sleeve construction, or is it all just marketing fluff?
Look, if you’re seeing “premium construction” on a hangtag, take a breath. It’s not all fluff, but it’s definitely not all magic. If you’re paying extra for a set-in sleeve with a clean shoulder seam, you’re paying for structure that actually holds its shape after ten washes. But if they’re charging a massive markup just for “artisan” stitching on a cheap poly-blend? That’s pure marketing. Check the seam allowance and the tension—that’s where the real value lives.

