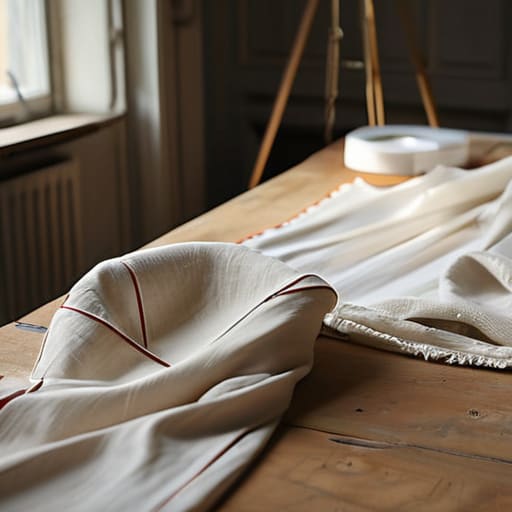
I still remember sitting on a milk crate in that cramped shared studio, surrounded by the smell of plastisol ink and cheap polyester, staring at a sample that looked nothing like the tech pack. I had spent three weeks’ worth of savings on a “final” prototype, only to realize the armholes were cut so high I couldn’t even lift a coffee mug without feeling like I was being strangled. That’s the trap: everyone wants to rush straight to production to save a buck, but skipping the messy, expensive reality of fit samples and iterations is just a fast track to burning your entire margin on a pile of unwearable landfill.
I’m not here to give you a glossy, textbook lecture on manufacturing workflows. Instead, I want to pull back the curtain on what actually happens when you’re staring at a muslin prototype that’s slightly off in the shoulders. I’m going to walk you through the math of why you should embrace the pivot and how to spot a structural failure before you commit to a thousand-unit run. We’re going to talk about the real cost of perfection and how to ensure your final garment actually feels as good as your marketing says it does.
The Brutal Math of Prototype Development Stages
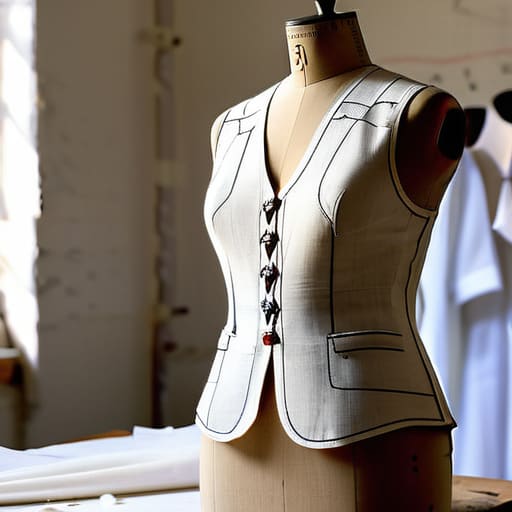
Look, I know the temptation to jump straight from a sketch to a production run is massive, especially when you’ve got a marketing budget burning a hole in your pocket. But skipping through the prototype development stages is how you end up with a thousand units of expensive landfill. Every time you move from a rough muslin to a final proto, you aren’t just “checking the look”—you are paying for the privilege of failing early. I’ve sat in studios watching people skip the second iteration because they were “sure” about the fit, only to realize three months later that their size grading accuracy was a complete disaster.
The math is simple and, frankly, a bit painful. You have to factor in the cost of the fabric wasted during pattern making adjustments and the sheer hourly rate of the sample maker. If you spend an extra $200 now to nail the drape and the shoulder slope, you save $2,000 in chargebacks and returns later. I’d much rather see you obsess over a single sleeve cap for three days than watch you bleed your entire margin trying to fix a structural error in a bulk shipment.
Fixing Pattern Making Adjustments Before They Break Your Budget
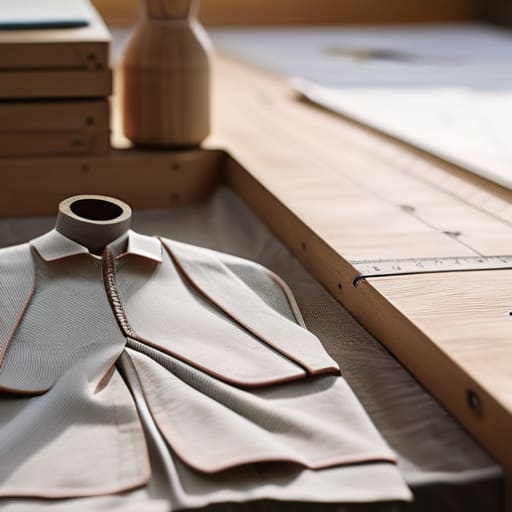
Look, I’ve seen so many brands skip the “ugly” phase of development because they’re too eager to see a finished garment on a model. But if you aren’t obsessing over your pattern making adjustments during the proto stage, you’re basically just gambling with your bank account. It’s not just about whether the shirt looks “cool”; it’s about whether the armhole is going to choke the wearer or if the shoulder seam is going to migrate toward the neck after one wash. You have to treat your technical design specifications like a legal contract—if the measurements are off by even a few millimeters now, that error is going to scale up and ruin your entire production run.
The real killer is when people think they can fix a bad silhouette during the final sample run. That’s a massive mistake. You need to nail the garment construction process while the stakes are still low. If the drape is wonky on your first muslin or heavy cotton mock-up, do not move to the next stage. Fix the geometry of the pattern first. I’d much rather spend three days arguing over a sleeve cap curve than watch a client lose their entire margin because their “premium” streetwear fit ended up looking like a boxy, ill-fitting sack.
Stop Treating Your Samples Like a Final Product
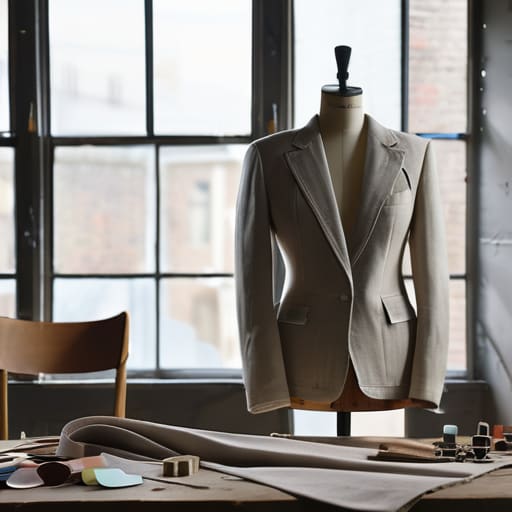
- Treat your first proto like a sacrificial lamb. I don’t care how much you love the silhouette; if the grainline is off or the shoulder slope is wonky, tear it apart. It’s much cheaper to ruin a piece of muslin than it is to realize your entire production run fits like a cardboard box.
- Document the “why,” not just the “what.” Don’t just tell your pattern cutter “it feels weird in the armhole.” Tell them it’s pulling when you lift your arms. If you don’t get specific about the movement, you’re just throwing money at a guessing game.
- Check the seams while they’re still inside out. My weird habit of flipping garments before looking at the front is actually a survival skill. If the tension is uneven or the stitching is puckering on the prototype, that mistake will be magnified tenfold once you’re using heavy-duty blanks and real dye.
- Don’t fall in love with the fabric too early. It’s tempting to use your expensive, high-GSM French Terry for the first sample to “see how it really looks,” but please, don’t. Use a substitute that mimics the weight and drape. Save the good stuff for when the pattern is actually behaving.
- Limit your iterations or your margin will vanish. There is a massive difference between “refining the fit” and “chasing perfection.” If you’re on sample four and still tweaking the hem by 2mm, you aren’t designing anymore—you’re just bleeding cash. Know when the fit is “good enough” to scale.
The Bottom Line on Not Wasting Your Margin
Stop treating your first sample like a finished product; it’s a glorified math test designed to find where your pattern fails before you commit to a production run.
Obsessing over a 5mm seam allowance adjustment during the prototyping phase is infinitely cheaper than realizing an entire shipment of blanks is unwearable once they hit your warehouse.
If you aren’t iterating, you aren’t designing—you’re just gambling, and in this industry, the house always wins when you skip the technical grunt work.
Frequently Asked Questions
How do I know if I'm actually looking at a "fit issue" versus just a bad fabric choice?
Look, I’ve seen this a dozen times: someone blames the pattern for a weird drape when the fabric is actually just too limp. Here’s the trick: strip it back. If the garment looks structural and holds its shape on the mannequin but feels “off” when you move, it’s likely a weight issue—check your GSM. But if the silhouette is collapsing or pulling at the seams regardless of the material, that’s a pattern error. Don’t let a bad blank hide a bad cut.
At what point does obsessing over the third or fourth sample stop being "craft" and start being a waste of my margins?
Look, there’s a massive difference between refining a silhouette and chasing perfectionism. If you’re adjusting the shoulder slope for the fourth time because it’s 2mm off, you aren’t “crafting”—you’re bleeding cash. You stop when the garment hits the technical spec sheet and the movement feels right. Once the fit is consistent and the construction is stable, stop tweaking. At that point, every extra sample is just a luxury you can’t afford.
Can I actually use a cheap, thrifted blank for my initial fit testing, or will that mess up the silhouette I'm trying to build?
Look, I love a good thrift find as much as the next person, but using a random vintage tee for fit testing is a recipe for heartbreak. A thrifted blank has its own history—it’s been washed a hundred times, it’s likely shrunk, and the drape is totally unpredictable. If you’re trying to dial in a specific silhouette, you need a consistent canvas. Use a decent, predictable blank so you’re fighting your pattern, not a mystery fabric.

