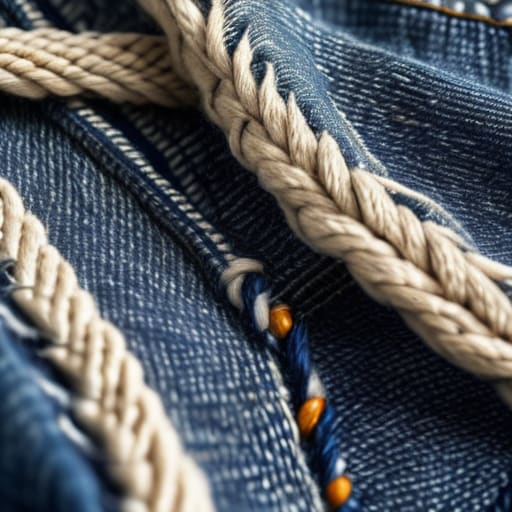
I was hunched over my cutting table last Tuesday, surrounded by scraps of heavy-weight loopback cotton, when I realized how much the internet has turned visible mending as style into this performative, aestheticized chore. You see these perfectly curated, rainbow-colored patches on Instagram that look more like a craft fair project than actual garment repair. Honestly, if you’re just slapping a decorative patch on a thin, fast-fashion jersey just to look “earthy,” you aren’t mending—you’re just decorating a rag. Real repair is about understanding the tension of the thread and the weight of the weave so the garment actually survives another decade of wear.
I’m not here to give you a Pinterest board of pretty colors; I want to talk about how to actually reinforce a structural tear without compromising the fabric’s integrity. We’re going to look at why certain stitch densities matter for different GSM weights and how to use functional reinforcement to make your clothes better than they were when they were new. I’ll show you how to treat your repairs as a technical upgrade rather than a trend to be consumed and discarded.
Mastering Sashiko Embroidery Techniques Over Fast Fashion Fads
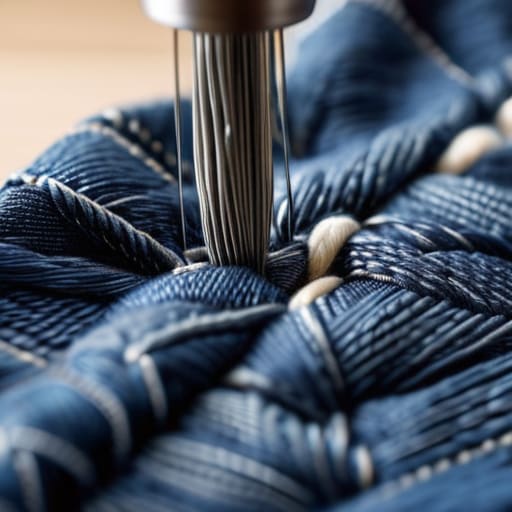
Look, I get it. Every time I scroll through my feed, there’s a new “aesthetic” being sold back to us in a 15-second clip. But there is a massive difference between slapping a random patch on a thin, polyester-blend hoodie and actually engaging with textile repair artistry. If you’re just following a trend, you’re probably going to end up with a garment that looks messy and falls apart in three washes. Real sashiko isn’t about making a hole look “cool”; it’s about structural reinforcement.
When I’m working with a heavy-weight denim or a sturdy canvas, I’m looking at specific sashiko embroidery techniques to ensure the stitches actually distribute the tension across the fabric. You want to use a thicker cotton thread and a consistent running stitch that respects the grainline. It’s not just about the look—it’s about the integrity of the weave. If you take the time to learn how to layer your patches, you’re participating in the slow fashion movement rather than just consuming another fleeting visual gimmick.
The Textile Repair Artistry of Protecting Quality Blanks
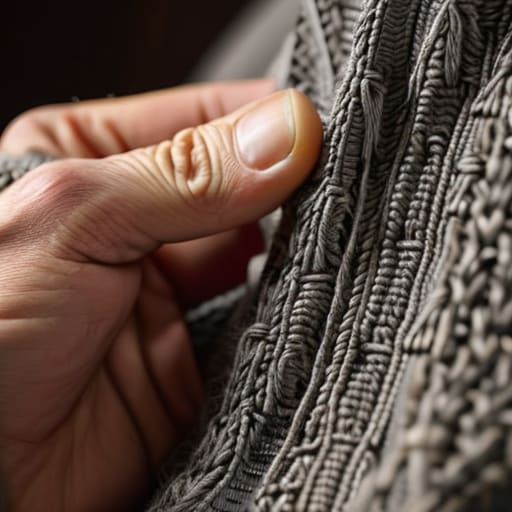
When I’m looking at a piece of clothing, I’m always checking the tension of the seams and the weight of the weave before I even care about the print. It’s why it kills me to see people toss a perfectly good, heavy-weight loopback cotton sweatshirt just because there’s a small hole near the cuff. That’s not just waste; it’s a loss of quality construction. Instead of chasing those hollow sustainable fashion trends that rely on buying “eco-friendly” new stuff, I’ve started looking at my wardrobe through the lens of textile repair artistry. If the fabric has the integrity to hold a stitch, it deserves to stay in rotation.
I’ve found that the real magic happens when you treat a repair like an upgrade rather than a fix. Using decorative garment patching on a high-quality blank doesn’t just hide the damage; it adds a layer of history that a brand-new, mass-produced piece can never replicate. I’d much rather spend an afternoon reinforcing a structural weak point with some heavy thread than spend fifty bucks on a flimsy replacement that’s going to lose its shape after three washes.
How to Mend Without Making Your Clothes Look Like a Craft Project
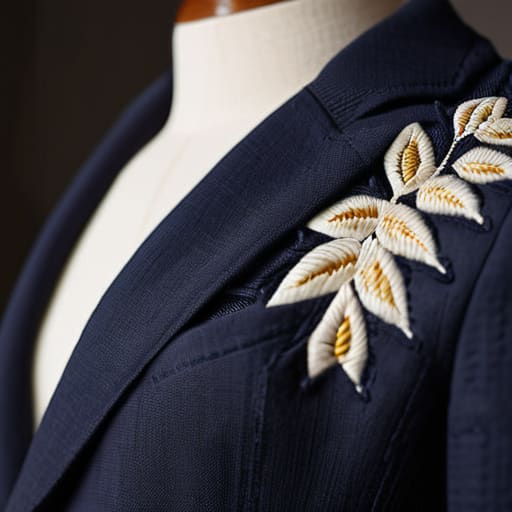
- Stop treating mending like a cover-up; if you’re fixing a hole in a heavy-weight fleece, use a contrasting thread color to lean into the repair rather than trying to hide it with a thread that almost—but doesn’t quite—match.
- Respect the grainline of the fabric, because if you patch a structural tear with a piece of scrap that’s cut off-grain, you’re just asking for the tension to pull the whole garment out of shape the next time you wash it.
- Match your patch weight to your garment’s GSM, meaning you shouldn’t be trying to sew a thin, flimsy polyester scrap onto a high-quality 400 GSM loopback cotton sweatshirt unless you want the patch to look like a literal sticker.
- Use Sashiko for structural reinforcement, not just decoration, especially on high-stress areas like elbows or knees where a simple patch won’t hold up against the actual mechanical wear of your body moving.
- Focus on the seam allowance of your patches; don’t just slap a piece of fabric on top, but actually integrate it into the existing construction so the repair becomes a part of the garment’s architecture rather than a temporary band-aid.
The Real Value of Staying in the Loop
Stop looking at mending as a way to “fix” something broken and start seeing it as a way to reinforce the architecture of a good garment; a well-placed patch actually extends the life of a heavy-weight cotton way better than a cheap replacement ever could.
Don’t get distracted by the “aesthetic” of mending on social media—if you’re just adding decorative stitches to a flimsy, low-GSM fast-fashion rag, you’re wasting your time and your thread.
The goal isn’t to make your clothes look brand new, it’s to make them look lived-in and structurally sound, proving that the quality of the original blank was worth the investment in the first place.
Frequently Asked Questions
Does visible mending actually work on those thin, low-quality tees, or am I just going to end up with a bunch of holes?
Honestly? Probably not. If you’re trying to patch a paper-thin, single-jersey fast-fashion tee, you’re fighting a losing battle. The moment you tension your thread to secure a patch, the surrounding fabric is going to pucker or just shred right along with your needlework. Mending is about structural integrity, and you can’t build a foundation on something that lacks weight. Save your energy—and your thread—for the heavy-weight blanks that actually have the GSM to hold a stitch.
How do I balance the repair so it looks intentional rather than just looking like I've been wearing the same shirt for five years straight?
It’s all about the geometry. If you’re just slapping a random patch on a hole, it looks like you’re hiding a mistake. But if you use consistent stitch patterns—like a structured Sashiko grid—it starts to look like a design choice. I always say: treat the repair like a print. Use contrasting thread colors or geometric shapes that actually follow the garment’s lines. If the repair has a logic to it, it’s intentional.
What kind of thread weight should I be using so I don't end up puckering the fabric or ruining the drape of a heavy-weight garment?
If you’re working with a heavy-weight, high-GSM cotton, don’t even think about using standard all-purpose polyester thread; it’ll look like a cheap afterthought. You need something with some actual body, like a heavy-duty cotton thread or even a slightly thicker perle cotton for Sashiko. If the thread is too fine, it disappears; if it’s too heavy and your tension is off, you’ll get that nasty puckering that kills the drape. Match the weight to the weave.

