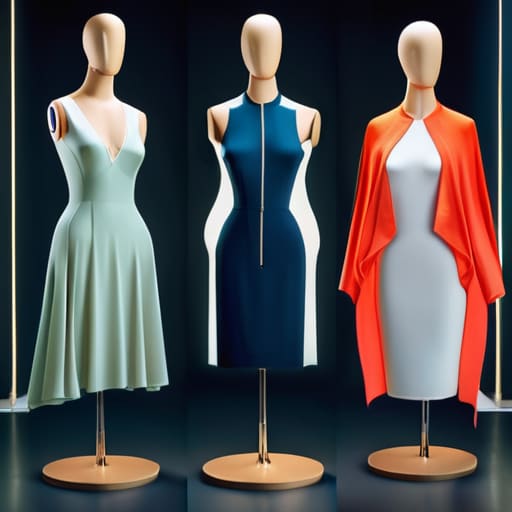
I still remember the absolute carnage of my first small-run drop. I had spent weeks obsessing over the perfect heavyweight cotton, only to realize I’d completely botched the math on my size jumps. I thought I could just “eyeball” the increments, but instead of a cohesive collection, I ended up with a pile of XL hoodies that looked like they were designed for literal giants and Smalls that could fit a toddler. If you think grading sizes from a base is just about adding a couple of centimeters to the width and calling it a day, you are seriously asking for a heartbreak that costs way too much money.
Look, I’m not here to sell you on some expensive, over-engineered software or tell you that you need a PhD in geometry to get this right. I want to show you how to actually scale your patterns without losing the soul of the original fit. We’re going to talk about the real mechanics of grading sizes from a base—the actual math, the common pitfalls, and how to maintain your garment integrity from Small to 2XL. No fluff, just the technical reality of making clothes that actually fit human beings.
Mastering Standardized Measurement Scales for Real Fit
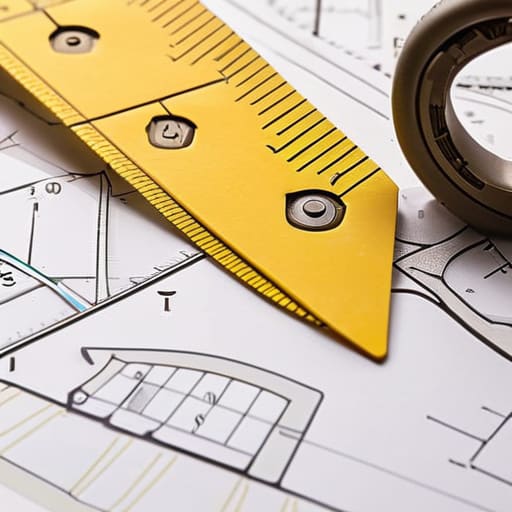
Look, you can’t just decide a Large is “bigger” than a Medium based on a gut feeling. If you want your collection to actually fit human beings, you need to get serious about standardized measurement scales. I’ve seen too many small brands try to eyeball their jumps, only to end up with a Small that fits like an XS and a Large that looks like a literal tent. You have to establish a consistent grading scale methodology from the jump. This means deciding exactly how many centimeters you’re adding to the chest, the sleeve length, and the sweep for every single size step.
Once you have your base pattern dialed in, the real work is calculating size increments that actually make sense for the fabric you’re using. If you’re working with a heavy, non-stretch 400 GSM loopback fleece, your increments need to account for how that weight sits on the body compared to a flimsy jersey. You aren’t just making the garment bigger; you’re managing the proportional relationship between the width and the length so the silhouette doesn’t collapse as you scale up.
The True Cost of Poor Grading Scale Methodology
Here is the reality of what happens when you treat grading like a math homework assignment instead of a physical reality: you end up burning through your margins. When your grading scale methodology is basically just “add two inches here and there,” you aren’t actually scaling a garment; you’re just creating a different, broken shape. I’ve seen so many small brands launch a beautiful sample, only to realize their XL feels like a tent and their Small feels like a compression shirt. That’s not a fit issue; that’s a failure in calculating size increments properly.
The real sting isn’t just the wasted fabric, though that’s enough to make anyone want to quit. It’s the loss of trust. If your customers can’t rely on a consistent fit across the board, they aren’t coming back for a second drop. You can have the most insane graphic print in the world, but if the proportions are off because you skipped the heavy lifting of dimensional analysis techniques, you’re just selling expensive landfill. You have to respect the math if you want the clothes to actually live on a human body.
Five ways to avoid a grading nightmare

- Pick a base size that actually reflects your target demographic, not just what’s easiest to find in a wholesale catalog. If your base is a tiny XS but you’re selling to a streetwear crowd, your grading jumps are going to be absolute chaos from the jump.
- Stop treating every measurement jump like it’s a math problem. A human body doesn’t grow linearly; you can’t just add the same 2cm to the chest and the waist every single time and expect it to look intentional. You have to account for how the silhouette actually shifts as things get bigger.
- Watch your armholes like a hawk. One of the biggest mistakes I see is people grading the body width up but forgetting that the armhole needs to scale proportionally too. If you don’t, you’ll end up with a size XL that fits the torso but has armholes so tight it feels like a straitjacket.
- Test your grade on a “muslin” or a scrap of your actual production fabric. Digital patterns are liars—they don’t tell you how a heavy 400 GSM fleece is going to hang differently in a 2XL compared to a Medium. If the drape fails in the sample, it’s going to fail in the production run.
- Check your seam allowances after you’ve finished the grade. If you’re scaling up significantly, make sure your construction methods still make sense for the larger panels. There’s nothing worse than realizing your grading math worked, but your sewing machine can’t actually navigate the new construction requirements.
The TL;DR on Not Wasting Your Fabric
Stop treating grading like a math homework assignment where you just add two inches to everything; if you aren’t calculating the specific grade rules for your specific silhouette, your XL is going to look like a shapeless tent instead of a scaled-up version of your sample.
Always check your seam allowances after you’ve finished your grading jumps, because nothing kills a production run faster than realizing your smaller sizes have barely enough room to hold a stitch while your larger ones are drowning in excess fabric.
Prioritize the integrity of the fit over the speed of the scale—it is much cheaper to spend an extra day perfecting your grade increments now than it is to deal with a warehouse full of “deadstock” that nobody can actually wear.
Frequently Asked Questions
If I'm working with a really heavy, high-GSM fabric, do I need to adjust my grading increments differently than I would for a lightweight jersey?
Absolutely. If you’re working with a heavy, high-GSM fleece, you can’t just use the same increments you’d use for a flimsy jersey. Heavy fabric has “bulk”—it doesn’t drape; it holds its own shape. If your grading jumps are too tight, that weight will make the garment feel stiff and boxy rather than just oversized. You often need slightly more breathing room in the grading to account for how that thick fabric actually sits on the body.
How do I know if my base size is actually a "true" representative of the fit, or if I'm just starting with a pattern that's fundamentally flawed?
Honestly? You have to stop looking at the garment and start looking at the construction. If your base size has wonky armholes or the shoulder seam is fighting the natural slope of a body, no amount of grading will fix it. Take your sample, turn it inside out, and check those seam allowances. If the internal structure feels chaotic or the proportions feel “off” even on a mannequin, your base is broken. Fix the pattern, not the scale.
Is it actually possible to grade a single pattern into a full size run without the proportions looking totally wonky on the larger sizes?
Look, the short answer is yes, but only if you stop treating grading like a math equation where you just add two inches here and there. If you just scale everything linearly, your XL is going to look like a giant version of your Small, which is exactly how you end up with those wonky, boxy proportions that nobody wants to wear. You have to grade by shape, not just numbers. You’re adjusting curves and volume, not just length.

