I was standing in my tiny shared studio at 2 AM, covered in a layer of neon green ink and staring at a pile of “premium” blanks that had just turned into a soggy, distorted mess under the squeegee. Everyone on TikTok makes screen printing at home look like a clean, aesthetic hobby involving nothing but a cute apron and some pastel colors, but the reality is a lot more visceral—and a lot more expensive if you don’t know what you’re doing. I learned the hard way that if your mesh count is wrong or your emulsion isn’t cured properly, you aren’t making art; you’re just making a mess that you can’t fix.
Forget the glossy tutorials that skip over the messy, technical bits. In this guide, I’m stripping away the marketing fluff to show you how to actually set up a workspace that works without breaking the bank. We’re going to talk about the real stuff: choosing a squeegee that won’t fight you, understanding why your ink is cracking, and how to select blanks that actually worth the investment. I want to help you move past the “trial and error” phase and start producing pieces that actually feel like craft.
Guide Overview
Tools & Supplies
- Screen frame with mesh for stencil application
- Squeegee for pushing ink through mesh
- Emulsion scoop coater for even coating
- UV light source for exposing design
- Photo emulsion liquid (approx. 8oz)
- Water-based screen printing ink (1 bottle)
- Transparency film for printing designs
- Screen printing mesh (pre-stretched)
Step-by-Step Instructions
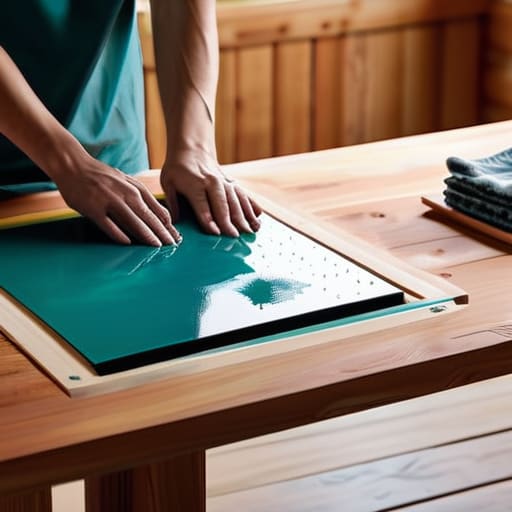
- 1. First things first, you need to stop thinking about “supplies” and start thinking about your workspace setup. You aren’t just printing a shirt; you are making a mess that will haunt your kitchen table forever. Find a flat, stable surface—ideally something you don’t mind getting ink on—and clear a path to a sink. If you’re working in a small apartment, please grab some heavy-duty plastic sheeting to lay down first, or you’ll be scrubbing pigment out of your floorboards for months.
- 2. Next, let’s talk about the screen itself. You need to coat your mesh with photo emulsion in a dark room, or at least somewhere with very dim lighting. This is the part where most people mess up because they get impatient. You need to apply a thin, even layer of emulsion to both sides of the screen using a scoop coater. If it’s too thick, it won’t dry properly; if it’s too thin, your design will look like a blurry mess. Once it’s coated, let it dry completely in total darkness.
- 3. Now, you have to burn your design. This is where the science actually happens. You’ll take your transparency film (your design printed in solid black) and sandwich it against the dried emulsion on your screen. Hit it with a high-intensity light source for the exact amount of time required—every light setup is different, so you’ll likely need to run a few test strips before you commit to your actual artwork. The light hardens the emulsion everywhere except where your black design blocked it.
- 4. Once the screen is “burned,” it’s time for the most satisfying part: the wash-out. Take your screen to a sink or a utility tub and hit the emulsion with a steady stream of water. The areas where your design was should start to dissolve and wash away, leaving you with perfectly clear mesh in the shape of your art. Take your time here; if you rush it and leave any residue, your print will clog halfway through the job.
- 5. Before you even touch a garment, do a quick “test pull” on a scrap piece of fabric. I always keep a handful of low-quality rags nearby for this exact reason. Set up your screen on the fabric, make sure your pallet is flat underneath so the shirt doesn’t bunch up, and pull your squeegee at a 45-degree angle with firm, even pressure. You want to see how the ink interacts with the fibers before you commit to a high-GSM blank you actually care about.
- 6. If the test looks good, it’s go time. Lay your garment flat, make sure the design is centered (I usually use a ruler because eyeballing it is a trap), and place a piece of cardboard inside the shirt to prevent ink from bleeding through to the back. Apply your ink to the top of the screen and pull that squeegee across the design in one smooth motion. Don’t go back and forth like you’re scrubbing a floor; you want a single, decisive stroke to ensure the ink sits right on top of the mesh.
- 7. Finally, you have to cure the ink, or your design will wash off the very first time it hits the laundry. If you don’t have a professional conveyor dryer, you can use a heat press or even a standard iron, but you have to be careful. You need to apply enough heat to penetrate the fibers without scorching the fabric. Once it’s heated through, let it cool completely before you even think about checking the print quality.
Choosing Screen Printing Supplies for Beginners Without Wasting Money
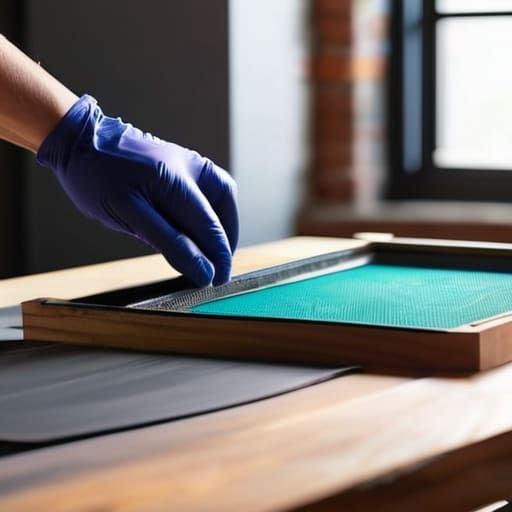
Look, the biggest mistake I see people make when they start looking for screen printing supplies for beginners is buying those “all-in-one” kits that look cute in photos but feel like cheap plastic in your hands. You don’t need a massive industrial press to get decent results, but you do need to be picky. If you’re working with a tight screen printing setup for small spaces, don’t skimp on the squeegee. A cheap, flimsy one will give you uneven pressure, and no amount of “homemade squeegee techniques” is going to fix a bad pull.
Also, we need to talk about the ink situation because this is where people actually lose their shirts. You’ll likely run into the whole water-based vs plastisol ink debate immediately. If you’re printing in a spare bedroom or a studio without heavy-duty ventilation, go with water-based. Plastisol is great for that thick, heavy feel, but it requires much more heat to cure and can be a total nightmare to clean up if you aren’t prepared. Don’t let the marketing hype trick you into buying expensive specialty inks before you’ve even mastered a basic print.
Mastering How to Emulsion Screen Printing for Sharp Professional Results
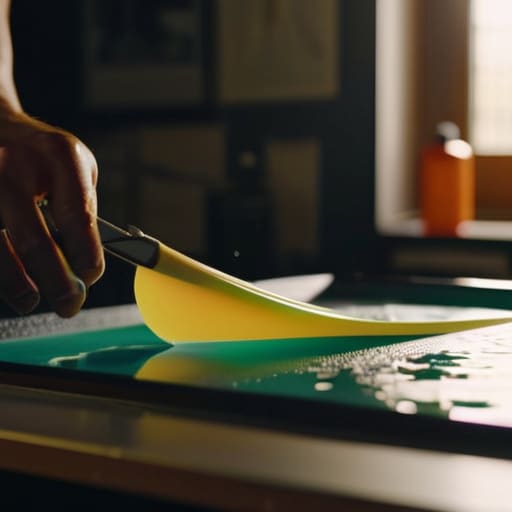
Look, if you want your prints to look like something you’d actually find in a vintage shop rather than a high school art project, you have to respect the emulsion. Most people rush this part, but how to emulsion screen printing correctly is really just a lesson in patience and lighting. You need a dedicated, dark space—even if it’s just a corner of your bedroom—because even a tiny bit of ambient light can cook the emulsion before you’re ready. When you’re coating the mesh, aim for an even, thin layer. If it’s too thick, you’ll struggle to clear the image; if it’s too thin, the stencil will just disintegrate the second you hit it with a squeegee.
Once the coat is on, let it dry completely in total darkness. I can’t stress this enough: don’t rush the drying process. If there’s even a hint of moisture left when you go to expose the screen, your fine lines will blur into a muddy mess. I’ve seen so many people ruin a perfectly good setup because they wanted to start printing immediately. Take the time to get that layer smooth, and your details will actually stay sharp when you finally move on to choosing your ink.
Five ways to stop treating your home studio like a science experiment
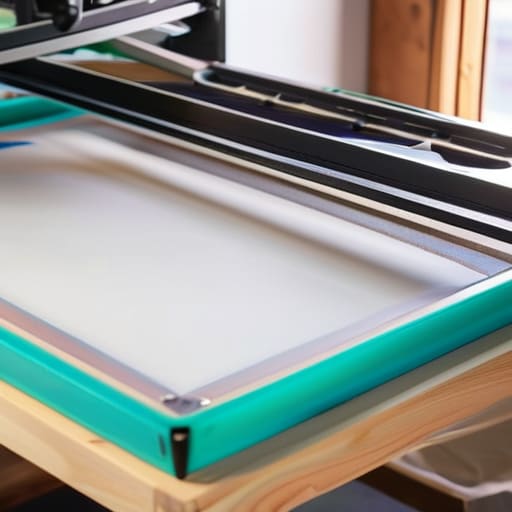
- Stop buying those “all-in-one” starter kits from big-box retailers. They usually come with cheap, mesh that’s too loose and squeegees that feel like plastic toys. You’ll spend more time fighting the equipment than actually printing. Buy your components separately so you actually know what you’re working with.
- Respect your drying time. I see so many people rushing the process, pulling a print and immediately trying to heat-set it before the ink has actually settled into the fibers. If you don’t let it breathe, you’re going to end up with a print that cracks the second it hits a washing machine.
- Don’t ignore your workspace ventilation. People forget that screen printing involves chemicals—emulsion, screen wash, even the ink itself. If you’re tucked away in a tiny spare bedroom with the door shut, you’re going to regret it. Open a window or get a small fan; your lungs will thank me later.
- Learn the “flood stroke” before you try to get fancy. If you aren’t consistently pushing a layer of ink across the screen before you make your actual print stroke, you’re going to get patchy, uneven coverage. It’s the difference between a professional-looking graphic and something that looks like it was made in a middle school art class.
- Treat your screens like they’re made of glass. One tiny bit of dried ink left in the mesh from your last session will ruin every single print you attempt next time. Clean your screens thoroughly and immediately—don’t leave them for “tomorrow,” because tomorrow they’ll be a nightmare to reclaim.
The stuff that actually matters when you're starting out
Stop chasing the shiny, expensive gear you see in ads; focus on getting a decent squeegee and a solid emulsion first, because a cheap tool won’t fix a bad technique.
Your blanks are your foundation—if you spend all your time perfecting your print but slap it on a low-GSM, scratchy tee, you’ve basically just made expensive trash.
Print testing is non-negotiable; I don’t care how confident you feel, you need to run a test print on scrap fabric to check your registration and ink opacity before you touch your good gear.
Frequently Asked Questions
How do I know if my ink is actually curing properly without a professional flash dryer?
Look, I get it. You’re staring at a pile of shirts and praying they don’t wash out after one cycle. Without a flash dryer, you’re basically playing a guessing game, but you can’t just wing it. Once the ink feels dry to the touch, give it the stretch test: pull the fabric. If the ink cracks or flakes, it’s not cured. If it moves with the grain, you’re getting there—but keep that heat gun moving.
Is it actually worth buying a high-end squeegee, or can I just get by with the cheap plastic ones?
Look, I get it. When you’re staring at a pile of supplies, every extra tenner feels like a hit. But honestly? Don’t cheap out on the squeegee. Those flimsy plastic ones flex like crazy, and if your pressure isn’t perfectly even, your print is going to look like a blurry mess. A decent, heavy-duty squeegee gives you the control you actually need to force ink through the mesh. It’s one of those tools where spending a little more now saves you a massive headache later.
How am I supposed to clean my screens without ruining the mesh or breathing in toxic fumes in a small apartment?
Cleaning screens in a tiny apartment is a nightmare if you don’t have a plan. First, ditch the heavy-duty industrial solvents; they’ll wreck your lungs and your walls. Stick to water-based, eco-friendly screen cleaners. To protect the mesh, never scrub like you’re cleaning a floor—be gentle. Use a soft sponge and a spray bottle to manage the mess. Most importantly, keep a window cracked and a small fan running. Ventilation isn’t optional; it’s survival.

