
I was standing in my shared studio three years ago, staring at a stack of “premium” heavyweight hoodies I’d just spent way too much money on, only to watch the ink spiderweb across the chest after a single test wash. It was infuriating. Everyone wants to tell you that you just need a more expensive plastisol or some magical new curing additive, but they’re ignoring the actual cracking and peeling causes sitting right in front of them. Most of the time, it’s not some high-tech mystery; it’s just a fundamental mismatch between the chemistry of your ink and the physical reality of the fabric you’ve chosen.
I’m not here to sell you on a new brand of expensive emulsion or some industry hype that promises perfection. Instead, I want to pull back the curtain on the actual mechanics of what’s happening when your design fails. We’re going to talk about the real, gritty stuff—from why your GSM might be sabotaging your stretch to how improper heat settings are basically cooking your art alive. I promise to give you the no-nonsense truth about how to build garments that actually survive the real world, rather than just looking good on a hanger.
Substrate Preparation Errors That Kill Your Print
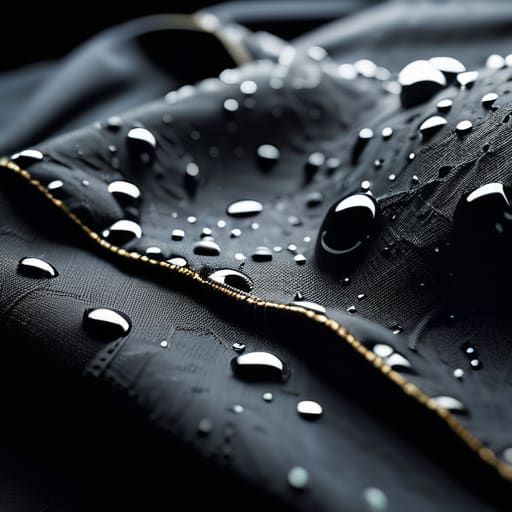
If you think you can just grab a shirt off a stack and go straight to the press, you’re asking for trouble. One of the biggest substrate preparation errors I see is skipping the pre-press. If that garment has been sitting in a humid warehouse or even just a damp studio, you’re dealing with moisture infiltration effects that will ruin your life. When you hit that damp fabric with high heat, you’re essentially trapping steam under the ink. That steam creates tiny pockets of pressure that force the print to lift, leading to those annoying bubbles and eventually a total blowout.
Then there’s the issue of what’s actually on the fabric. I’ve seen so many people try to print over blanks that have been treated with weird, cheap finishes or silicone softeners. These coatings are designed to make the shirt feel amazing in the store, but they are a nightmare for ink bond. It’s a classic case of surface coating failure; the ink looks great for the first three washes, but because it never actually gripped the fibers, it just starts flaking off like dead skin. You have to know what you’re working with before you even turn the machine on.
Thermal Expansion Cracking and the Fabrics Movement
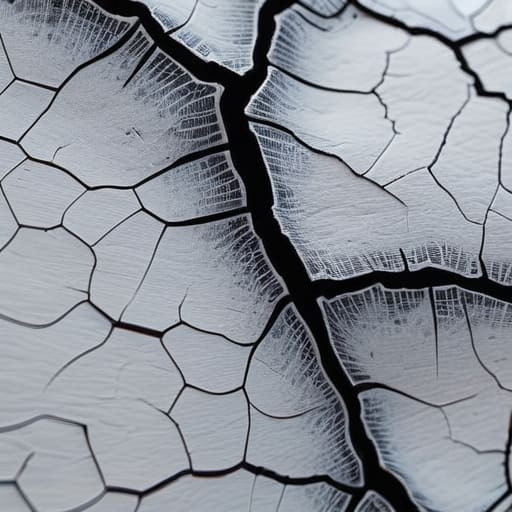
We need to talk about what happens when the fabric actually starts doing its job: moving. I’ve seen so many people treat a t-shirt like a rigid piece of plywood, but cotton is a living, breathing knit. When you apply a thick, plastisol layer that doesn’t have enough flexibility, you’re basically creating a tectonic plate situation. As the wearer moves or even just breathes, the tension between the rigid ink and the shifting fibers leads to thermal expansion cracking. The ink can’t keep up with the stretch, so it just snaps.
It’s not just about the physical pull, either; it’s about how the heat interacts with the fibers during the cure. If you’re dealing with surface coating failure, it’s often because the ink hasn’t truly fused with the substrate at a molecular level. If that bond is weak, the slightest movement becomes a catastrophe. You aren’t just fighting the design; you’re fighting the physics of the garment itself. If you don’t account for how that specific weight of fabric is going to expand and contract, your print is doomed from the first wash.
Five ways to stop your prints from checking out early
- Stop treating every blank like it’s the same. If you’re slapping a heavy plastisol print onto a flimsy, low-GSM poly-blend, that fabric is going to stretch and pull while the ink stays rigid. You need a substrate that actually has the structural integrity to support the weight of the ink.
- Check your cure temperature, not just your timer. It’s easy to get lazy and just set a clock, but if you aren’t hitting the right temperature throughout the entire ink film, you’re just baking a crust on top while the bottom stays wet. That’s a recipe for peeling within three washes.
- Don’t skip the pre-press. I know it feels like an extra step, but if you aren’t squeezing the moisture and oils out of those fibers before you lay down your ink, you’re basically printing on a layer of grease. The ink needs to bond with the fiber, not sit on top of some leftover fabric softener.
- Watch your ink thickness. There is a massive difference between a crisp, detailed print and a thick, rubbery slab of ink that feels like a piece of plastic. If your ink deposit is too heavy, it loses all flexibility, and the second the garment moves, the print is going to snap.
- Respect the mesh count. If you’re trying to push too much ink through a mesh that’s too low for the design you’re doing, you’re going to end up with a massive, heavy deposit that’s prone to cracking. Match your mesh to your ink type and your design’s fine details to keep things thin and durable.
The Cheat Sheet: Don't Let Your Prints Fail
Stop blaming the ink when the problem is actually your blank; if you’re trying to pull a heavy plastisol print over a thin, low-GSM poly-blend, it’s going to crack the second someone pulls it over their head.
Watch your heat, but don’t just obsess over the number—if you’re cranking the press to compensate for a bad pre-treatment, you’re basically just baking the fibers until they lose their ability to move with the design.
Respect the seam allowance and the stretch; if your design sits right on a high-tension seam or a ribbed collar, no amount of high-quality pigment is going to stop it from peeling once the garment starts working.
Frequently Asked Questions
Is it actually possible to save a print that's already started to flake, or is that garment basically a lost cause?
Honestly? If it’s already flaking, you’re mostly just playing a losing game of whack-a-mole. You can try to patch it with some textile adhesive or a bit of heat-setting, but that’s just a temporary band-aid. Once the bond between the ink and the fibers is broken, it’s usually gone. I’d rather tell you to save the blank for a different project than waste more time trying to resuscitate a dying print.
How much does the actual weight of the fabric—the GSM—really matter when I'm deciding which ink to use?
It matters more than most brands will admit. If you’re slapping heavy plastisol on a flimsy, low-GSM jersey, you’re basically asking for a disaster. That lightweight fabric doesn’t have the structural integrity to support the ink; the moment the garment stretches, the print just snaps because the substrate can’t keep up. I always check the weight first—match your ink’s flexibility to the fabric’s density, or you’ll just be replacing cracked shirts all season.
Can I tell if a blank is going to fail just by feeling the stretch, or do I need to run some kind of test?
Honestly? You can get a decent vibe from the stretch, but don’t trust your hands alone. I can feel a cheap, high-polyester blend that’s going to fight my ink, but the real heartbreak happens when a heavy cotton blank looks sturdy until it hits the dryer. Do a quick stretch test: pull it, let it snap back, and check for uneven recovery. If it stays distorted, your print is toast.

