I remember sitting on a milk crate in that cramped shared studio, staring at a stack of “premium” heavyweights that looked great on a hanger but fit like a cardboard box. I had spent three weeks obsessing over my screen prints, only to realize the silhouette was completely trashed because I hadn’t accounted for the drop. Everyone in the industry loves to talk about “oversized fits” as if it’s a magic word, but most of the time, it’s just a mask for poor pattern cutting. People act like adjusting shoulders and its cost is some mysterious, high-level luxury secret, but the truth is much more blunt: if your shoulder seam is sitting two inches too far out, you aren’t just making a “statement,” you’re wasting fabric and money on a garment that will never hang right.
I’m not here to sell you on the latest runway trends or tell you which influencer is wearing what. I want to show you the actual math behind the construction. We’re going to strip away the marketing fluff and look at exactly how much a slight shift in the shoulder seam affects your production margins and your final sample. I’ll tell you straight up when a technical adjustment is worth the extra labor and when you’re just paying for a mistake you could have avoided with better initial specs.
Why Narrowing Shoulders on a Jacket Demands Precision
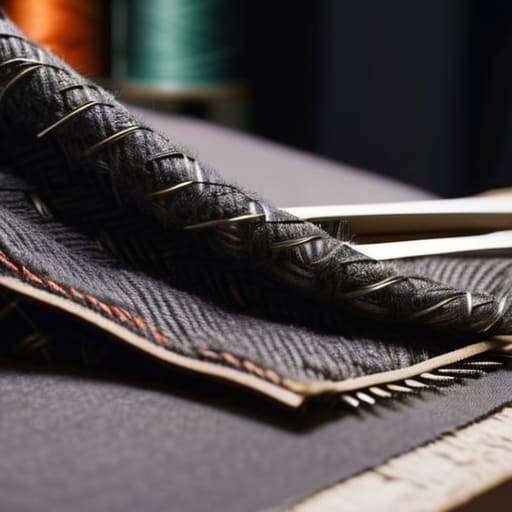
Narrowing shoulders on a jacket demands precision because you aren’t just moving a seam; you’re essentially re-engineering the entire architecture of the garment. When I’m looking at a piece, the first thing I do is flip it inside out to check the construction, and that’s where the nightmare begins. If the shoulder width is too wide, you can’t just “tuck” the excess fabric in. You have to deconstruct the sleeve head, rip out the shoulder pads, and potentially reshape the entire armhole. This is why suit shoulder alteration difficulty is ranked so high in any shop—it’s not a quick fix, it’s a structural overhaul.
If you try to DIY this or find some cheap quick-fix service, you’re going to end up with “divots” in the sleeve or a bunching effect that makes the jacket look like it was made for a linebacker. The tension has to be perfect to maintain the drape. This level of technical labor is exactly why professional garment tailoring costs can jump so significantly compared to a simple hem or a waist take-in. You’re paying for the hours spent unpicking and re-shaping, not just the thread.
Decoding Professional Garment Tailoring Costs
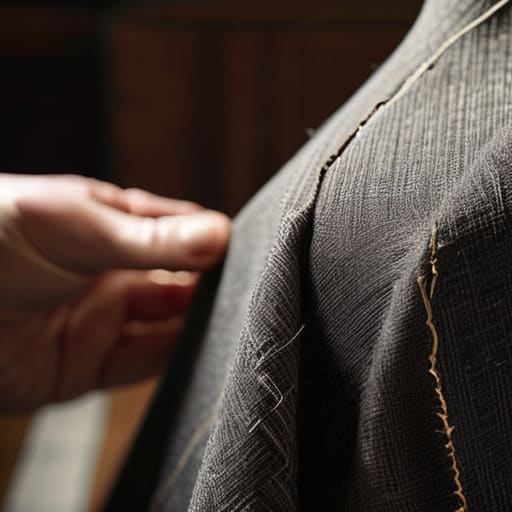
When you start looking into professional garment tailoring costs, you quickly realize that you aren’t just paying for someone to sit at a sewing machine; you’re paying for the hours of deconstruction required to undo someone else’s mistake. If you’re looking at narrowing shoulders on a jacket, you have to account for the fact that the entire architecture of the garment—the sleeve head, the canvas, the shoulder pads—has to be ripped apart and rebuilt. It’s not a quick fix.
This is exactly why the suit shoulder alteration difficulty is such a massive factor in your final bill. A simple hem on a pair of trousers is a twenty-minute job, but a shoulder reconstruction is a surgical procedure. Most clothing fit adjustment services will quote you a premium because they know they can’t just “tweak” the seam; they have to re-balance the entire drape of the piece. If you find a tailor offering a suspiciously low tailor shoulder adjustment price, run. They are likely skipping the internal structural work, and you’ll end up with a garment that looks distorted the second you actually move your arms.
How to not get fleeced when you're messing with shoulder construction
- Stop looking at the price tag and start looking at the seam. If a tailor or factory gives you a quote that seems too good to be true for a shoulder adjustment, they’re likely just ripping out the old seam and topstitching a new one without actually re-shaping the sleeve head. That’s not tailoring; that’s just a quick fix that’ll make the whole garment hang like a wet rag.
- Factor in the “sleeve head tax.” When you move a shoulder seam, you aren’t just moving a line of stitching; you’re messing with the entire circumference of the sleeve cap. If you’re doing this on a heavy-weight fleece or a structured jacket, expect the labor cost to jump because the machine has to fight the bulk of the fabric every single time it hits that intersection.
- Check your grading before you commit to a sample. If you’re trying to narrow the shoulders on a size Large to make it look more “boxy” or “cropped,” make sure you aren’t accidentally killing the armhole depth. A cheap adjustment might fix the width, but if it ruins the range of motion, you’ve just turned a premium garment into an expensive piece of wall art.
- Understand that shoulder construction is the most “non-linear” part of the cost. Unlike a simple hem where you just fold and stitch, a shoulder adjustment involves deconstructing the sleeve, potentially resetting the entire sleeve cap, and re-balancing the garment. If your production budget doesn’t account for this extra labor time, your margins are going to vanish.
- Always ask about the internal structure. On a high-quality jacket, there’s often padding, interfacing, or canvas sitting inside that shoulder. If you’re adjusting the width, that internal architecture has to be rebuilt or it will bunch up like a crumpled soda can. If your manufacturer says they can do it “easily” without mentioning the internal components, they’re probably lying to you.
The Bottom Line on Shoulder Adjustments
Precision isn’t just about aesthetics; if you’re narrowing shoulders, you’re fundamentally altering the garment’s architecture, which means you’re paying for technical skill, not just a quick fix.
Don’t let “cheap” blanks fool you—if the shoulder construction is flimsy or poorly reinforced, any adjustment you make will likely cause the fabric to ripple or pull, wasting your money and the garment.
Always factor in the labor-to-material ratio; a shoulder adjustment is a high-touch technical task that will almost always cost more in skilled man-hours than the actual cost of the fabric being moved.
Frequently Asked Questions
If I’m working with a heavy-duty 400 GSM fleece, does the shoulder adjustment get way more expensive because of the fabric weight?
Short answer: Yes, absolutely. Working with 400 GSM fleece isn’t like tweaking a thin jersey tee; you’re basically wrestling a heavy-duty blanket. That weight means more bulk at the seams, which makes precision much harder and slows down the machine work. You’re also dealing with more fabric tension and potential bunching. If you don’t account for that extra mass, your shoulder line will look wonky, and the labor cost will definitely reflect that struggle.
Is it actually cheaper to just buy a new garment with a better fit than it is to pay a professional to fix the shoulder seams?
Honestly? Most of the time, it’s cheaper to buy a new one. If you’re working with a cheap, fast-fashion piece, the construction is usually so flimsy that a tailor will charge you more to deconstruct it than the garment is actually worth. You’re paying for labor, not just fabric. But, if it’s a high-quality heavy cotton or a solid vintage find? Fix it. A good shoulder adjustment on a quality blank is an investment; on a bad one, it’s just throwing good money after bad.
How much does the type of construction—like a dropped shoulder versus a set-in sleeve—change the actual labor cost of the adjustment?
It’s a massive difference. If you’re working with a dropped shoulder, you’re mostly just playing with seam length and a bit of tapering—it’s relatively chill. But a set-in sleeve? That’s a whole different beast. You have to deconstruct the entire armhole, re-draft the sleeve cap, and pray the proportions don’t look wonky. You aren’t just paying for a quick stitch; you’re paying for the technical headache of rebuilding the garment’s architecture.

