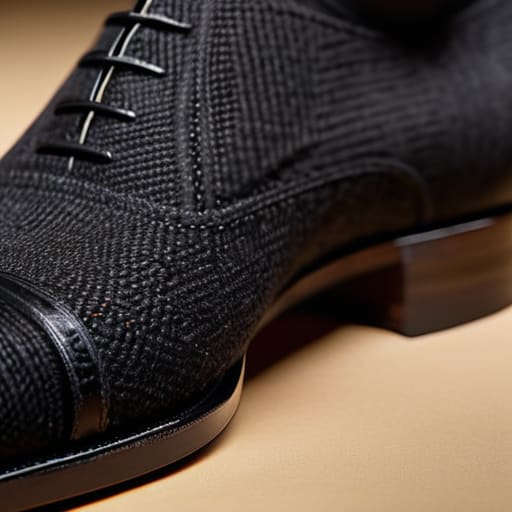
I still remember the exact moment I realized most “designer” streetwear is just a series of expensive mistakes. I was hunched over a cutting table in that cramped shared studio, surrounded by the smell of industrial steam and cheap dye, staring at a pair of heavy-weight cargos that looked incredible on a mood board but fit like absolute garbage in real life. The brand had gone all in on the “oversized” aesthetic but completely ignored the actual math of inseam and length choices, resulting in a silhouette that didn’t look intentional—it just looked like the wearer had outgrown their clothes. It’s the same trap I see every week: people getting so caught up in the silhouette hype that they forget how gravity and fabric weight actually interact with a human leg.
I’m not here to give you a lecture on what’s going to be “trending” on TikTok next season. Instead, I want to pull back the curtain on the technical side of things so you don’t end up wasting your entire production budget on blanks that sit wrong. We’re going to talk about the real mechanics of how different drops and rises change the way a garment hangs, and why your specific inseam and length choices are the difference between a piece that stays in a rotation and one that ends up in a landfill.
Mastering How to Measure Trouser Inseam for Consistent Production
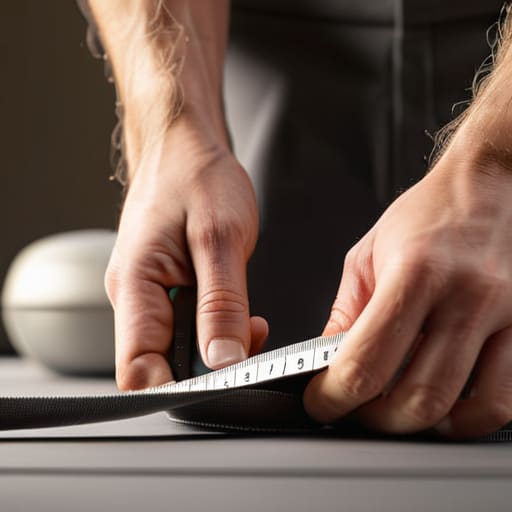
If you’re trying to scale from one-off pieces to a consistent drop, you cannot rely on “vibes” when it comes to sizing. I’ve seen so many small brands mess up their tech packs because they didn’t standardize how to measure trouser inseam across their entire range. You aren’t just measuring from the crotch to the floor; you’re accounting for the rise, the fabric’s weight, and how that specific GSM is going to drape once it’s actually on a body. If your measurements drift by even half a centimeter between production runs, your customers are going to notice the inconsistency immediately.
The real headache starts when you try to translate those numbers into actual pant leg break types. A single inseam measurement can look completely different depending on whether you’re aiming for a full break vs no break aesthetic. If you’re designing heavy-weight canvas trousers, you need to factor in how that bulk stacks at the ankle, whereas a lighter poplin might require a more precise, cropped length to avoid looking sloppy. Don’t just guess; decide on your intended silhouette first, then lock in that measurement.
Beyond the Trend How Tailoring Pant Length Preserves Garment Integrity
Look, I see so many small labels chasing the “oversized” look by just dumping extra fabric at the bottom of a leg, and it’s honestly exhausting. They think more fabric equals more style, but they’re actually just compromising the structural life of the garment. When you ignore proper tailoring pant length in favor of a generic baggy silhouette, you’re inviting friction. Every time that excess fabric bunches up and drags against the floor or a shoe, it’s grinding down the fibers. You aren’t just making a “relaxed fit”; you’re essentially designing a garment that’s destined to fray at the hem within three washes.
If you want to actually respect the craft, you need to understand how different pant leg break types interact with the weight of your textile. A heavy 14oz canvas is going to behave completely differently than a lightweight linen when it hits the shoe. Whether you’re aiming for a clean, no-break look or a more intentional, heavy drape, the math has to be precise. If the length is wrong, the way the fabric folds—the actual architecture of the drape—collapses, and suddenly your high-quality production just looks sloppy and cheap.
Five things to check before you commit to a production run
- Stop eyeballing the rise; if your inseam measurement doesn’t account for how the crotch sits, your “perfect” length is going to end up looking like high-waters the second someone actually sits down.
- Check your fabric’s shrinkage profile before setting your patterns, because a 28-inch inseam in a raw denim blank is a completely different beast than a 28-inch in a pre-shrunk jersey.
- Don’t get blinded by “oversized” trends; if the length is too long without enough weight in the fabric, the garment will just bunch up at the ankles like a pile of laundry instead of draping.
- Always test your length-to-weight ratio by seeing how the hem hangs; a heavy-weight canvas needs a different approach to length than a lightweight linen if you want to avoid that weird, awkward mid-calf sag.
- Factor in the “break” during your sampling phase—if you aren’t measuring how the fabric folds over the shoe, you’re just guessing, and guessing is how you end up with a box of deadstock you can’t sell.
The bottom line on fit and fabric
Stop chasing “baggy” trends blindly; if you don’t account for how the specific fabric weight pulls on the inseam, your trousers will either bunch like a mess or ride up like they’re two sizes too small.
Precision in your measurements isn’t just about vanity—it’s about your margins. One sloppy measurement error in your tech pack means a whole batch of blanks that are functionally unwearable.
Always prioritize the relationship between length and drape. A perfect inseam is useless if the garment length doesn’t respect the rise, because that’s when you start seeing the seams distort and the quality look cheap.
Frequently Asked Questions
If I’m sourcing blanks from overseas, how much should I actually account for shrinkage in the inseam before the first wash ruins my sizing chart?
Look, if you’re sourcing overseas, don’t just trust the “pre-shrunk” label—it’s often a marketing lie. I’ve seen entire batches of cargos turn into capris after one industrial wash. You need to factor in at least a 3-5% shrinkage buffer on your inseam measurements. I always run a wash test on a sample swatch first. If that inseam pulls up more than half an inch, adjust your tech pack immediately or your customers will be returning everything.
Is it worth paying the extra premium for a pre-shrunk heavy cotton, or can I just adjust my pattern measurements to compensate for the drop?
Look, I’ve spent way too many late nights in the studio trying to “math” my way out of a shrinkage disaster. Honestly? Pay the premium for the pre-shrunk heavy cotton. Trying to compensate for a drop by adjusting your patterns is a nightmare—you might nail the length, but you’ll almost certainly mess up the drape or the rise. Don’t gamble your margins on a math equation; buy the stable blank and focus on the cut.
How do I balance a "baggy" streetwear aesthetic with a functional inseam that doesn't result in a pile of wasted fabric at the ankle?
Look, everyone wants that heavy, oversized silhouette, but there’s a massive difference between “intentional volume” and just looking like you’re drowning in fabric. If you want the baggy look without the ankle-drag, focus on the rise and the knee placement. If you drop the inseam too low without adjusting the knee position, the fabric just collapses into a messy pile. Aim for a wider leg opening that skims the shoe, rather than pooling into a pile of wasted GSM.

