
I remember sitting on the floor of my first shared studio, surrounded by a mountain of “premium” blanks that felt more like paper towels than actual fabric. I had spent way too much money trying to eyeball measurements from a digital tech pack, only to realize my entire first run was a total disaster because the proportions were completely off. I was so busy chasing the latest trend reports that I forgot the most basic rule of production: stop guessing and start using a garment you own as reference. There is no substitute for the tactile reality of a shirt that actually fits the way you want it to.
I’m not here to sell you on some expensive software or a complicated grading system that nobody actually uses in a real workshop. Instead, I’m going to show you how to deconstruct your favorite vintage tee to understand its true DNA. We’re going to talk about how to audit seam allowances, measure drop shoulders, and check weight so you can build a blueprint that actually works. This isn’t about hype; it’s about getting the technical details right the first time so you don’t end up with a drawer full of expensive mistakes.
Finding Your Perfect Fit With Reference Clothing
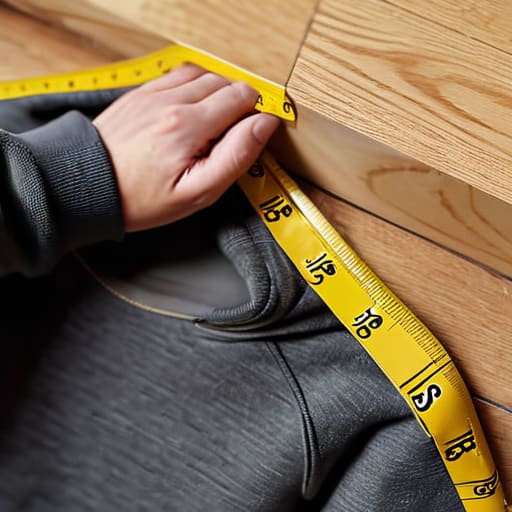
Look, I’ve lost count of how many times I’ve seen people order a “Large” online only to have it arrive looking like a crop top or a tent. The problem is that “Large” isn’t a universal law; it’s just a suggestion made by a brand that probably cares more about their aesthetic than their actual pattern cutting. To avoid this, you need to stop relying on those vague size charts and start measuring existing clothes for online shopping instead. Grab that one heavy-duty hoodie or that perfectly broken-in tee—the one you reach for every single weekend—and lay it flat on the floor. This is your new gold standard.
When you’re doing this, don’t just eyeball it. I’m talking about getting specific with your garment dimensions for fit. Measure from the armpit to armpit for the chest, and follow the side seam all the way down to the hem. If you’re looking at a new brand, take those exact numbers and hold them up against their specific measurements. It’s the only way to get an accurate clothing size comparison that actually works in the real world. If the numbers don’t line up, walk away—don’t let a slick marketing campaign trick you into buying a bad fit.
Measuring Existing Clothes for Online Shopping Accuracy
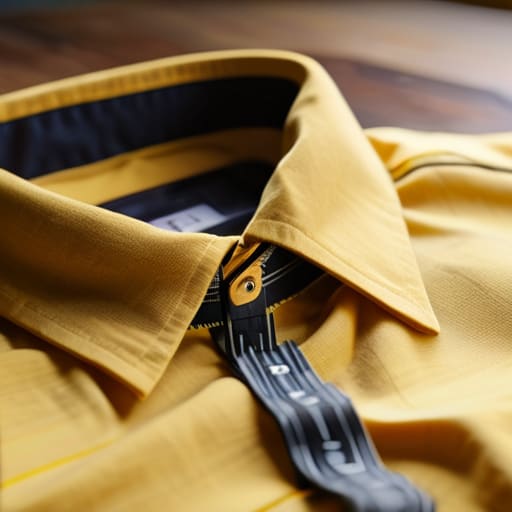
Once you’ve picked your “gold standard” shirt, stop looking at the “S, M, or L” label on the website. Those letters are basically a suggestion at best and a lie at worst. Instead, you need to get serious about comparing garment measurements to size charts. Lay your reference piece flat on a hard surface—don’t do this on a bed, or your numbers will be warped—and grab a soft measuring tape. I always measure the pit-to-pit width and the total length from the highest point of the shoulder down to the hem. These are the two numbers that actually tell you if a shirt is going to drape like a dream or fit like a cardboard box.
When you’re scrolling through a new brand’s site, hunt for their specific garment dimensions for fit. If they only provide a generic size guide, use the numbers you just pulled from your own closet to bridge the gap. This is the only way to ensure an accurate clothing size comparison before you hit “buy.” It’s a bit more work upfront, but it beats the soul-crushing cycle of ordering three different sizes just to find the one that doesn’t feel like a mistake.
Pro-Tips for Auditing Your Closet Before You Buy

- Don’t just look at the size tag—grab a measuring tape and check the actual width across the chest. Sizing is a lie, especially with different blanks, so use your favorite shirt’s real measurements to avoid that “boxy but somehow too short” disaster.
- Turn the garment inside out before you start measuring. I do this every single time. You need to see how the seams are actually constructed—whether it’s a clean overlock or a messy raw edge—to understand how much “give” the fabric actually has.
- Feel the weight, don’t just read the description. If you’re trying to match a specific vibe, hold your reference shirt up and compare the drape. Is it a heavy 300 GSM fleece or a flimsy 150 GSM jersey? If you can’t feel the density, you’re just guessing.
- Check the shoulder seam placement. A lot of people forget this, but where that seam hits your arm tells you everything about the silhouette. If your reference shirt has a dropped shoulder, looking for a “standard fit” online is going to end in heartbreak.
- Inspect the neck ribbing. A good reference garment usually has a substantial, tight collar that doesn’t look like it’ll turn into a wavy mess after two washes. If your current favorite has a sturdy neck, make sure the new blank you’re eyeing actually matches that construction.
The Cheat Sheet for Not Wasting Your Money
Stop eyeballing the size—grab your most reliable shirt, lay it flat, and measure the actual seams so you aren’t caught off guard by a “boxy” fit that’s actually just poorly graded.
Use your favorite well-worn tee as a tactile benchmark for GSM; if your new blank feels paper-thin compared to your reference, it’s going to lose its shape after two washes.
Always audit the construction of your reference piece, specifically looking at the neck ribbing and seam allowances, to ensure you aren’t accidentally ordering a garment that’s built to fall apart.
Frequently Asked Questions
If my favorite vintage tee is already a bit stretched out or shrunk from a hundred washes, how do I know if I'm measuring a "true" fit or just a distorted one?
That’s the million-dollar question. If your favorite tee is looking a bit “lived-in”—we’re talking saggy necklines or that slightly wonky, shrunk-down torso—don’t use it as your only source of truth. It’ll lie to you. Instead, grab a “baseline” garment: something relatively new or a heavy-duty blank that hasn’t been through the wars yet. Use the vintage piece for the vibe, but use the fresh one for the actual math.
Should I be measuring the garment laying flat on a table, or is there a better way to account for how the fabric actually drapes on a body?
Lay it flat. If you try to measure while someone is wearing it, you’re just guessing at tension and pull. Spread your reference piece on a hard, flat surface—a table or the floor—and smooth out every single wrinkle. I always check the seams to make sure the fabric isn’t bunching up before I pull the tape measure. It’s the only way to get an honest reading of the actual dimensions before you commit.
Once I have my measurements, how do I translate them into technical specs like GSM so I don't accidentally order a paper-thin blank that feels nothing like my reference?
Here’s the thing: measurements tell you about shape, but they don’t tell you about weight. To avoid that “paper-thin” disaster, you need to look at the GSM (grams per square meter). If your favorite reference tee feels substantial, you’re likely looking for something between 200 and 240 GSM. Anything under 150 is basically a undershirt. Don’t just trust the “premium” label—check the specs for the weight so the drape actually matches your vibe.

