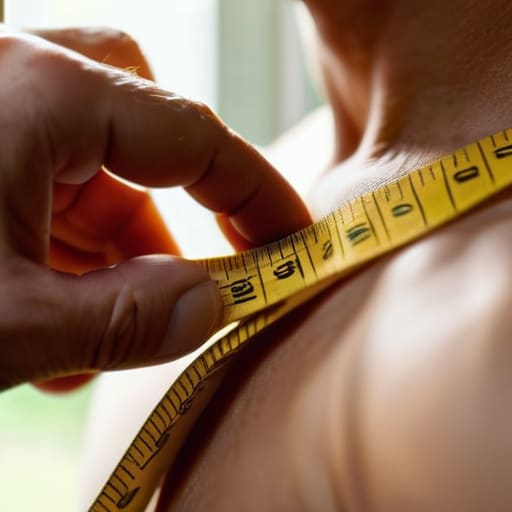
I still remember the first time I tried to scale up a screen print for a client; I’d spent weeks obsessing over the ink viscosity and the perfect heavy-weight blank, only to realize the entire batch was a total write-off because I’d misread the sizing chart. I thought I knew my way around a studio, but I’d completely botched the chest measurement done right, and suddenly my “premium” streetwear felt like something you’d find in a bargain bin. It turns out, you can have the most insane graphic in the world, but if the proportions are off by even an inch, the whole garment looks cheap and unintentional.
I’m not here to sell you on some complicated, high-fashion measuring ritual that requires a degree in geometry. Instead, I want to give you the actual, tactile way to do this so you stop wasting money on blanks that don’t sit right on your frame. I’m going to show you how to account for fabric drape and seam allowance so you can finally achieve that perfect, intentional silhouette every single time. No hype, no fluff—just the real mechanics of how a shirt should actually fit.
Why Correct Tape Measure Placement Saves Your Brand
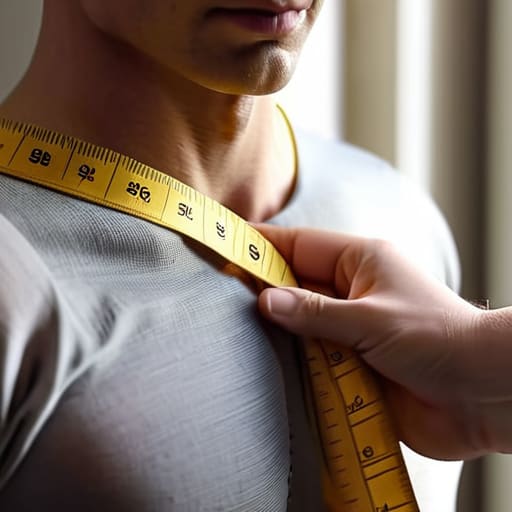
Look, I’ve seen so many small brands launch with these gorgeous, heavy-weight blanks only to have their entire customer base revolt because the fit is completely off. It usually comes down to one thing: they didn’t actually understand how to measure chest circumference on a real human body versus just slapping a tape measure around a flat garment. If you’re just eyeballing it, you’re playing a dangerous game with your profit margins.
When you mess up the correct tape measure placement, you aren’t just getting a slightly smaller shirt; you’re creating a garment that pulls awkwardly at the armpits or sits weirdly high on the chest. It makes even a high-GSM, premium fabric look like a cheap, poorly constructed afterthought. I’ve spent way too many late nights in the studio fixing patterns because someone thought “close enough” was acceptable for measuring upper body dimensions. If you want people to actually wear your stuff more than once, you have to stop treating measurements like an afterthought and start treating them like the foundation of the entire build.
How to Measure Chest Circumference Without Wasting Fabric
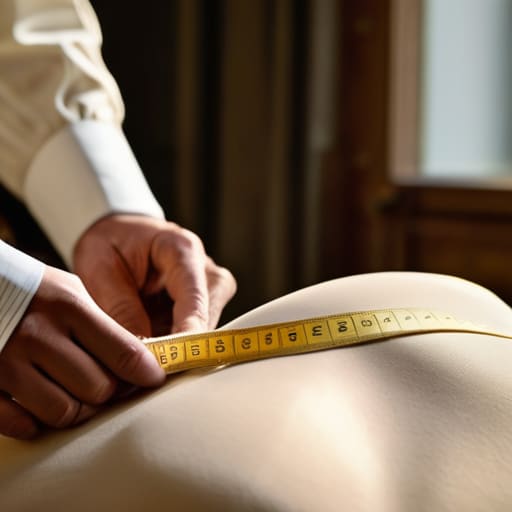
Look, I’ve seen too many small labels burn through their entire fabric budget because they didn’t account for how a garment actually sits on a human frame. When you’re learning how to measure chest circumference, the instinct is to just wrap the tape around the widest part and call it a day. But if you’re cutting patterns based on a lazy measurement, you’re essentially gambling with your yardage. You’ll end up with “dead” fabric—sections that are either too tight to be wearable or so cavernous they look like a mistake—and suddenly, your profit margins are disappearing into the scrap bin.
To get this right, you need to focus on correct tape measure placement relative to the armpits. Don’t just pull the tape tight like you’re measuring a waist for a belt; you need to account for the natural rise of the chest. If you’re measuring upper body dimensions for a heavy-weight streetwear hoodie, you have to leave enough breathing room so the fabric doesn’t bunch awkwardly under the arms. It’s about finding that sweet spot where the garment follows the body without looking like it’s suffocating it.
Stop Guessing: 5 Ways to Actually Get the Chest Measurement Right
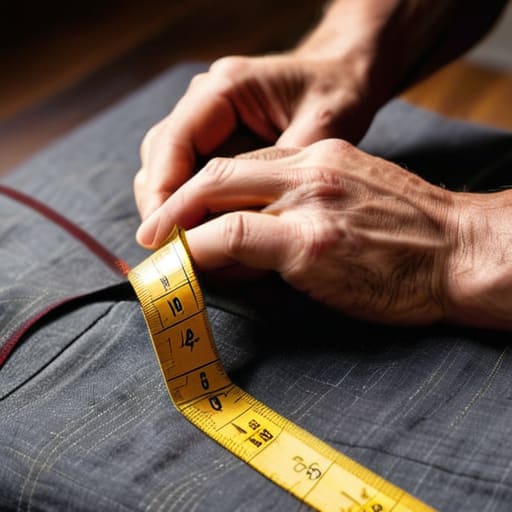
- Don’t measure the person, measure the garment. If you’re trying to replicate a fit, lay the piece flat on a cutting table. Measuring a body is a moving target; measuring a garment is science.
- Watch out for the “armpit pinch.” When you’re measuring a flat garment, make sure you aren’t bunching up the fabric under the arm. If there’s extra fabric caught in the middle, your measurement is lying to you.
- Always measure from point to point. For a true chest width, go straight from one armpit seam to the other. Don’t go diagonal or try to “eye it” based on where the curve looks best.
- Account for the “stretch factor” if you’re working with knits. If you’re measuring a ribbed tank or a high-elastane blend, a measurement taken while the fabric is taut is going to give you a completely different fit than one taken at rest.
- Double-check your math against the GSM. If you’re working with a heavy 300 GSM fleece, the thickness of the fabric itself actually eats up some of your internal circumference. If you don’t account for that bulk, your sizing will run tighter than it should.
The Bottom Line on Getting Your Measurements Right
Stop guessing with the tape; if you don’t measure the widest part of the chest accurately, you’re just designing a boxy, shapeless mess that no one will want to wear.
Precision isn’t just for the final garment—it’s about your margins. Getting the measurement wrong during the sampling stage means wasting expensive fabric and losing time on corrections.
A good measurement is the foundation of a good fit. You can have the highest GSM, heavy-weight blank in the world, but if the chest circumference is off, the quality won’t matter because the silhouette will look cheap.
Frequently Asked Questions
Does it actually matter if I measure the garment flat on a table versus measuring it while someone is wearing it?
It matters immensely, and if you mix them up, your size chart is going to be a total disaster. Measuring flat gives you the “garment dimensions”—that’s what I do when I’m checking the specs of a new blank. But measuring on a body gives you “fit.” If you take a flat measurement and tell a customer it’s their chest size, they’re going to buy it, it won’t fit, and you’ll be stuck dealing with returns.
If I'm working with heavy-weight, high-GSM blanks, should I be adding extra ease to the measurement so the fabric doesn't pull weirdly?
This is exactly where people trip up. With heavy-weight, high-GSM blanks, you aren’t just fighting the fit—you’re fighting the structure. If you go too tight, that thick fabric won’t drape; it’ll just bunch up and pull awkwardly across the chest, making a premium blank look stiff and cheap. You definitely want to add some ease. I usually aim for a bit more breathing room so the weight of the fabric actually works with your body, not against it.
How do I account for the difference between a "relaxed" chest measurement and a "true" chest measurement when I'm building my size chart?
Think of it this way: “True” measurement is the actual circumference of the body, but “relaxed” is how the garment sits on the table. If you’re building a size chart, you need to decide if you’re selling the person or the piece. I always add “ease” to the true measurement. If you don’t account for that breathing room, your heavy-weight blanks will feel like cardboard armor rather than a premium fit.

