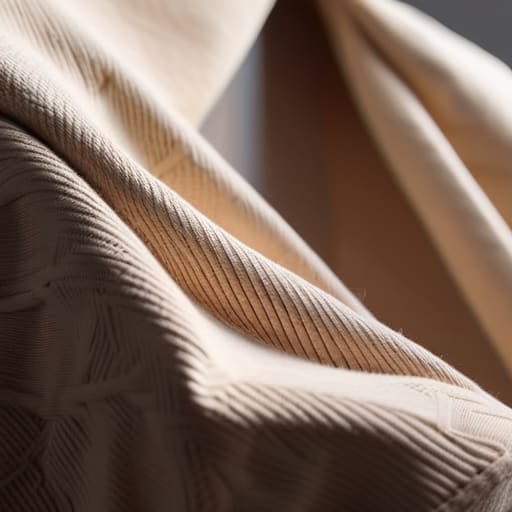
I was hunched over my cutting table last Tuesday, surrounded by scraps of heavy French terry, when I found myself ripping the shoulder seams out of yet another “premium” oversized hoodie. It’s the same story every time: a brand charges you fifty bucks for a silhouette, calls it a design choice, but ignores the fact that the drop shoulder construction is actually just a way to hide a total lack of structural integrity. They lean into the “relaxed fit” hype to mask the fact that the seam is pulling, the fabric is bunching, and the whole thing looks like a melted candle after one wash.
I’m not here to talk about what’s trending on your feed or which influencer is wearing what. I want to talk about why that specific sleeve placement matters for the longevity of the garment. I’m going to pull back the curtain on how to actually judge drop shoulder construction by looking at the weight of the knit and the width of the seam allowance. We’re going to skip the marketing fluff and focus on the actual mechanics of making a heavy garment hang the way it’s supposed to.
Calculating Shoulder Seam Drop Depth Without Losing Shape
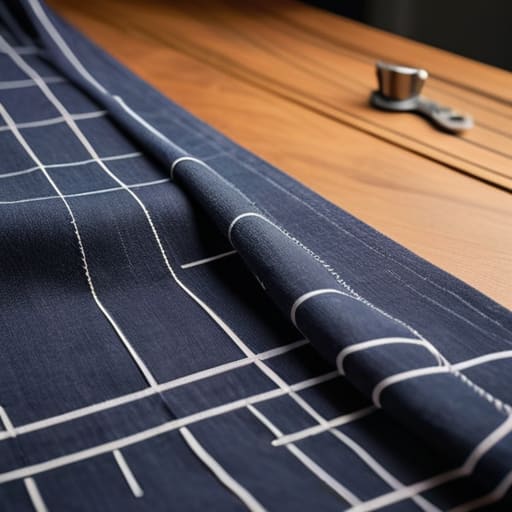
Here is the math that actually matters: if you just extend the shoulder line blindly, you aren’t making an oversized piece; you’re just making a shirt that looks like it’s sliding off the wearer’s body. When I’m working on garment pattern making techniques, I always look at the relationship between the shoulder seam drop depth and the armhole circumference. If you drop the seam too far without widening the scye (that’s the armhole, for the uninitiated), you end up with this awkward, bunching mess under the arm that ruins the whole oversized silhouette design.
You have to balance the drop with the actual weight of your fabric. If you’re using a heavy 300 GSM fleece, you can get away with a deeper drop because the structure holds itself up. But if you’re working with a lighter jersey, a massive drop will just collapse and look sloppy. I always tell people to focus on seam placement for relaxed fit by checking how the sleeve cap sits once the drop is set. You want that intentional, architectural hang, not a garment that looks like it lost a fight with a washing machine.
Why Oversized Silhouette Design Fails Without Proper Gsm
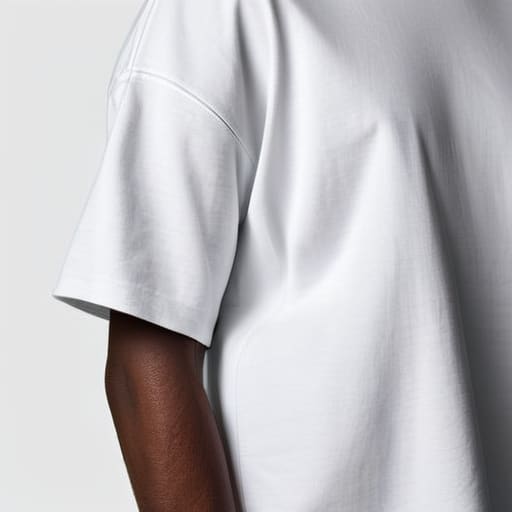
Look, I see it all the time on my feed: a brand drops a “heavyweight” oversized tee, but the second you put it on, it looks like a sad, limp pancake. This is exactly where oversized silhouette design goes to die. You can mess around with your shoulder seam drop depth all day, but if you’re using a flimsy 140 GSM single jersey, that structure just isn’t going to exist. The fabric lacks the internal tension required to hold the shape you intended in your pattern, so instead of looking intentional, you just look like you’re wearing a hand-me-down that’s three sizes too big.
To get that architectural, boxy streetwear look, you need weight to fight gravity. When I’m working on streetwear apparel construction, I’m looking for a high GSM—usually 280 or higher—to ensure the fabric actually stands away from the body. Without that density, your seam placement for relaxed fit won’t matter because the garment will just collapse inward at the chest and waist. If you want that premium, sculptural drape, stop chasing the silhouette and start investing in the weight of your blanks.
5 Things I Check Before I Actually Cut Into the Fabric
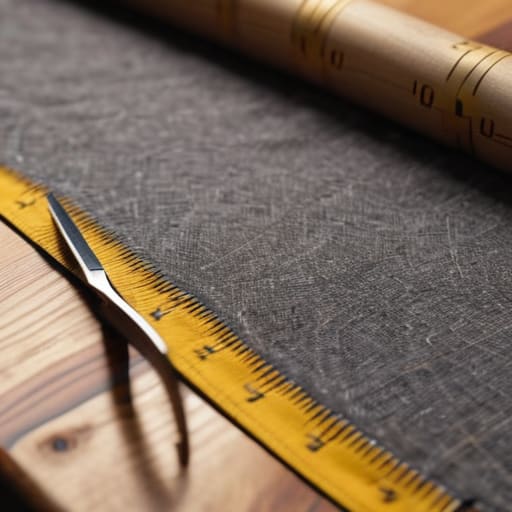
- Stop ignoring the grainline. When you drop that shoulder seam, it’s incredibly easy to accidentally tilt the fabric off-grain, and once that happens, your shirt will twist around your torso like it’s alive.
- Check your seam allowance width. If you’re working with a heavy, high-GSM jersey, a tiny 6mm seam is going to look cheap and might actually buckle under the weight; give yourself some room to breathe so the seam stays flat.
- Don’t forget the neck ribbing tension. A massive, oversized drop shoulder paired with a flimsy, stretched-out neckline is a recipe for a garment that looks like a hand-me-down from a thrift bin rather than a deliberate design.
- Test the armhole depth, not just the shoulder drop. I’ve seen so many “oversized” patterns where the shoulder drops perfectly, but the armhole is so deep it feels like you’re wearing a cape instead of a structured tee.
- Evaluate your stay-stitching. Because drop shoulder seams tend to sit at a more diagonal angle on the body, they’re prone to stretching out during assembly; stay-stitch those edges early or prepare to deal with wavy, amateur-looking seams.
The Real Cost of a Dropped Seam
Don’t let a “relaxed fit” label fool you; if the GSM isn’t heavy enough to support the weight of that dropped shoulder, the garment is going to look like a shapeless sack after three washes.
A successful drop shoulder is won or lost in the seam allowance—make sure there’s enough room for the fabric to drape naturally without the stitching pulling or bunching at the armhole.
Stop chasing the silhouette and start checking the math; if you haven’t calculated the drop depth against the actual shoulder width, you’re just making expensive scrap fabric.
Frequently Asked Questions
If I'm using a really heavy, high-GSM jersey, how do I stop that dropped seam from pulling the whole neckline out of shape?
Honestly, this is where most people mess up. When you’re working with a heavy, high-GSM jersey, that weight is a literal anchor. If you don’t reinforce the neck, the shoulder weight will just drag the collar into a weird, stretched-out mess. You need to stabilize the neckline with a bit of clear elastic or a stay tape inside the seam. It keeps the shape locked in so the heavy fabric doesn’t win the tug-of-war.
Is there a specific way to finish the armhole seam so it doesn't create that annoying, bulky ridge under the arm when the shoulder is dropped?
Honestly, that ridge is the hallmark of a rushed job. When you’re working with a dropped shoulder, you’re dealing with a lot more fabric tension right at the pivot point. To fix it, stop just slapping a standard overlock on there. Try grading your seam allowances so they aren’t all the same thickness, or better yet, trim the excess before you stitch. If you’re using heavy GSM, a bit of topstitching can also help lay that seam flat against the body.
How much extra width do I actually need to add to the chest to make sure the drop shoulder looks intentional rather than just looking like I cut the pattern wrong?
If you don’t account for the extra volume, you’ll end up with that awkward “tent” effect where the fabric just collapses under the arm. To make it look intentional, you need to add at least 2 to 4 inches of ease to the chest circumference beyond your standard fit. If you’re working with a heavy, high-GSM jersey, lean toward the higher end. You want the fabric to drape off the shoulder, not cling to your ribs.

