I still remember the first time I tried to scale up my shirt printing in that cramped, shared studio; I’d spent a month’s rent on what looked like premium heavyweight blanks, only to realize the moment I pulled them off the press that the tension was all wrong. I was so focused on the graphic that I completely ignored the construction, and those shirts ended up looking like sad, shapeless rags after a single wash. It’s the same mistake I see people making in dressing rooms every single day. Everyone is so caught up in how a piece looks in a filtered mirror that they skip the actual work of trying on and what to check regarding how the garment is actually built to last.
I’m not here to tell you which aesthetic is trending on TikTok or which brand is currently “hyped.” Instead, I want to give you the technical toolkit I wish I’d had when I was just starting out. We’re going to talk about the real stuff—the weight of the fabric, the integrity of the seams, and why you should always flip a garment inside out before you head to the register. This is about making sure your clothes actually survive your life, not just your next photo op.
A Real Clothing Fit Assessment Beats a Trend Every Time

Look, I get it. You see a piece on your feed, it looks oversized and “effortless,” and you grab it. But there is a massive difference between a garment designed to drape and a garment that just fits poorly. A real clothing fit assessment isn’t about whether you look like the model; it’s about how the architecture of the piece interacts with your body. If the shoulder seams are dropping in a way that makes the whole torso look like a sack rather than a deliberate silhouette, you aren’t wearing “streetwear”—you’re just wearing bad proportions.
Before you head to the checkout, you need to do more than just stand still in front of a three-way mirror. I’m talking about testing garment mobility. Sit down, reach for a high shelf, and cross your arms. If the fabric pulls uncomfortably across your back or the hem hikes up to your ribs, that’s a sign of poor pattern cutting. You want to know that the piece will actually move with you, not restrict you to a very specific, static pose. If it feels like a straitjacket in the fitting room, it’ll be even worse after the first wash.
Identifying Fabric Defects Before They Cost You a Fortune
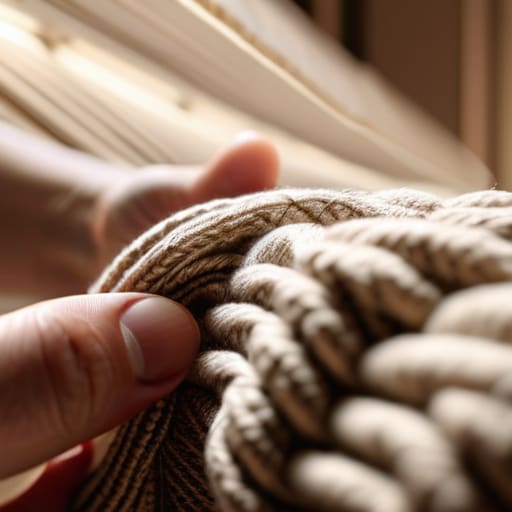
Here’s the thing: a piece might look killer on a mannequin, but once you get it under the harsh light of a fitting room, the truth comes out. When I’m doing a quick garment quality inspection on my own production runs, I’m not looking at the print; I’m looking for the “slubs” or tiny knots in the yarn that signal a cheap, inconsistent weave. Run your hands over the fabric—really feel it. If you catch any unevenness or thin patches that feel like they might sheer out the moment you move, put it back. That’s not “character,” it’s just a bad batch of cotton that’s going to pill after three washes.
You also need to be looking for “skewing,” which is when the grain of the fabric isn’t straight. If the side seams of a shirt start spiraling toward your belly button after you hold it up, the manufacturer cut it off-grain to save money. This is a massive red flag for identifying fabric defects that most people miss because they’re too busy checking the tag. If the fabric isn’t stable now, it’s going to warp into a weird, twisted shape once it hits your washing machine.
The "Inside-Out" Checklist: What I Actually Look For

- Flip it inside out immediately. I don’t care if it looks cool on the hanger; if the overlock stitching is fraying or the thread looks like it’s barely holding on, that garment is a ticking time bomb for your laundry day.
- Do the “Seam Stress Test.” Don’t just stand there looking pretty in the mirror—grab the fabric at the side seams and give it a firm, steady tug. If you hear even a tiny pop or see the threads pulling apart, walk away. That seam allowance is non-existent.
- Check the weight, not just the label. A “heavyweight” tee can still be trash if the weave is loose. Hold it up to the light; if you can see through it easily despite the brand claiming it’s high-density, they’re lying to you about the GSM.
- Watch the shoulder slope. If the seam where the sleeve meets the body is sitting weirdly or pulling toward your neck, the pattern cutting was rushed. A well-constructed garment should follow your anatomy, not fight against it.
- Inspect the hem tension. Run your fingers along the bottom edge and the sleeve cuffs. If the stitching looks wavy or puckered, it means the tension on the sewing machine was off, and that garment is going to twist and warp after the first wash.
The Cheat Sheet for Not Getting Ripped Off
Stop obsessing over the silhouette in the mirror for five seconds and actually feel the weight; if the fabric feels thin or “crunchy,” no amount of cool branding will save it from losing its shape after one wash.
Flip the garment inside out immediately—I don’t care if it’s awkward—because the real story of a piece is in the seam allowance and whether those threads are actually holding together or just barely hanging on.
Ignore the “limited drop” hype and check the construction; if the seams are puckering or the grainline looks crooked, it’s not “distressed” or “oversized,” it’s just poorly made.
Frequently Asked Questions
How do I tell if a heavy-weight cotton is actually high-quality or just thick and stiff in a cheap way?
Look, there’s a massive difference between “heavyweight” and “heavy-handed.” If a shirt feels like you’re wearing a piece of cardboard, run. High-quality heavy cotton should have a certain drape; it needs to move with you, not just stand there like a statue. Give the fabric a squeeze—good GSM cotton feels dense and soft, almost buttery, whereas cheap, stiff blanks feel scratchy and “hollow.” If it doesn’t breathe, it’s just thick junk.
Is there a way to check if the stitching is going to unravel without actually ripping the garment apart in the store?
Honestly, don’t go full Hulk on the clothes, but you definitely shouldn’t just stare at them either. Grab the fabric on either side of a seam and give it a firm, steady tug. If you see the threads pulling apart or daylight peeking through the stitches, that’s a massive red flag—it means the tension is off or the stitch density is garbage. You want to see the seam hold tight without any weird bunching.
If I'm buying vintage or second-hand, what are the red flags for fabric fatigue that aren't just normal wear and tear?
Look, vintage has character, but there’s a line between “lived-in” and “falling apart.” Watch out for “pilling” that feels like sandpaper—that’s short fibers breaking down. Check the high-stress areas like the armpits or collar; if the fabric feels thin or translucent there, it’s lost its structural integrity. Most importantly, pull the seams. If they ripple or look wavy, the fabric has lost its memory and won’t hold its shape on you.

