
I was hunched over a heavy industrial Juki in my first shared studio space, surrounded by the smell of ozone and damp cotton, trying to figure out why a batch of heavy-weight blanks looked so off. I’d spent a small fortune on premium fabric, but the second I pulled them on, the silhouette was ruined. It wasn’t the weight or the weave; it was the shoulder seam placement. Most brands treat this like an afterthought, just a line to connect the sleeve to the body, but when that seam sits even half an inch too far toward your neck, the whole garment starts to look like a cheap, ill-fitting hand-me-down.
I’m not here to talk about what’s trending on TikTok or which “luxury” label is currently overcharging for a basic silhouette. I want to talk about the actual geometry of how a shirt hangs on a human body. I’m going to break down exactly how to judge shoulder seam placement so you can stop wasting money on pieces that lose their shape after a single wash. We’re going to look at the real mechanics of construction—from seam allowance to tension—so you can finally tell the difference between high-end craft and just really expensive marketing.
Why Pattern Making for Shoulders Dictates Your Brands Longevity
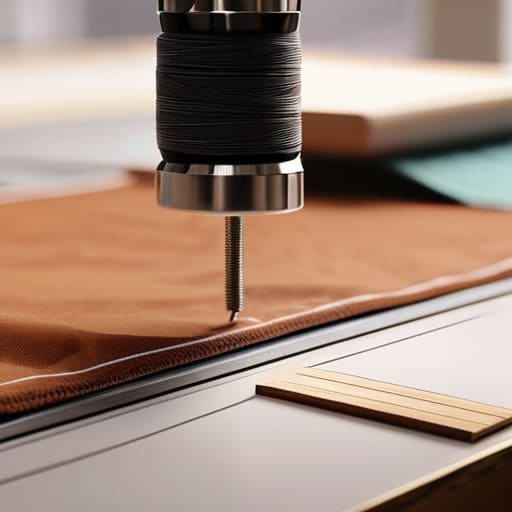
Look, I’ve seen so many “drop” culture brands launch with incredible graphics, only to have their customers stop wearing the pieces after a month because the silhouette looks trashed. That’s usually because they treated the shoulder like an afterthought. When you’re actually looking at pattern making for shoulders, you aren’t just drawing a line; you’re deciding how the entire weight of the fabric is going to hang off the body. If your math is off at the start, no amount of heavy-weight cotton is going to save the shape once it hits the wash cycle.
If you want a brand that actually lasts, you have to move past basic sizing and start obsessing over tailoring shoulder alignment. It’s the difference between a shirt that looks like a boxy rag and one that actually holds its structure. I’ve spent way too many hours doing a deep-dive clothing fit assessment on samples that looked great on a flat screen but fell apart on a real human frame. If the structural foundation is weak, your brand’s reputation will be too.
The Silent Relationship Between Seam Allowance and Garment Drape
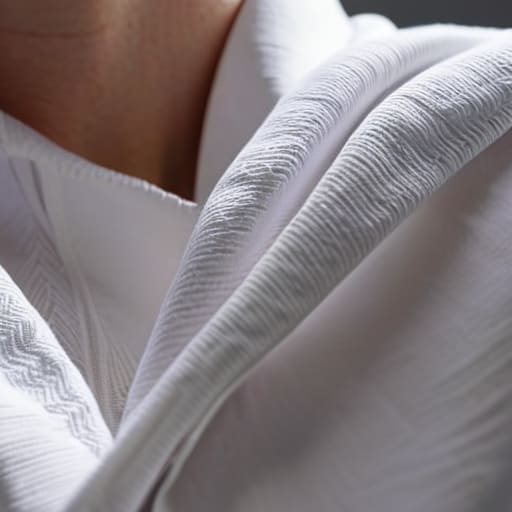
Most people think the way a shirt hangs on your body is just about the fabric weight, but they’re missing half the story. There is this invisible, direct link between your seam allowance and garment drape that most fast-fashion brands completely ignore to save a few cents on fabric. When you’re working with a tight, narrow allowance, you’re essentially forcing the fabric to behave in a way it wasn’t meant to. If the seam is too shallow, the tension pulls at the fabric, creating those annoying, tiny ripples around the collarbone that make a premium heavy cotton look cheap and distorted.
I’ve spent way too many hours doing clothing fit assessment on samples that looked great on a flat table but fell apart the second a human actually put them on. If you don’t account for how much “give” the seam provides, the garment loses its structural integrity. A slightly more generous allowance allows the fabric to settle naturally against the body, following the actual lines of the wearer rather than fighting against a rigid, pinched seam. It’s the difference between a shirt that looks intentional and one that just looks ill-fitting.
5 Ways to Stop Your Shoulders From Looking Like a Saggy Mess
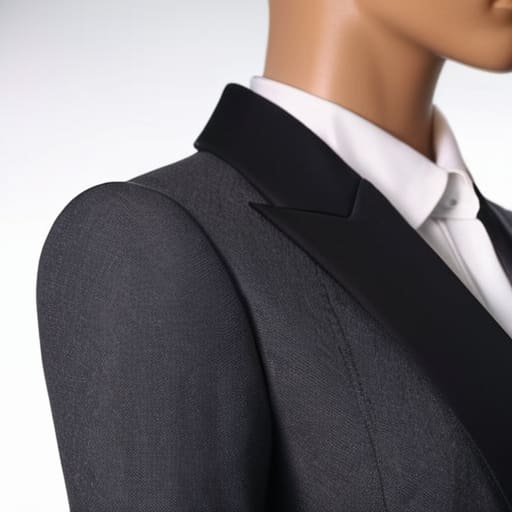
- Check your acromion process alignment. If that seam is sitting even half an inch too far down the arm, the whole shirt starts looking like a hand-me-down from a giant, and you’ll lose that structured silhouette that makes a high-end blank actually feel premium.
- Don’t skimp on the stay tape. I’ve seen so many “streetwear” brands skip taping the shoulder seam to save a few cents, but without it, that seam is going to stretch out and ripple the second someone pulls the shirt over their head.
- Watch your neck-to-shoulder ratio. A wide shoulder seam can mask a narrow neck, but if you’re trying to pull off a slim-fit aesthetic and your seams are drifting toward your delts, you’re basically just wearing a costume.
- Test the seam allowance depth. If you’re cutting your shoulder seams too thin to “save fabric,” you’re inviting the whole garment to warp. A bit of extra room in that allowance gives the seam enough structural integrity to hold its shape through a heavy wash cycle.
- Mind the armhole intersection. The point where your shoulder seam meets your sleeve cap is where most cheap garments fail; if that junction is wonky, the shoulder will pull and create these annoying tension lines that make even the best heavy GSM cotton look cheap.
The Bottom Line on Shoulders and Seams
Stop chasing trends and start obsessing over the technicals; a perfect print on a poorly constructed shoulder is just expensive landfill.
Proper seam allowance isn’t just about extra fabric—it’s the difference between a shirt that holds its shape and one that looks like a wet rag after one wash.
If you want to build a brand that actually lasts, prioritize the structural integrity of the garment over the hype of the marketing campaign.
Frequently Asked Questions
If I want that oversized, dropped-shoulder streetwear look, how much extra seam allowance should I actually be building into the pattern so it doesn't just look sloppy?
Honestly, don’t confuse seam allowance with ease. If you’re chasing that heavy streetwear silhouette, you don’t need massive seam allowances—you need a wider shoulder slope and a deeper armhole in the actual pattern. I usually stick to a standard 1cm or 1.5cm allowance for stability, but the “oversized” magic happens in how much extra fabric you’re dropping from the neck to the acromion. If you just add allowance, you’re just wasting expensive blanks.
How can I tell if a brand is cutting corners on shoulder construction just by looking at how the sleeve hangs?
Look at the “point” of the shoulder. If the seam is sitting too far inward toward your neck, the sleeve is going to pull awkwardly, creating these weird, tension-filled ripples across your chest. But if it’s drooping way past your natural shoulder line without any structured reinforcement, they’ve likely used a cheap, flimsy interlining to save a few cents. A good sleeve should drop clean, not look like it’s fighting your actual body shape.
Is it actually worth the extra cost to use reinforced stitching on the shoulder seams, or is that just something manufacturers say to hike up the wholesale price?
Look, I’ve seen enough “premium” blanks fall apart at the collar to know when I’m being played. If they’re just adding a fancy label but skipping the tape, it’s a scam. But actual shoulder-to-shoulder reinforcement? That’s not hype; it’s structural integrity. Without it, gravity and a heavy wash cycle will turn your shoulder line into a wavy mess. It costs more upfront, but it’s the difference between a garment that lasts years and one that’s landfill-bound in months.

