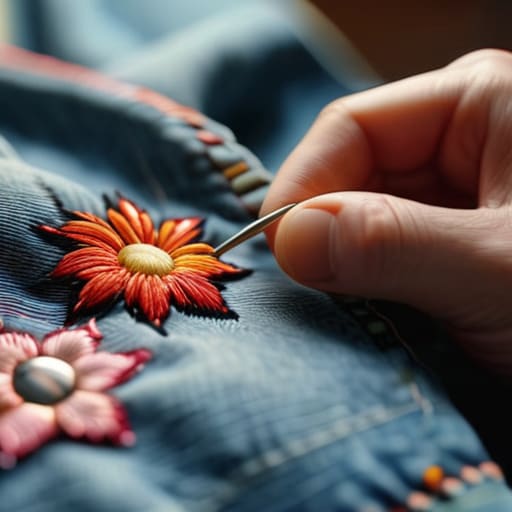
I still remember the first time I tried customising my own clothes back in my shared studio days; I had this massive, expensive vision of what a “designer” piece looked like, but all I ended up with was a pile of distorted, lumpy cotton that felt like sandpaper. I spent way too much money on “premium” blanks that turned out to be nothing more than thin, glorified tissue paper once they hit the screen printer. Most people will tell you that you need the latest tech or a massive budget to make something unique, but honestly? That’s mostly just marketing fluff designed to separate you from your cash.
I’m not here to feed you aesthetic Pinterest boards or tell you which “vibe” is trending this week. Instead, I’m going to pull back the curtain on the actual mechanics of customising your own clothes so you don’t end up with a wardrobe of expensive mistakes. We’re going to talk about the stuff that actually matters—like why your choice of GSM determines if a shirt survives three washes or three days—and how to master the real craft of construction.
Upcycling Old Garments Without Sacrificing Structural Integrity
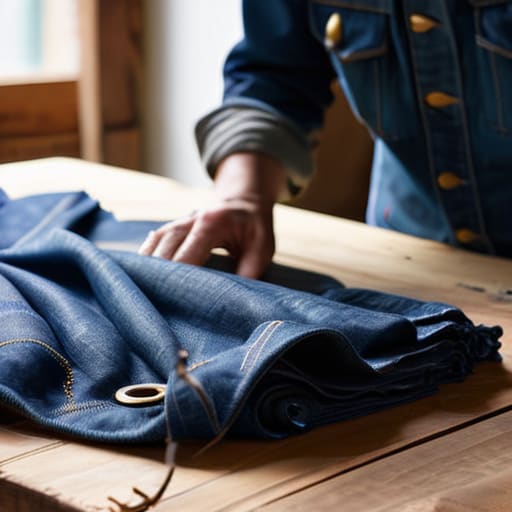
The biggest mistake I see when people start upcycling old garments is treating them like a scrap bin rather than a foundation. You can’t just slap a patch on a shirt that’s already lost its shape; if the fabric is paper-thin or the weave is shot, your “new” piece is going to sag and look limp within two washes. Before you even touch a needle, turn the garment inside out and check the seams. If the thread is fraying or the tension is gone, you aren’t customizing—you’re just masking a corpse. I always check the weight of the fabric first; you want something with enough structural heft to actually support whatever you’re adding to it.
If the base is solid, that’s when you get into the fun stuff, but keep your tools in mind. If you’re diving into clothing repair and tailoring, don’t just sew over a hole; you need to reinforce the area with an interfacing or a backing fabric first. If you don’t, the weight of your new stitches will just tear through the old, weakened fibers. It’s about building strength into the design, not just covering up mistakes.
Textile Embellishment Tools Every Serious Maker Needs
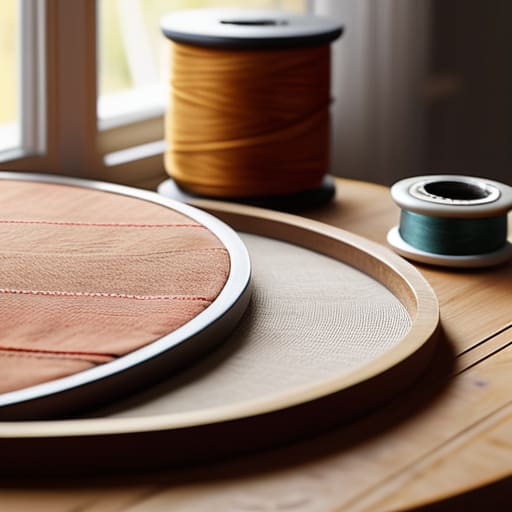
Look, you don’t need a professional studio setup to start making things, but you also shouldn’t be trying to do high-level work with a dull pair of kitchen scissors and a cheap sewing kit. If you’re serious about textile embellishment tools, start with the basics that actually last. I’m talking about a decent set of embroidery hoops to keep your tension even—because nothing ruins a piece faster than puckered fabric—and a variety of needle sizes. If you’re diving into embroidery techniques for beginners, having the right needle weight for your specific fabric is the difference between a clean stitch and a massive hole you’ll regret later.
I also highly recommend investing in high-quality fabric pens and specialized acrylics if you’re looking into fabric painting ideas. Most of the cheap stuff you find at big-box craft stores will crack and flake off after a single wash, which completely defeats the purpose of making something meant to last. If you’re working on heavier pieces, maybe some sandpaper or a pumice stone for denim distressing methods, just make sure you’re controlled about it. You want intentional texture, not just a pile of shredded threads.
Stop Guessing and Start Measuring: 5 Ways to Not Ruin Your Clothes
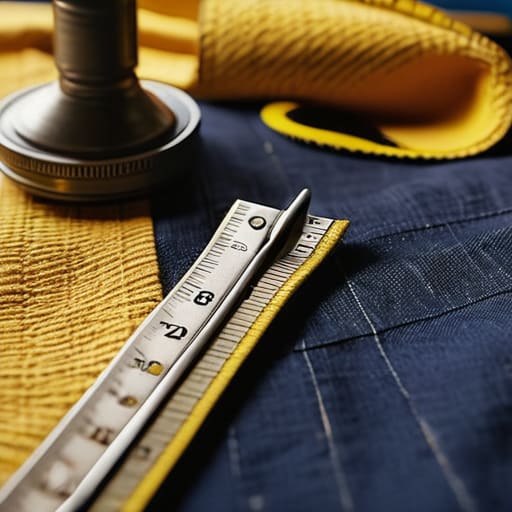
- Check your fabric weight before you commit. If you’re trying to sew a heavy embroidery design onto a lightweight, low-GSM jersey, the fabric is going to sag and pucker like crazy. Match the weight of your embellishment to the weight of the base garment, or you’ll end up with a distorted mess.
- Don’t ignore the seam allowance. When you’re adding panels or resizing a piece, give yourself way more breathing room than you think you need. If you cut it too close to the edge, one tiny slip with the shears and your entire project is unravellable.
- Test your dyes on the inside first. I know, it sounds tedious, but I’ve seen too many people ruin a perfectly good vintage tee because they didn’t realize the dye would bleed or turn the stitching a weird shade of muddy grey. Flip it inside out and test a tiny, hidden patch first.
- Learn the difference between a knit and a woven. You can’t treat them the same. If you try to use a standard straight stitch on a stretchy knit fabric without a zigzag or a stretch stitch, the thread is going to snap the second you actually try to wear the garment.
- Invest in decent thread, not the bargain bin stuff. Cheap thread has inconsistent thickness and it frays like crazy under a sewing machine. It’s the one place where spending an extra few bucks actually saves you from a total headache later on.
The Real Cost of Cutting Corners
Stop chasing the aesthetic and start checking the specs; if you’re upcycling, you need to make sure the base fabric actually has the weight (GSM) to support whatever heavy embroidery or screen printing you’re planning to throw at it.
Don’t just slap a patch on a weak seam and call it a day—if the structural integrity isn’t there, your “custom” piece is just going to fall apart after two washes, which is exactly the kind of waste I’m trying to avoid.
Invest in the right tools for the job, because using a cheap needle on a heavy-duty blank is a fast track to ruined fabric and a massive headache that you definitely don’t need.
Frequently Asked Questions
How do I figure out if a thrifted piece is actually worth the effort, or if the fabric is just going to fall apart the second I try to sew it?
Honestly, the “pinch and pull” test is your best friend here. Grab a handful of the fabric and squeeze it hard—if it stays crumpled like a discarded receipt, the fibers are shot. Also, check the light. Hold it up; if you see uneven gaps in the weave or thinning patches, that garment is a ticking time bomb. If it feels like paper or loses its shape the second you stretch it, leave it on the rack.
If I'm adding heavy embroidery or patches to a lightweight tee, how do I stop the fabric from bunching up and looking like a mess?
Look, this is exactly why I hate thin, cheap blanks. If you try to slap heavy embroidery on a lightweight jersey, it’s going to pucker and look like a crumpled mess. You need to stabilize it. Use a heavy-duty stabilizer or even a piece of lightweight fusible interfacing on the back before you start stitching. It gives the fabric enough backbone to actually hold the weight of the thread without collapsing.
Is there a way to customize my clothes without using those cheap iron-on transfers that crack and peel after two washes?
Honestly, those cheap iron-ons are the bane of my existence. They look okay for a week, then they start cracking and peeling like a bad sunburn. If you want something that actually lasts, look into screen printing or even direct-to-garment (DTG) if you’re doing complex designs. If you’re DIYing, try sewing on high-quality patches or experimenting with embroidery. It takes more effort, but your clothes won’t look like literal garbage after two washes.

