I spent three years in a cramped shared studio thinking that if a garment didn’t fit, I just needed to find a “premium” brand with a higher price tag. I was wrong. I remember staring at a $90 heavy-weight tee that looked incredible on a mannequin, only to pull it over my own frame and watch the entire neckline migrate toward my throat because the shoulder slope was nonexistent. It turns out, most of what the industry calls “oversized” is actually just poorly drafted, and if you’re dealing with broad shoulders and fit issues, you aren’t looking for a trend—you’re looking for properly engineered seam placement.
I’m not here to sell you on a new silhouette or tell you which influencer is wearing what this week. Instead, I want to pull back the curtain on the actual construction metrics that matter. We’re going to talk about shoulder width, armhole depth, and why a high GSM won’t save a shirt that’s fundamentally broken at the yoke. I promise to give you the technical reality of how to spot a garment that actually respects your proportions, so you can stop wasting money on blanks that fail the moment you put them on.
Why Incorrect Shoulder Seam Placement Destroys Your Silhouette
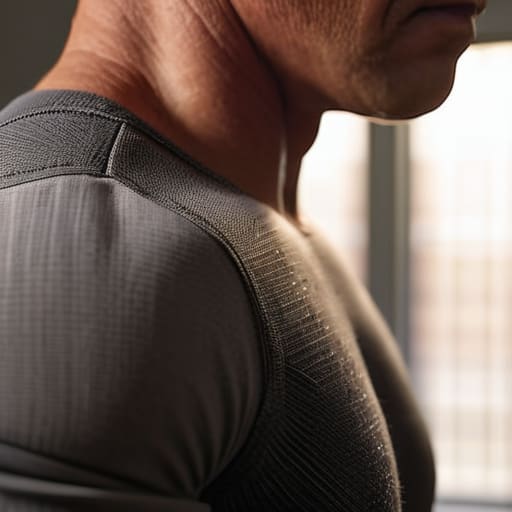
If the shoulder seam is sitting even an inch too far inward toward your neck, you aren’t just “wearing a small shirt”—you’re actively fighting the fabric. When that seam creeps up toward your collarbone, it creates this awkward, bunching tension that makes the whole garment look like it’s shrinking in real-time. Instead of a clean line, you get those tiny, annoying stress wrinkles radiating from the armpit. For anyone looking into clothing silhouettes for athletic builds, this is the quickest way to make a high-quality heavy cotton tee look like a cheap, ill-fitting undershirt.
It’s all about where that seam actually lands. A well-constructed piece should let the seam sit right at the edge of your natural shoulder bone. If it drops too far down the arm, you look sloppy; if it’s too high, you look constricted. I’ve seen so many “premium” blanks ruin a great print because the shoulder seam placement was so narrow that the tension from a wider frame caused the graphic to warp or crack. You want the fabric to drape, not to struggle for its life against your frame.
Avoiding Garment Tightness in the Upper Body
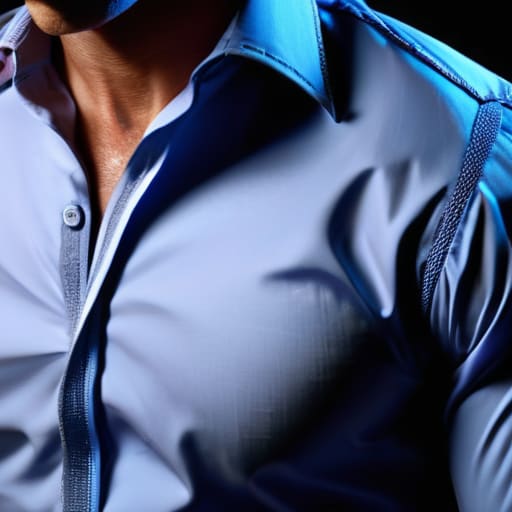
If you’ve ever pulled on a shirt only to feel like you’re being squeezed by a vice from the armpits up, you’ve experienced the nightmare of poor pattern grading. When brands design for a “standard” medium, they often ignore the reality of clothing silhouettes for athletic builds. They basically assume everyone has the same torso depth, which is just lazy manufacturing. For those of us with more muscle or bone density in the upper frame, that lack of room translates to fabric pulling across the chest and bunching awkwardly at the armscye.
To actually fix this, you need to look past the size tag and start checking the actual construction. If you’re trying to master avoiding garment tightness in the upper body, pay attention to the armhole depth. A high, tight armhole might look sleek on a mannequin, but it’ll restrict your movement and make the whole garment feel like a cage. I always flip my pieces inside out to check if there’s enough ease in the chest and upper back; if the fabric is straining against the seams before you even move, it’s a lost cause.
Stop Fighting Your Own Frame: 5 Ways to Fix the Fit
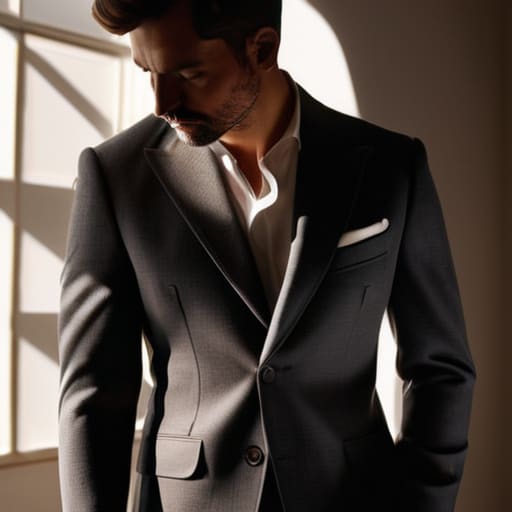
- Check the shoulder seam drop. If you have broad shoulders and that seam is sitting right on the edge of your deltoid, it’s going to look like you’re wearing a shirt two sizes too small even if the rest of it fits fine. Look for a slightly dropped seam or a wider shoulder block to give yourself some breathing room.
- Stop obsessing over “slim fit” blanks. Most of those mass-produced, slim-cut tees are designed for a very specific, narrow frame. If you’re broad, you’re going to fight that fabric all day. Stick to heavy-weight, boxy cuts that prioritize width over tapering.
- Watch the armhole depth. A high, tight armhole is a recipe for disaster if you have a lot of muscle or bone structure in your upper body. If the armhole is too shallow, every time you lift your arm, the whole shirt is going to ride up and expose your midriff.
- Prioritize GSM over “stretch.” People think adding elastane will help a tight shirt fit better, but it usually just makes the garment lose its shape faster. I’d rather have a heavy, 300 GSM cotton that has enough structural integrity to hang off my shoulders than a thin, stretchy blend that clings to every curve.
- Inspect the neck ribbing. If the shoulder width is pulling the fabric tight across your chest, it’s going to put massive tension on the collar. If you see the neck ribbing starting to warp or flatten out, that’s a sign the garment wasn’t built to accommodate your frame.
The Cheat Sheet for Better Shoulder Fit
Stop buying “standard fit” blanks if you have any width to your frame; if the shoulder seam is sitting too high up toward your neck, the fabric is going to bunch and pull across your chest no matter how much you stretch it.
Check the seam allowance and construction before you commit—a narrow, cheap shoulder cut is a death sentence for a clean silhouette, especially if you’re printing heavy graphics that need a stable, flat surface.
Prioritize a slightly dropped shoulder or a wider yoke if you want to avoid that “pinched” look, because once a garment is too tight in the upper body, you can’t fix the drape with styling.
Frequently Asked Questions
How can I tell if a heavy GSM blank is actually high quality or just thick enough to hide shitty construction?
Turn it inside out. Seriously. If a heavy blank is just thick to hide bad work, the interior will look like a mess of loose threads, uneven tension, and “bird-nesting” from a rushed serger. I look for clean, tight overlock stitching and consistent seam allowances. If the fabric is 300 GSM but the seams are puckering or the thread looks thin and fuzzy, that weight is just a mask for a cheap, poorly constructed garment.
Is it worth paying extra for a dropped shoulder seam, or does that just make the whole garment look sloppy?
It’s not about the price tag; it’s about the intention. A dropped shoulder isn’t inherently “sloppy,” but if you’re using a cheap, flimsy blank, that extra fabric just hangs there like dead weight. When you pay for a proper dropped seam, you’re usually paying for the weight—the GSM—needed to make that drape look structural rather than sad. If the fabric has enough body, it looks intentional. If it’s thin? It just looks like a bad fit.
If I'm printing my own designs, how much extra room do I need to leave in the chest so the print doesn't crack when the fabric pulls across my shoulders?
Look, if your design is stretching over the peak of your chest, you’re basically asking for a cracked print by the third wash. I usually tell people to aim for at least an extra two inches of “ease” in the chest measurement compared to their actual body. If you’re printing a heavy plastisol, you need that extra fabric slack so the design sits on a flat plane rather than acting like a rubber band over your shoulders.

