I still remember the smell of that first shared studio—a thick, cloying mix of solvent and burnt cotton that stayed in my hair for days. I was so convinced that if I just cranked the heat to the max, I was doing it right. I ended up with a pile of expensive, heavy-weight blanks that looked great for exactly twenty minutes before the prints started cracking like dry mud. It’s a rite of passage, sure, but it’s also a massive waste of money. Most people will tell you that you need a five-figure setup to get it right, but honestly, curing ink properly isn’t about how much gear you own; it’s about understanding how heat actually moves through the fibers.
I’m not here to sell you on some “revolutionary” new curing method or a piece of equipment that’ll bankrupt your small run. I just want to talk about the actual physics of what’s happening on your platens. I’m going to break down the difference between what a manual says and what actually happens when you’re mid-run, so you can stop throwing your profit margins into the trash. We’re going to look at temperature, dwell time, and why consistency is the only thing that actually matters when you’re trying to make clothes that last.
Why Uv Curing vs Thermal Curing Changes Your Bottom Line
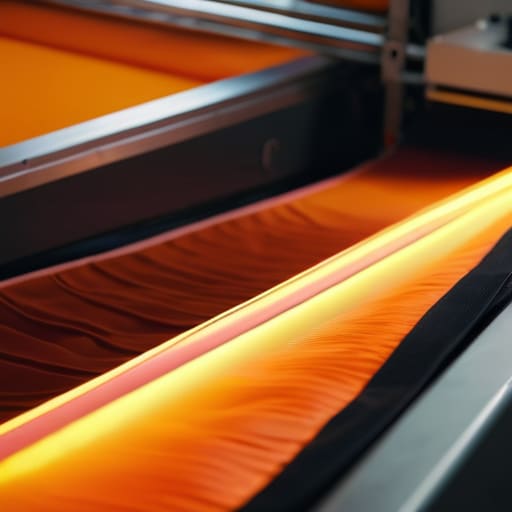
Look, choosing between uv curing vs thermal curing isn’t just some technical debate for the textbook; it’s a decision that dictates whether you’re running a profitable studio or just a very expensive hobby. If you’re working with plastisol, you’re tethered to the heat. You have to obsess over your conveyor dryer settings for textiles because if those heaters aren’t hitting the sweet spot, you’re essentially just baking the fabric without actually setting the pigment. One minute too little, and you’re dealing with returns; one minute too much, and you’ve scorched a high-quality blank that cost you way too much to waste.
UV curing is a different beast entirely. It’s faster, sure, but it requires a much higher upfront investment in equipment. However, the speed at which it locks everything down can drastically improve your throughput. The real kicker is the long-term cost of quality control. I’ve spent way too many hours doing manual ink adhesion testing methods—basically just trying to rip prints off shirts with my bare hands—only to realize that a cheaper curing method was actually costing me more in wasted inventory than the fancy UV setup would have.
Preventing Ink Cracking and Peeling Before It Costs You Clients
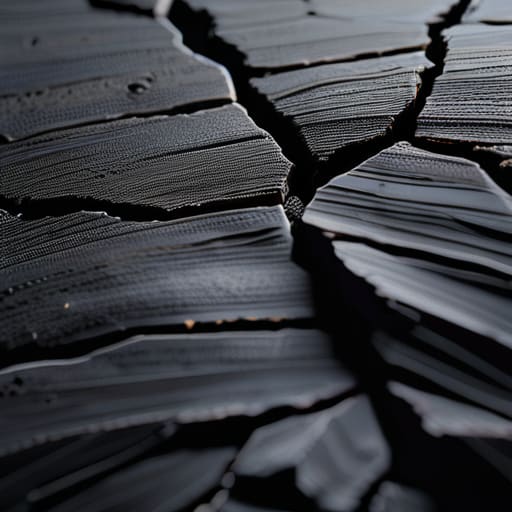
Look, nothing kills a brand’s reputation faster than a customer pulling a shirt out of the wash only to find the design looks like a dry lakebed. When you see those tiny fissures spreading across a graphic, that’s not just “wear and tear”—it’s a failure in your process. Most of the time, you’re dealing with poor ink adhesion testing methods or, more likely, you’re just rushing the clock. If you haven’t dialed in your ink cure time and heat exposure, you’re basically handing your customers a ticking time bomb of frustration.
It’s easy to get lazy and assume that if the ink feels dry to the touch, you’re golden. But “dry” and “cured” are two very different things in a production environment. You need to be obsessive about your conveyor dryer settings for textiles because even a five-degree dip can mean the difference between a print that lasts a decade and one that flakes off in a week. I’ve seen so many small labels lose their entire customer base because they prioritized speed over the actual chemistry of the ink. Don’t let your hard work turn into expensive lint.
5 Ways You’re Probably Fucking Up Your Curing Process
- Get a real infrared thermometer. Stop guessing based on what the little digital screen on your dryer says; those things are notorious for lying to you, and if you aren’t hitting the actual target temp on the ink itself, you’re just making expensive, unwearable rags.
- Watch your belt speed like a hawk. If you’re cranking the heat but moving the conveyor too fast, you’re just warming the surface while the core stays raw, which is why your prints look fine until the first wash and then suddenly start flaking off like dead skin.
- Don’t skimp on the test prints. I know it feels like a waste of a good blank, but running a “stretch test” on a scrap piece of the exact same fabric you’re printing on is the only way to know if that ink is actually fused or just sitting on top.
- Mind the “cold spots” in your dryer. Not every inch of a conveyor belt is heating equally, so if you aren’t rotating your garments or checking the temperature at the very end of the run, you’re going to end up with half-cured ink that’ll crack the second a customer puts it on.
- Stop treating every ink like it’s the same. A heavy plastisol needs a completely different heat profile than a water-based print, and if you try to use a “one size fits all” setting, you’re either going to scorch the fibers or end up with a print that feels like sandpaper.
The TL;DR on not ruining your blanks
If you aren’t hitting the specific temperature required for your ink type, you aren’t actually “printing”—you’re just laying wet pigment on a shirt that’s going to peel the second a customer tries to wash it.
Stop choosing your curing method based on what’s “trendy” or cheap; pick the one that actually matches your ink’s chemistry, or you’ll spend more on replacement blanks than you ever saved on equipment.
Always, always, always perform a stretch test on a scrap piece of fabric before you commit a whole batch of good shirts to the press; it’s better to catch a bad cure on a rag than on a fifty-piece order.
Frequently Asked Questions
My ink looks fine right after printing, but how do I actually test if it's cured enough before I ship a whole batch?
Look, I’ve been there—everything looks glossy and perfect right off the press, so you want to ship it and call it a day. Don’t. Grab a scrap piece of the same blank you’re using and run a stretch test. If the ink cracks or shows white gaps when you pull it taut, it’s not cured. If you’re feeling extra paranoid, try the tape test: press some heavy-duty tape onto the print and rip it off fast. If ink comes up, you’re not ready to ship.
Is it worth upgrading to a conveyor dryer, or can I actually get decent results with a heat press if I'm just starting out?
Look, if you’re just printing five shirts a week in your bedroom, a heat press is fine—just don’t call it “production.” But if you’re serious about scaling, a conveyor dryer is a non-negotiable. A heat press gives you spotty, uneven heat that’ll leave your ink feeling like plastic or, worse, peeling off after two washes. If you want consistent GSM feel and actual durability, you need that constant, moving heat. Don’t cheap out on the cure.
How much does the actual fabric composition—like a heavy cotton vs. a poly-blend—mess with my curing times?
It’s a massive factor. If you’re running heavy 100% cotton, you’ve got a heat sink on your hands; that thick fabric sucks up energy, so you usually need a longer soak to ensure the ink actually bonds with the fibers. But the second you hit a poly-blend? Careful. Polyester is basically plastic. If you treat it like heavy cotton, you’ll scorch the fibers or cause dye migration, turning your crisp print into a blurry, bleeding mess.

