I still remember the first time I tried to scale up my little shirt project; I was sitting on a floor covered in plastic scraps, staring at a pile of “premium” tees that felt more like tissue paper than actual fabric. I’d spent a small fortune on what I thought were high-end direct to film transfers, only to watch them crack and peel off the second the garment hit the wash. It’s infuriating because everyone in the industry tries to sell you on the “magic” of the technology without ever mentioning that the physics of the fabric actually matters.
I’m not here to sell you on some shiny new trend or a miracle printer that fixes everything. Instead, I want to pull back the curtain on what actually works when you’re trying to build something that lasts. I’m going to walk you through the technical side of things—the stuff like heat press pressure, dwell time, and why your blank’s fiber content is the real deciding factor—so you can stop throwing money at bad setups and start producing pieces that actually feel like craft.
The Dtf Printing Process Explained for Serious Makers
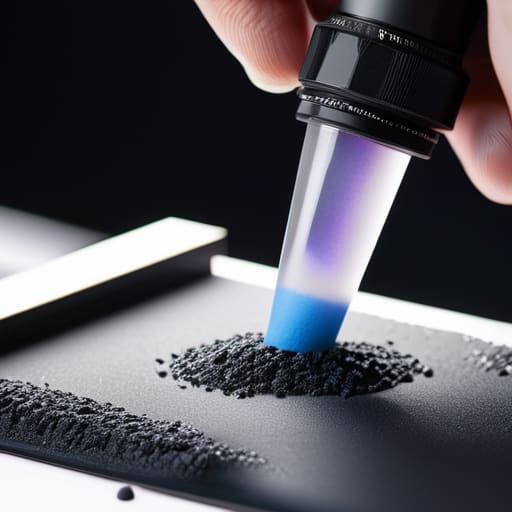
Look, I’m not here to give you a textbook definition. If you’re actually trying to build a brand and not just mess around with a hobby kit, you need to understand the mechanics of why this works. Essentially, the dtf printing process explained comes down to a sandwich of ink, adhesive, and film. You’re printing your design onto a specialized carrier film, then hitting it with a fine layer of TPU powder. This powder is the unsung hero; it’s what dictates the dtf film adhesive properties and determines whether your print stays bonded to the fibers or starts cracking after three washes.
The real magic—and the real headache—happens when that sandwich meets the heat press. It’s not just about pressing it down and hoping for the best. You have to nail your heat press settings for dtf to ensure the adhesive fully melts into the textile without scorching the garment. If you’re too cool, the print peels; if you’re too hot, you’ve just ruined a perfectly good blank. It’s a precise balance of temperature and pressure that separates the professional makers from the people just playing with printers.
Why Dtf Film Adhesive Properties Dictate Your Profit Margins
Look, I’ve seen too many small-run producers treat the film like it’s just a carrier, but the reality is that dtf film adhesive properties are basically the silent killer of your margins. If you’re buying the cheapest film you can find just to save a few cents upfront, you’re likely setting yourself up for a nightmare. Bad adhesive doesn’t just mean the print looks wonky; it means the bond between the ink and the fibers is weak. You’ll end up with customers coming back a week later because their graphic is cracking or peeling, and suddenly your “profit” is being swallowed by refunds and bad reviews.
It’s also a massive headache during production. If the adhesive isn’t consistent, your heat press settings for dtf become a moving target. You’ll spend half your afternoon troubleshooting why one shirt looks crisp and the next one feels like it’s barely clinging to the surface. I’d much rather invest in a decent film and the best powder for dtf printing from the start. It’s the difference between a garment that actually lasts and one that feels like disposable fast fashion.
5 ways to stop sabotaging your DTF prints
- Stop treating every garment like it’s the same. If you’re slapping a heavy DTF transfer onto a flimsy, low-GSM jersey, it’s going to feel like a literal piece of cardboard glued to your chest. Match your transfer size and weight to the fabric density so the garment actually drapes like it’s supposed to.
- Check your heat press temperature with an actual thermometer, not just by “vibing” with the machine’s digital display. If you’re running too hot, you’ll scorch the adhesive and get that nasty, brittle feeling; too cold, and the transfer will start peeling off after the first wash, which is just a waste of my time and your money.
- Don’t skip the second press. I see people heat press the transfer, call it a day, and wonder why it feels plasticky. After you peel the film, hit it again with a protective sheet for about 5-10 seconds. This actually sinks the adhesive into the fibers instead of just letting it sit on top like a sticker.
- Watch your powder coverage like a hawk. If you’re seeing white, crusty patches around the edges of your print, you’re over-powdering. It’s not just an aesthetic fail; excess powder creates a thick, uneven layer that makes the print feel cheap and prone to cracking. Shake off the excess like your margins depend on it—because they do.
- Test your washes before you commit to a full production run. I’ve seen so many “pro” setups fail because they didn’t realize their specific film/powder combo didn’t play nice with certain fabric blends. Wash a sample five times in a heavy cycle; if it cracks or fades, throw that process out and start over.
The bottom line for your production
Stop chasing the lowest price per print; if you buy cheap film with shitty adhesive, you’re just paying for wasted ink and ruined blanks.
Your margins live or die by the GSM of your fabric—DTF transfers need a stable, high-quality base to actually sit right and stay there.
Don’t let “trending” tech distract you from the basics—mastering your film quality and fabric weight is what actually separates a real brand from a hobbyist.
Frequently Asked Questions
How do I actually tell if a DTF transfer is going to crack after three washes versus something that's actually built to last?
Honestly, the “stretch test” is your best friend here. Take a piece of the printed fabric and pull it hard. If the print cracks or shows white gaps immediately, run. That’s a sign the ink isn’t properly emulsified with the adhesive. You want a transfer that moves with the fibers, not sits on top of them like a plastic sticker. If it feels stiff or “crunchy” right out of the heat press, it’s going to flake by wash three.
Can I use these transfers on heavy-duty vintage-style blanks, or am I going to ruin the texture of a high-GSM shirt?
You absolutely can, but you have to be smart about it. If you’re working with a heavy, high-GSM vintage blank, you don’t want a massive, thick plastic slab sitting on top of that texture. It’ll feel weird and eventually crack. My advice? Use a finer mesh or a more flexible film. You want the transfer to move with the heavy weave of the fabric, not fight against it like a piece of cardboard.
Is it worth investing in a professional heat press, or can I actually get a decent bond using a standard home setup?
Look, I get the temptation to just use a home iron or a cheap clamshell from Amazon, but please don’t do that to your hard work. A home setup might “stick” temporarily, but it lacks the even, heavy-duty pressure needed to actually fuse the adhesive into the fibers. If you aren’t hitting consistent PSI, that DTF print is going to crack or peel after three washes. Get a real heat press; your margins (and your sanity) depend on it.

