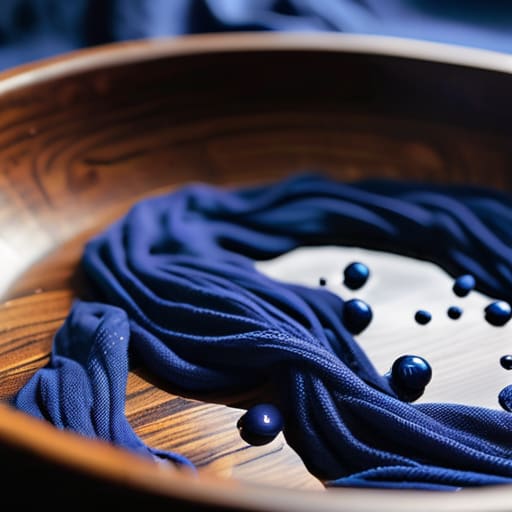
I was standing in my studio last Tuesday, staring at a pile of “vintage-inspired” hoodies I’d bought for a small run, feeling absolutely gutted. I had tried dyeing clothes at home to give them that perfect, lived-in wash, but instead of a premium aesthetic, I ended up with a blotchy, streaky mess that looked like a high school art project gone wrong. Most people will tell you that you just need a colorful tub and some pigment, but they’re lying to you. The truth is, if you don’t understand the difference between a natural cotton fiber and a cheap polyester blend, you aren’t “upcycling”—you’re just ruining expensive fabric.
I’m not here to sell you on some magical DIY aesthetic or tell you that any old rag will work. In this guide, I’m pulling back the curtain on the actual chemistry of it all. We’re going to talk about why fiber content is your absolute north star, how to manage heat so you don’t shrink your hard work, and how to actually achieve a consistent saturation that doesn’t wash out after one cycle. Forget the hype; let’s get into the real mechanics of making color stick.
Guide Overview
Tools & Supplies
- Large stainless steel pot or plastic bucket for mixing
- Measuring spoons for precise dye ratios
- Stirring stick or long spoon to prevent spotting
- Fabric dye (liquid or powder) 1-2 packets
- Salt or vinegar to act as a fixative
- Rubber gloves to prevent skin staining
- Water (hot or cold depending on dye type)
Step-by-Step Instructions
- 1. First things first, you need to strip the garment down to its actual fiber content. Check that tiny, annoying little care tag inside the side seam. If it’s a 100% cotton, linen, or silk piece, you’re golden. If it’s a polyester blend, you’re going to need specialized synthetic dyes, because regular fiber-reactive dye will just slide right off a plastic-heavy fabric like water off a duck’s back.
- 2. Give the piece a serious wash before you even think about touching the dye. I’m not talking about a quick rinse; I mean a full cycle with a decent detergent to get rid of any factory finishes or residual oils. These coatings are designed to keep clothes looking crisp on the shelf, but they act like a shield that prevents the dye from actually penetrating the fibers.
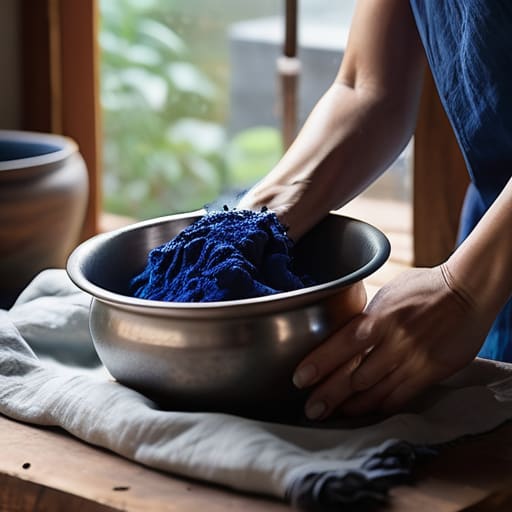
- 3. Set up your station in a place you don’t mind getting messy—ideally a stainless steel sink or a large plastic tub. Avoid your kitchen sink if you actually care about your dishes. You’ll need hot water, plenty of salt (for cotton/linen) or vinegar (for silk/wool) to act as a mordant, and your dye. Mix everything thoroughly until there are absolutely no undissolved granules left; seeing tiny dark specks on your finished shirt is the fastest way to realize you messed up.
- 4. Submerge the garment and get aggressive with it. This isn’t a “set it and forget it” situation. You need to stir the piece constantly for at least the first twenty minutes to ensure the color doesn’t pool unevenly. If you just drop a shirt in and walk away to scroll on your phone, you’re going to end up with a blotchy, amateur-looking mess that looks more like a failed science experiment than a piece of clothing.
- 5. Once the timer is up, rinse the garment in water that is progressively cooler. Start with warm and gradually work your way down to cold. If you jump straight from boiling dye water to freezing tap water, you can actually shock the fibers and cause them to lose their shape or texture. Keep rinsing until the water runs mostly clear, which tells you the excess pigment has finally been washed away.
- 6. Finally, handle the drying process with some respect. Don’t just toss a freshly dyed, heavy-wet garment into a high-heat dryer immediately. Lay it flat on a clean towel or hang it in the shade. Direct sunlight is a killer for fresh dye and can cause premature fading before you’ve even had a chance to wear the thing once.
Fabric Dye Types for Natural Fibers Why Composition Dictates Success
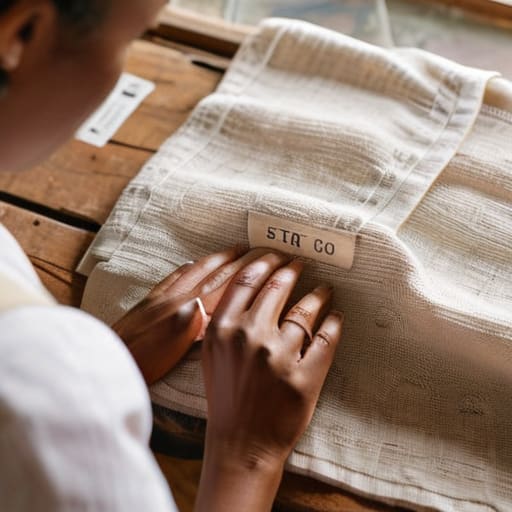
Look, before you even think about touching a bottle of pigment, you need to check the care label. I cannot stress this enough. I’ve seen so many people ruin a perfectly good vintage find because they didn’t realize it was a poly-blend. When you’re looking into fabric dye types for natural fibers, you have to be honest about what you’re working with. If it’s 100% cotton, linen, or silk, you’re golden—those fibers are thirsty and will soak up the color beautifully. But if that shirt is even 30% polyester, the dye is just going to slide right off, leaving you with a muddy, uneven mess that looks more like a mistake than a choice.
If you’re trying to figure out how to dye cotton clothing effectively, remember that the fiber is the foundation. A high-quality, heavy-weight cotton will hold onto that pigment much better than a thin, cheap blend. If you’re aiming for deep, saturated tones, don’t bother with the cheap supermarket kits; they lack the chemical strength to penetrate dense weaves. Treat the fiber with respect, and it’ll actually hold the color long after the first wash.
Stovetop vs Bucket Dyeing Methods Choosing Your Production Standard
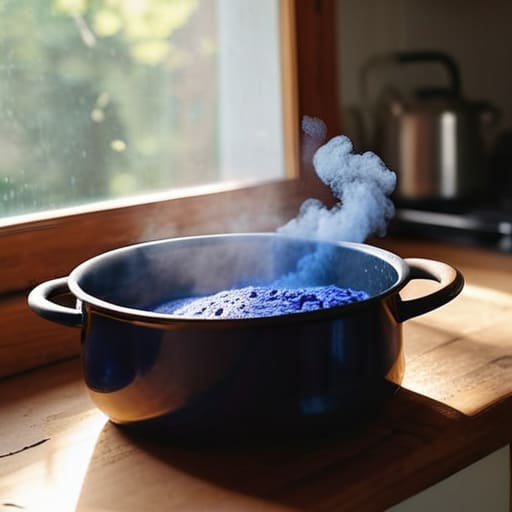
Look, if you’re serious about the result, you need to decide if you’re just playing around or actually trying to achieve a professional finish. When comparing stovetop vs bucket dyeing methods, the temperature is everything. If you’re using a bucket, you’re basically hoping for a slow, cold soak, which is fine for some DIY tie dye techniques, but it’s rarely going to give you that deep, saturated pigment. I’ve seen too many people get frustrated because their “new” shirt looks like a faded wash because they didn’t keep the heat consistent.
If you want real depth—especially when learning how to dye cotton clothing—the stovetop is your best friend. Keeping the water at a consistent simmer allows the dye to actually penetrate the fibers rather than just sitting on the surface. This is one of my biggest clothing dye color fastness tips: heat is the engine that drives the dye into the core of the thread. If you skip the heat, you’re essentially just tinting the water, and you’ll be watching that color bleed out in the laundry after the very first wash.
Don't Let Your DIY Project Turn Into a Pile of Raggedy Scrap
- Check your tags twice before you even touch the dye. If you’re trying to force a fiber-reactive dye onto a 50/50 poly-cotton blend, you aren’t going to get a solid color; you’re going to get a muddy, heathered mess that looks like an accident rather than a choice.
- Salt and vinegar aren’t just for cooking, and they aren’t magic. Use salt to help the dye bond with cotton and cellulose, and use vinegar for protein fibers like silk or wool. If you skip the mordant or the fixative, you’re basically just making a very expensive, very temporary stain.
- Watch your temperature like a hawk. If you’re doing a stovetop method, “simmer” does not mean “rolling boil.” If you crank the heat too high, you risk cooking the fibers and making the fabric feel stiff and crunchy instead of soft.
- Rinse until the water runs clear, not just until you’re tired. I’ve seen so many people stop rinsing too early, only to have that excess dye bleed all over their skin or their washing machine a week later. If the water is still tinted, you aren’t done.
- Treat your dyed pieces like they’re fragile for the first few washes. Even with a perfect fix, there’s going to be some residual pigment. Wash them alone in cold water so you don’t end up accidentally turning your favorite white socks a sickly shade of lilac.
The Real Cost of Cutting Corners
Stop wasting your time and your expensive dyes on cheap polyester blends; if the fabric isn’t a natural fiber like cotton, linen, or silk, you’re essentially just painting the surface and it’ll wash out by next week.
Respect the GSM of your garment—a heavy, high-quality blank will soak up pigment and hold a deep, even color much better than a thin, flimsy shirt that ends up looking splotchy and uneven.
Choose your method based on the result you actually want, not what’s easiest; if you want professional, saturated color that doesn’t look like a DIY disaster, you need the consistent heat of a stovetop rather than a quick bucket soak.
Frequently Asked Questions
What happens if I try to dye a garment that's a blend, like a 50/50 cotton-poly mix?
Honestly? You’re probably going to end up with a “heathered” or faded look, and not always in the cool, vintage way. Since standard dyes only grab onto the natural fibers, the polyester stays its original color. You’ll get a mottled, streaky effect where the dye hits the cotton but ignores the poly. If you want a solid, saturated color, stay away from blends. If you want that intentional, washed-out vibe, go for it.
How do I stop the color from bleeding out or fading after the first couple of washes?
Look, if your color is bleeding, you probably skipped the most boring but vital part: fixing the dye. If you’re working with natural fibers, you need a dedicated dye fixative—not just salt, which is a bit of a myth for serious colorfastness. I always run my pieces through a hot fixative bath right after the rinse. Also, stop using heavy detergents; they’re basically sandpaper for your pigment. Wash cold, inside out, and hang dry.
Is it actually worth it to use professional-grade fixatives, or is salt and vinegar enough for a home setup?
Look, if you’re just experimenting with an old cotton tee, salt and vinegar are fine for a quick DIY vibe. But if you’re actually trying to make something that won’t look like a sad, washed-out rag after three cycles, get the professional fixative. Salt helps the dye bond, sure, but a real commercial fixative is what stops that bleeding and keeps your colors from turning into a muddy mess. Don’t skimp on the chemistry.

