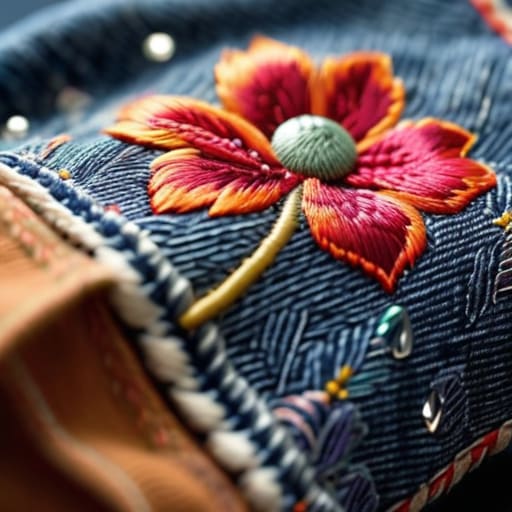
I was sitting in my shared studio last Tuesday, staring at a sample of a “premium” heavyweight hoodie that had just come back from the digitizer. The graphic looked fine from a distance, but as soon as I turned the garment inside out—which is my default setting for checking quality—I saw the disaster. The dense, heavy-handed embroidery was literally puckering the jersey, turning a perfectly good blank into a wrinkled mess because nobody bothered to check the stabilizer or the stitch count. It’s the same story I see every week: people getting blinded by the aesthetic of patches and embroidery without realizing that if the technical execution is trash, the whole garment is ruined.
I’m not here to feed you some glossy marketing dream about how a logo makes your brand. I’m here to talk about the actual physics of it. In this post, I’m going to break down why your thread tension matters, how to choose a fabric weight that won’t collapse under a heavy patch, and how to ensure your customization actually lasts more than three washes. We’re skipping the hype and getting straight into the real mechanics of making clothes that actually hold their shape.
Mastering Textile Embellishment Techniques Over Fading Trends
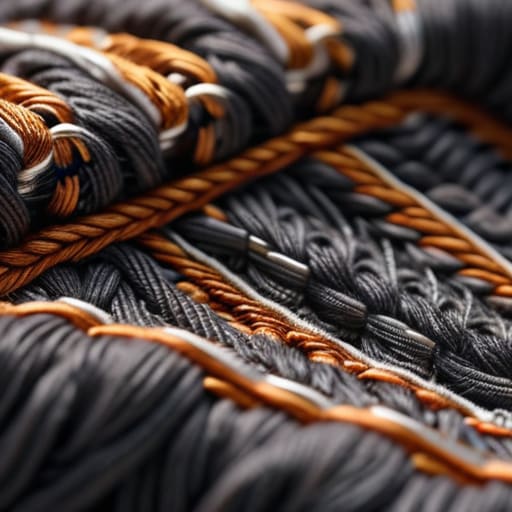
Look, I see the same three “aesthetic” motifs popping up on every single streetwear drop lately, and frankly, it’s getting exhausting. If you’re just slapping a trendy graphic onto a garment because a TikTok algorithm told you to, you’re missing the point of actual construction. I’m much more interested in how different textile embellishment techniques actually interact with the base material. A heavy, high-density stitch looks incredible on a 400 GSM heavyweight fleece, but if you try to force that same level of detail onto a thin, budget jersey, you’re going to end up with puckered seams and a ruined garment.
When you’re deciding between iron-on vs sew-on patches, don’t just pick the easiest one. I’ve spent way too many hours in the studio unpicking cheap heat-activated adhesives that failed after a single wash. If you want your piece to actually survive a laundry cycle, you need to think about the structural integrity of the application. It’s not just about the visual; it’s about how the weight of the decoration affects the drape and longevity of the entire shirt.
The High Cost of Cheap Personalized Apparel Decoration
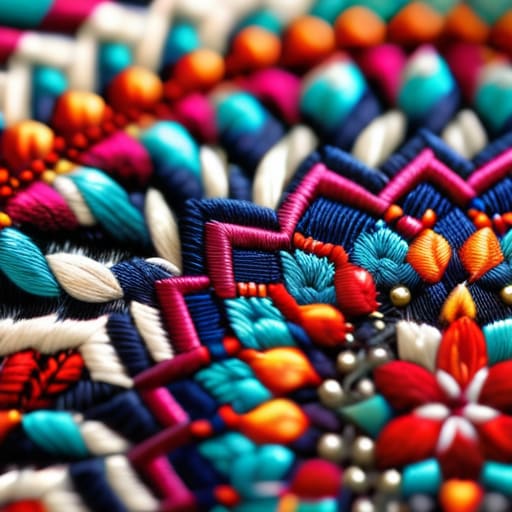
Look, I’ve seen it a hundred times: a brand launches with a killer graphic, only to have the whole thing fall apart after three washes because they cut corners on the decoration. When you opt for the cheapest possible personalized apparel decoration, you aren’t just saving a few bucks upfront; you’re essentially pre-ordering a landfill. I’m talking about those thin, flimsy threads that start unravelling the second they hit a washing machine, or worse, heavy embroidery that’s so poorly digitized it literally tugs the fabric into a permanent pucker.
The real headache usually comes down to the choice between iron-on vs sew-on patches. A lot of people think an iron-on is a “quick fix,” but on a low-quality, lightweight tee, that heat press can actually scorch the fibers or create a stiff, plastic-like patch that feels like wearing a piece of cardboard. If you aren’t careful with your fabric patch application, you end up with a garment that looks amateurish and feels uncomfortable. It’s not just about the aesthetic; it’s about the structural integrity of the piece. If the embellishment ruins the drape of the shirt, you haven’t made a garment—you’ve made a mistake.
Five things I check before I ever hit the machine
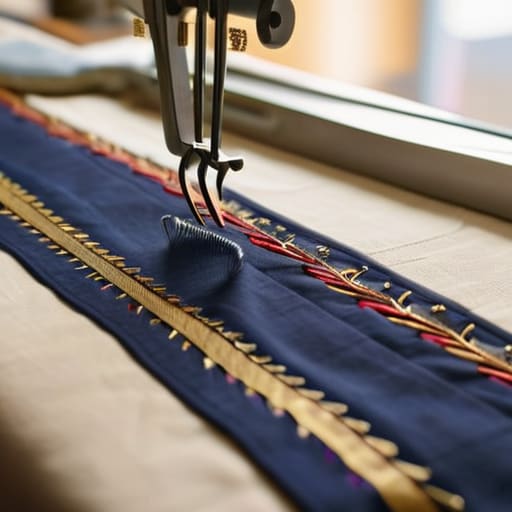
- Stop ignoring your GSM. If you try to throw heavy, high-stitch-count embroidery onto a lightweight, 140 GSM jersey, that fabric is going to pucker and look like a crumpled napkin within two washes. Match your thread weight to your fabric weight, or don’t bother.
- Check your stabilizer. I’ve seen so many “premium” hoodies ruined because the maker used a cheap tear-away stabilizer on a heavy fleece. If you don’t use a cut-away stabilizer for dense embroidery, your design is going to warp the second it hits the laundry.
- Don’t let the embroidery pull the grain. When I’m placing a patch or a logo, I’m always looking at how the tension is affecting the knit. If the embroidery is pulling the fabric off-grain, your garment is going to twist sideways when you wear it, and no amount of marketing can fix a crooked shirt.
- The “Inside-Out” test is real. I always flip a sample inside out before I even look at the graphic. If the backing is messy, the threads are bird-nesting, or the stabilizer is cutting into the skin, it’s a fail. The quality of the decoration is defined by what the wearer doesn’t see.
- Mind your digitizing, not just your art. A cool hand-drawn graphic doesn’t automatically make a good embroidery file. If your digitizer hasn’t accounted for stitch direction and density, you’re going to end up with a blob of thread that looks more like a bruise than a brand.
The Real Bottom Line
Don’t let a cool graphic distract you from the technical reality; if your embroidery density is too high for a low-GSM fabric, you aren’t making a garment, you’re making a glorified rag that will pucker after one wash.
Investing in quality patches and proper stitch counts isn’t “extra” cost—it’s the only way to ensure your brand doesn’t end up in the same landfill as the fast-fashion scraps I spent my degree trying to avoid.
Stop chasing what’s trending on TikTok and start focusing on the construction; a well-executed, tactile embellishment adds actual value to a piece, whereas cheap heat-press nonsense just adds to the noise.
Frequently Asked Questions
How do I figure out if my fabric is thick enough to handle heavy embroidery without it puckering or looking like a mess?
Honestly, the easiest way is the “tension test.” Grab a scrap of your fabric and run a heavy stitch pattern on it. If the fabric starts bunching up or creating those annoying little waves around the design, your GSM is too low for that stitch density. You can’t force a heavy, high-stitch-count embroidery onto a flimsy 140 GSM jersey; it’s going to pucker every single time. Match your thread weight to your fabric weight, or don’t bother.
Is there a real difference in longevity between a high-density stitch and a standard run, or is it just something brands charge extra for?
It’s definitely not just a markup. When I’m looking at a piece, I always turn it inside out first—that’s where the truth is. A standard run is fine for a basic graphic, but high-density stitching uses more thread density and a more stabilized structure to create that 3D lift. It’s more substantial, sure, but more importantly, it resists the “puckering” that happens when cheap embroidery pulls on a flimsy fabric. It’s about structural integrity, not just aesthetics.
When am I going to hit the limit where a patch actually starts to look like a "cheap fix" for a bad garment construction?
You hit that limit the second the patch starts fighting the fabric. If you’re slapping a heavy, stiff embroidered patch onto a flimsy, low-GSM jersey, the weight is going to cause the garment to sag, ripple, or even tear at the seams. A patch shouldn’t look like a bandage covering up a mistake; it should feel like an intentional part of the architecture. If the base layer can’t support the decoration, it’s just a cheap fix.

