
I still remember the exact moment I realized that “premium” is often just a marketing term used to mask a total lack of oversight. I was sitting on the floor of my first shared studio, surrounded by boxes of what were supposed to be high-end heavyweight blanks, only to find that half the batch had uneven necklines and puckered side seams. It’s infuriating because everyone talks about the design, but nobody talks about the absolute chaos of quality control on delivery. You spend months perfecting a print or a pattern, only to have the entire project undermined by a factory that cut corners the second the shipment left their doors.
I’m not here to sell you on some magical, foolproof system or tell you that you need a massive corporate budget to get things right. Instead, I want to show you how to actually spot the red flags before they wreck your margins. I’m going to walk you through the tactile, unglamorous reality of inspecting a shipment—from checking the GSM consistency to feeling for those dreaded wonky seams—so you can stop gambling with your brand and start building something that actually lasts.
Why Last Mile Delivery Inspection Protects Your Margins
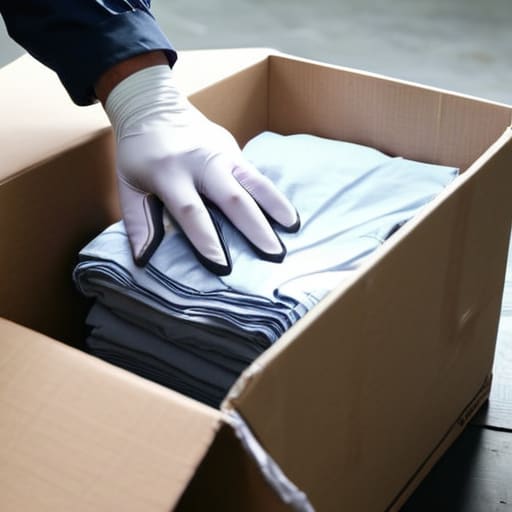
Look, I’ve been in enough shared studios to know that a beautiful tech pack means nothing if the physical product arrives looking like it went through a blender. When you’re scaling, your biggest enemy isn’t a bad design; it’s the silent drain on your bank account caused by a lack of logistics quality assurance. If you aren’t performing a proper last mile delivery inspection, you’re essentially gambling with your profit. Every time a box arrives with crushed collars or moisture-damaged polybags, that’s money straight out of your pocket that you can’t get back.
It’s not just about the immediate loss of the garment, either. It’s the nightmare of the return loop. If you skip a rigorous delivery verification process, you’re going to end up paying for shipping twice—once to send the junk, and once to bring the return back. I’d much rather spend ten minutes squinting at a seam allowance or checking for snags the second a shipment hits the floor than spend three hours dealing with an angry customer who paid premium prices for a “premium” shirt that arrived looking like a rag.
Stop Letting Shipping Damage Prevention Become an Afterthought
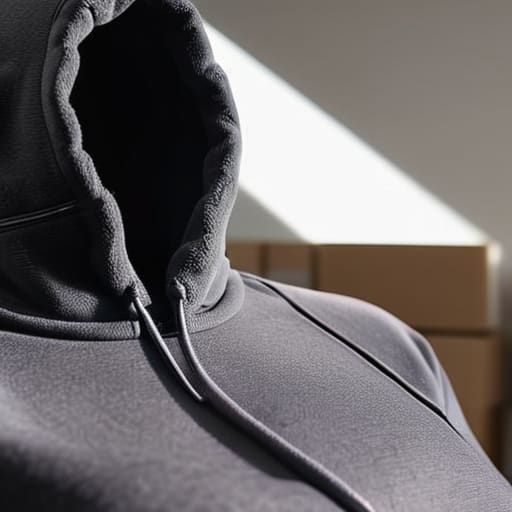
Look, I’ve seen too many small labels lose their minds because a beautiful, heavy-weight hoodie arrived looking like it had been through a blender. It’s gutting. You spend months sourcing the perfect 450 GSM fleece and perfecting the drop shoulder, only for a careless warehouse worker to toss it into a bag that’s too small or a courier to leave it in the rain. If you aren’t treating shipping damage prevention as a core part of your production cycle, you’re basically just gambling with your reputation.
It’s not just about the box looking dented, either. I’m talking about the subtle stuff—the snagged threads from a rough cardboard edge or a zipper that’s been forced shut too hard. This is where a solid delivery verification process pays for itself. You need to be looking at the state of the goods the second they hit the doorstep, not just checking if the tracking number says “delivered.” If you treat the final leg of the journey as an afterthought, you’re basically inviting your customers to pay for your logistics mistakes.
My Personal Checklist for When the Boxes Actually Arrive
- Don’t just count the boxes; check the corners. If the cardboard is crushed or damp, I’m assuming the contents are already compromised. A dented box usually means a bent hanger or a snagged fabric inside.
- The “Inside-Out” Test. I know it sounds weird, but as soon as you open a batch, turn a few pieces inside out. If the seam allowances are messy or the overlocking is fraying before you’ve even put them on a mannequin, you’ve got a manufacturing issue, not a shipping one.
- Weight is a massive tell. If you ordered 300gsm heavy-weight blanks but the box feels suspiciously light, someone might have swapped your specs for a cheaper, lower-GSM substitute mid-transit. Always weigh a sample against your tech pack.
- Check for “The Smell.” It sounds dramatic, but if a shipment arrives smelling like damp warehouse or chemicals, that moisture is going to settle into the fibers and cause permanent creasing or even mildew. It’s a nightmare to fix once it’s in your inventory.
- Spot-check the print integrity immediately. I’ve seen way too many “premium” orders arrive with micro-cracks in the ink because they were shoved into a shipping container that saw too much temperature fluctuation. If the print is failing in the box, it’s failing in the shop.
The Bottom Line: What to Actually Watch For
Don’t just count the boxes; check the integrity of the polybags and the outer cartons because a crushed corner usually means a crushed collar or a snagged print inside.
Inspect the fabric weight and texture immediately upon arrival to ensure your supplier didn’t pull a bait-and-switch with a lower GSM than what you actually paid for.
Treat your receiving process like a final quality check, not just a chore, because catching a bad batch at the warehouse is way cheaper than dealing with a mountain of returns from angry customers.
Frequently Asked Questions
How do I actually spot a batch of shirts that was damaged in transit versus just being poorly constructed from the start?
It’s a massive headache, but here’s the trick: check the tension. If the fabric looks puckered or the seams are wavy in a way that follows the path of a crush or a squeeze, that’s transit damage. If the stitching is just uneven, the thread is pulling, or the hem is wonky regardless of how you lay it flat, that’s a construction fail. One happened in the truck; the other happened on the cutting table.
Is it worth the extra time to inspect every single unit, or should I just be looking for specific red flags in the packaging?
Look, I get it. You’re busy, and staring at a mountain of polybags feels like a massive waste of time. But if you only look for “red flags” like crushed boxes, you’re missing the real killers—like a single batch of misprinted graphics or a weirdly thin hand-feel that wasn’t in the tech pack. I’ve learned the hard way: checking the actual garment is the only way to ensure you aren’t selling expensive garbage.
What’s the best way to document these issues with a courier so I’m not stuck eating the cost of a ruined shipment?
Don’t just shrug and toss the crushed box. The second you see a ripped polybag or a damp carton, grab your phone. Take photos of the outer packaging before you even open it—that’s your proof the courier messed up. Once it’s open, film a quick video of the unboxing. If I see a single loose thread or a grease stain on a fresh drop, I need that visual evidence to fight the claim.

