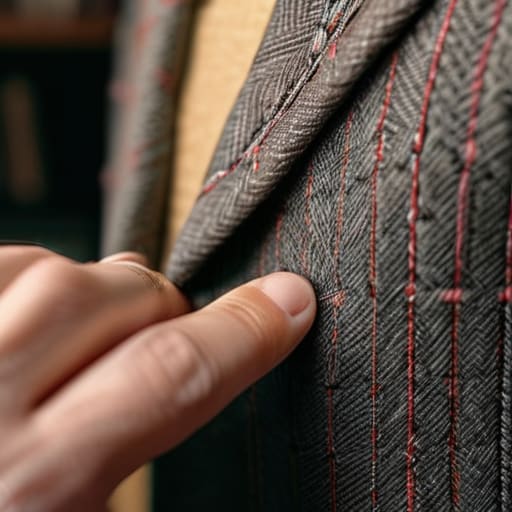
I was elbow-deep in a bin of “curated vintage” at a pop-up last week, and honestly, I almost lost it. People were paying premium prices for shirts that felt like wet tissue paper, all because a heavy-weight logo was slapped on the chest. It’s the same old story: the marketing does the heavy lifting while the actual construction is a joke. If you want to stop getting played, you have to stop looking at the tag and start spotting quality in used clothing by looking at how the garment actually holds itself together. I’ve spent way too many hours in a cramped studio learning pattern cutting just to realize that a fancy brand name is often just a mask for shitty seam allowances.
I’m not here to tell you what’s “aesthetic” or what’s going to be trending on TikTok next Tuesday. Instead, I’m going to show you how to read a garment like a producer. We’re going to talk about the real stuff—feeling for the right GSM, checking if the hems are actually reinforced, and why I always turn a piece inside out before I even consider buying it. This is about finding the pieces that are actually built to last, not just the ones that look good in a mirror.
Textile Material Inspection Tips for Real Weight

First things first: stop looking at the tag and start using your hands. A brand can slap a “premium” label on a flimsy 120 GSM cotton tee all day, but your palms won’t lie to you. When I’m digging through a rack, I’m looking for that specific heft—that structural “snap” that tells me the fibers are dense enough to hold a shape. If the fabric feels thin, almost translucent, or has that weird, oily slickness common in cheap synthetics, put it back. You want something that feels substantial, even if it’s been washed a hundred times.
This is where my favorite little textile material inspection tips come in handy. Don’t just feel the surface; give the fabric a gentle tug across the grain. If you see light peeking through the weave or the texture looks “fuzzy” in a way that suggests the fibers are actually breaking down, that’s a red flag. I always look for a tight, consistent weave because that’s the real indicator of long-term fabric durability. If the knit looks uneven or patchy, the garment is already halfway to becoming a rag, no matter how cool the graphic looks.
Fabric Durability Testing Beyond the Surface
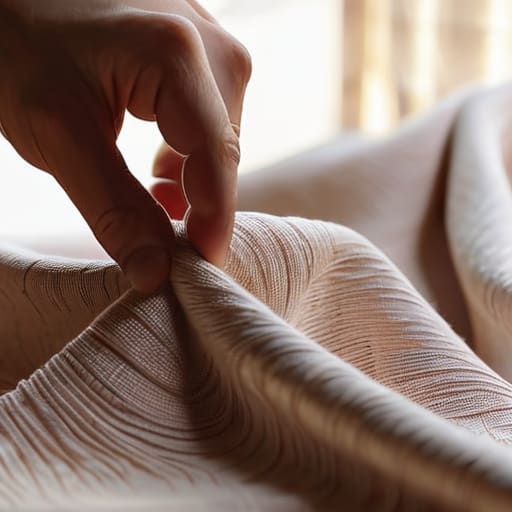
Once you’ve gotten a feel for the weight of the fabric, you need to see how it actually holds up under pressure. I always start by doing a quick tension test—grab the fabric between your thumbs and pull it firmly. If you hear a faint cracking sound or see the weave starting to gap, that’s a massive red flag. It usually means the fibers are already fatigued or the knit is too loose to survive another few washes. This is a core part of my personal fabric durability testing routine because a heavy shirt is useless if the structure is already compromised.
Next, turn the garment inside out (my favorite habit, obviously) and look at the stress points. Check the armpits, the crotch of trousers, and the necklines. You’re looking for thinning areas or “pilling” that looks more like fuzz than texture. When you’re detecting wear and tear in vintage clothes, pay close attention to the thread itself. If the stitching looks fuzzy or pulled, the tension was wrong from the start, and the whole piece is likely to unravel. Don’t just look at the print; look at the skeleton.
The "Inside-Out" Checklist: What to look for when the branding stops lying
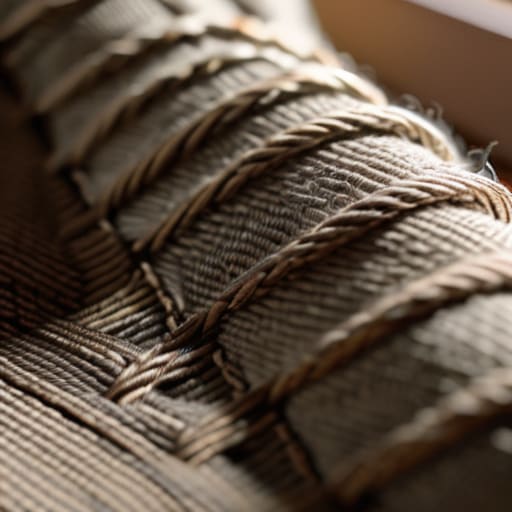
- Flip it inside out immediately. I don’t care how cool the graphic looks on the front; if the internal seams are a mess of loose threads and uneven overlocking, that garment is going to fall apart after three washes. Look for clean, tight stitching that follows the grain of the fabric.
- Check the shoulder seams for “puckering.” If the fabric is bunching up or waving along the seam line, it’s a sign the tension was off during manufacturing or the fabric was stretched out of shape. A high-quality garment should lay flat and structurally sound right from the jump.
- Do the “light test” on knits. Hold the fabric up to a light source—if you see irregular thin patches or a patchy weave, the yarn density is inconsistent. That’s a recipe for holes appearing in exactly the wrong places six months down the line.
- Inspect the hardware, not just the look. If it’s a zip, pull it up and down a few times. If it catches or feels “crunchy,” it’s cheap alloy that will eventually snap or corrode. Same goes for buttons; if they feel like lightweight, hollow plastic, they aren’t staying attached for long.
- Feel for “pilling” vs. “wear.” There is a massive difference between a vintage tee that has softened beautifully over twenty years and a cheap polyester blend that has turned into a fuzzy mess of tiny balls. If the pilling feels scratchy or looks uneven, the fiber length is garbage and the garment is effectively dead.
The cheat sheet for your next thrift haul
Stop looking at the label first; grab the fabric and check the weight and drape to see if it’s actually got some substance or if it’s just thin, glorified paper.
Always flip the garment inside out to inspect the seams—if the stitching is messy or the thread looks like it’s about to snap, the brand name doesn’t matter.
Test the recovery by giving the fabric a quick tug; if it doesn’t spring back into shape immediately, it’s going to lose its silhouette after two washes.
Frequently Asked Questions
How can I tell if a vintage heavyweight tee is actually high GSM or if it’s just been starched to feel stiff?
The “crunchy” test is your best friend here. If it feels stiff but makes a sharp, papery sound when you scrunch it, that’s starch—it’ll wash out in one cycle and leave you with a flimsy rag. A real heavyweight tee has “drape.” It should feel dense and substantial, but even when it’s thick, it should move with a certain weightiness. If it feels like cardboard, walk away.
Is there a way to check if the internal construction, like the neck tape or shoulder seams, is actually reinforced or just cheap overlock stitching?
Flip it inside out—that’s my rule for a reason. Don’t just look at the print; look at how the seams behave. If you see a single, thin line of overlock stitching holding a heavy jersey together, run. You want to see reinforced shoulder-to-shoulder taping or even a double-needle topstitch. If the neck ribbing feels flimsy or the internal seams are fraying right off the rack, that’s not “vintage charm,” it’s just poor construction.
How do I distinguish between a natural fiber that’s aged beautifully and a synthetic blend that’s just starting to pill and degrade?
Look, here’s the deal: natural fibers like cotton or wool might look “lived-in,” but they hold their structure. If it’s a vintage heavy cotton, it might be soft, but the weave stays intact. Synthetics? They lie to you. A polyester blend might feel smooth now, but once those tiny little pills start forming, it’s game over. If you see fuzz that feels like plastic rather than fiber, it’s just degrading.

