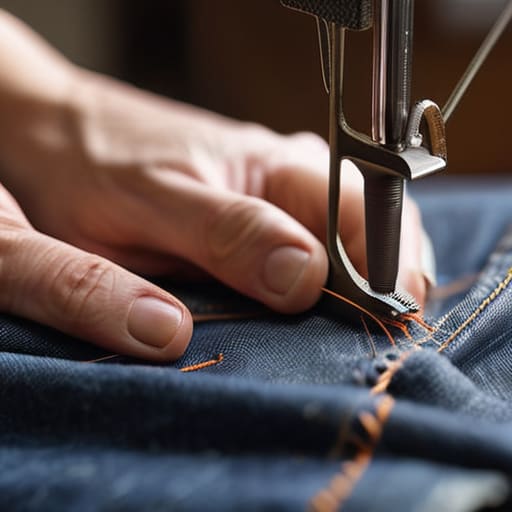
I was hunched over a vintage Singer in my shared studio last Tuesday, staring at a pair of heavy-weight twill trousers that looked incredible until I actually tried to finish the bottom edge. I’d spent three hours obsessing over the drape, only to realize that I was completely ignoring the way the fabric would bunch if I didn’t account for the weight of the original hem. Most people think hemming is just a quick chop and a stitch, but if you aren’t hemming trousers properly, you’re basically just turning a high-quality garment into a pile of expensive scrap fabric. It’s the difference between a clean, intentional silhouette and that awkward, bunchy mess that makes even the best designer pants look like a DIY disaster.
I’m not here to sell you on some “life hack” or a trendy new sewing gadget; I just want to talk about the actual mechanics of construction. In this guide, I’m going to walk you through the technical side of things—from calculating your true break point to managing different fabric weights without losing the original structure. We’re going to get into the weeds of seam allowances and pressing techniques so you can stop guessing and start actually mastering the craft.
Guide Overview
Tools & Supplies
- Fabric scissors for clean cutting
- Sewing machine or hand needles for stitching
- Seam ripper to remove existing hems
- Iron to press creases and folds
- Fabric chalk or marking pen to indicate length
- Pins to hold the fold in place
- Matching thread to secure the hem
Step-by-Step Instructions
- 1. First things first, you need to actually wear the trousers while you’re doing this. Don’t trust the measurements on the tag or what you think they should be; your body changes throughout the day, and you need to see exactly where the fabric hits your shoe. Pin the hem at your desired length while looking in a full-length mirror, and for the love of everything, don’t forget to sit down to make sure you aren’t accidentally turning your trousers into capris.
- 2. Once you’ve found your magic length, take them off and lay them flat on a hard surface. This is where most people mess up—they try to eyeball it while they’re still on their legs. Use a measuring tape to mark the distance from the bottom of the original seam to your new desired hemline. You’ll need to add a bit of extra fabric for the seam allowance, usually about an inch or two depending on how heavy the material is, so you have enough to fold up and hide the raw edge.
- 3. Now, grab your fabric shears—and please, tell me they aren’t those dull kitchen scissors—and trim the excess fabric along your new line. You’re essentially creating a “new” bottom edge. Once you’ve trimmed them, press the new edge flat with an iron. I cannot stress this enough: ironing is not cheating; it is a fundamental part of garment construction. If you don’t press that fold, your hem will look wavy and amateurish.
- 4. Fold the fabric up to the desired finished length and pin it in place. If you’re working with something heavy like a thick chino or denim, I highly recommend doing a double fold. This means you fold it up once, then fold it again to trap the raw, fraying edge inside the second fold. It makes the hem look much cleaner and prevents that annoying “shredded” look after three washes.
- 5. Before you start sewing, do a quick “stress test” by tugging on the pinned fabric to make sure nothing is shifting. If you’re using a sewing machine, select a stitch length that matches the weight of the fabric—too long and it’ll look like a series of holes, too short and it might bunch. I usually prefer a straight stitch for most trousers, but if you’re working with something with a bit of stretch, you’ll want to adjust your tension so the thread doesn’t snap the moment you move.
- 6. Start sewing from the inseam, working your way around the leg. Keep your presser foot steady and try to follow the edge of your fold as closely as possible. If you deviate too much, you’ll end up with a crooked hem that makes the whole silhouette look completely off-kilter. If you hit a particularly thick spot, like a side seam, don’t force the machine; slow down or use a hand-crank to get through it without breaking a needle.
- 7. Once you’ve completed the loop, trim any loose threads and give the whole thing one final, heavy press with the iron. This sets the stitches into the fabric and gives you that crisp, professional finish that separates a DIY project from a piece of actual clothing. If the hem still feels a bit wonky, check your tension or your seam allowance—usually, the problem is that you didn’t leave enough room to play with.
Measuring Trouser Inseam Without Sacrificing the Original Silhouette
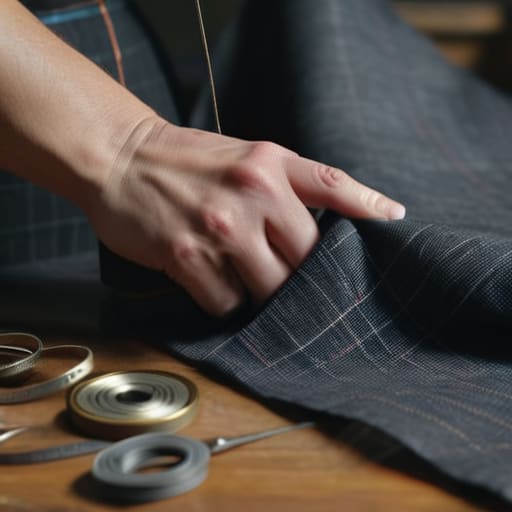
The biggest mistake I see people make is treating the inseam like a math equation rather than a structural element. If you just measure from the crotch to the floor while the pants are lying flat on a bed, you’re asking for trouble. You lose the natural drape of the leg, and suddenly your trousers look like they’re wearing you instead of the other way around. When you’re measuring trouser inseam, you absolutely have to do it while wearing them—or at least pinned to a dress form—to see how the fabric actually hangs.
You also need to consider the fabric weight for hemming before you even touch your shears. A heavy denim behaves totally differently than a lightweight linen; the former needs a more substantial fold to maintain its structure, while the latter can get bulky and “mushroom” at the bottom if you aren’t careful. I always tell people to pay attention to how the weight pulls on the grainline. If you ignore the way the textile settles, you might end up with a hem that looks perfectly straight on the table but twists like a pretzel the second you start walking.
Fabric Weight for Hemming Why Drape Trumps Trend
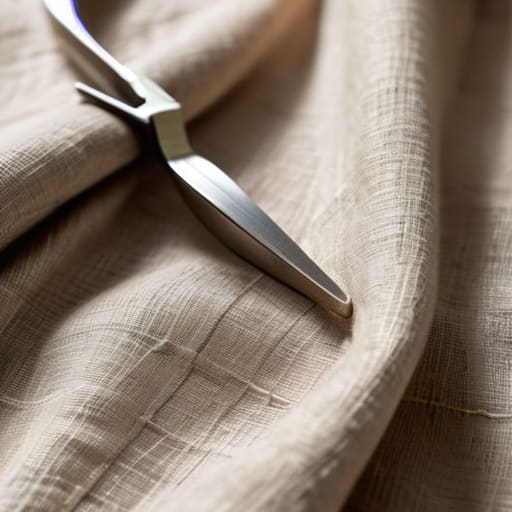
Look, you can have the perfect measurements, but if you ignore the fabric weight for hemming, you’re basically setting yourself up for a disaster. I’ve seen so many people try to apply a heavy, structured finish to a lightweight linen or a soft Tencel blend, and it’s heartbreaking. When the fabric is light, a thick, bulky hem will act like a weight at the bottom of a curtain, pulling the leg straight and killing that effortless movement. You want the garment to flow, not hang like a piece of cardboard.
If you’re working with something substantial—think a heavy denim or a thick wool—you actually have more room to play with tailoring trouser hem width. A wider hem on heavier fabrics adds a sense of intentionality and weight that makes the piece feel expensive rather than DIY. But for those lighter, more delicate fabrics, you have to be surgical. I usually lean toward a blind stitch for pants here; it keeps the structural integrity intact without that obvious, chunky line of thread that screams “I did this in my bedroom at midnight.”
The Details That Separate a Custom Fit from a DIY Disaster
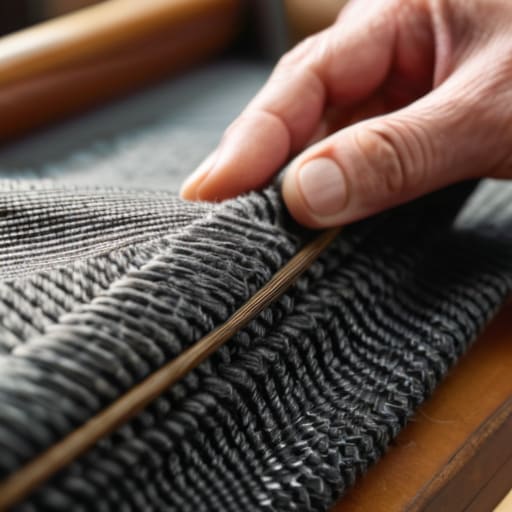
- Stop ignoring the press cloth. If you’re ironing your new hem without a protective layer, you’re risking permanent shine on the fabric, and once that heat-damaged sheen is there, there’s no going back.
- Mind your thread weight. I’ve seen so many people use standard all-purpose thread on heavy denim or wool, and it ends up looking like a cheap afterthought; match your thread strength to the textile or the seam will snap the first time you sit down.
- Don’t just fold and stitch—use a tailor’s ham. If you’re working on anything with a curve, like a tapered leg or a heavy twill, trying to press it flat on a board is going to distort the shape you just spent twenty minutes measuring.
- Always do a “sit test” before you cut. I don’t care if they look perfect while you’re standing in front of the mirror; if you don’t check the rise and the hem length while sitting, you’re going to end up with trousers that ride up way too high.
- The “Invisible” Trap. If you’re going for a blind stitch, don’t get too ambitious with how much fabric you catch. If you grab too much of the face fabric, you’ll see those little horizontal puckers, and suddenly your “clean” hem looks like a sewing error.
The Real Cost of a Bad Hem
Stop chasing the “perfect length” trend; if you don’t account for how your specific fabric weight drapes, you’re going to end up with a silhouette that looks stiff and cheap rather than intentional.
Precision in your measurements isn’t just about avoiding a trip to the tailor—it’s about protecting the integrity of the original cut so you aren’t sacrificing the garment’s shape for a few extra inches of fabric.
Always prioritize the seam allowance and the break point over speed; a rushed hem is just a fast way to turn a high-quality piece of construction into something that looks like a DIY disaster.
Frequently Asked Questions
If I’m working with a heavy-weight denim or a structured twill, should I be using a blind stitch or just going for a classic topstitch?
Honestly, if you’re working with heavy denim or a stiff twill, skip the blind stitch. Trying to pull a blind stitch through thick, structured fabric usually ends up looking messy, and you’ll likely get those annoying puckers that ruin the line. Go for a classic topstitch. It leans into the utility of the fabric, stays flat, and actually looks intentional. If you want that rugged, workwear feel, let the stitching show.
How do I stop my hem from looking "wavy" or puckered after I've sewn it, especially on more fluid fabrics like rayon or linen?
That “wavy” hem is the absolute worst, especially when you’re working with something like rayon that wants to behave like water. It’s usually because you’re pushing the fabric through the machine instead of letting the feed dogs do the work. If you’re fighting the drape, try using a walking foot or even just a bit of tissue paper underneath to stabilize the tension. If the fabric is shifting, your seam allowance is fighting you.
Is it actually worth it to press the seam allowance flat, or am I just adding extra steps for no real gain in the final look?
Look, I get it. It feels like extra labor for zero visual payoff, especially if you’re just sewing a quick pair of chinos. But if you want that clean, intentional drape, you absolutely have to press it. An unpressed seam allowance creates this weird, bulky ridge that fights against the leg line. If you skip this, you aren’t just saving time—you’re basically settling for a silhouette that looks homemade in the worst way.

