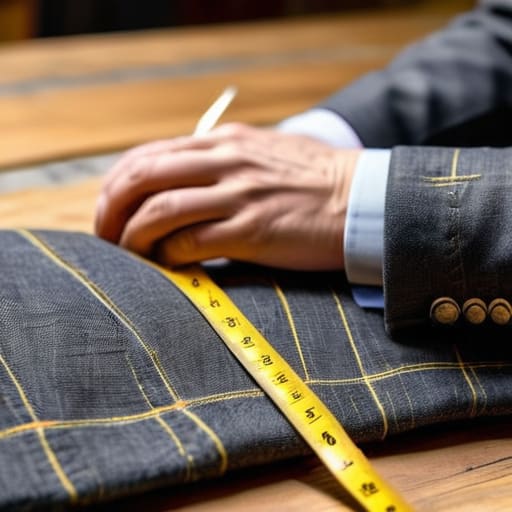
I still remember the first time I tried to launch my own little print run; I spent weeks obsessing over “vintage washes” and “streetwear aesthetics,” only to receive a box of blanks that looked great on screen but fit like cardboard boxes. I had ignored the most basic technical detail because I was too busy chasing a vibe. I thought I could just eyeball the sizing, but having pit to pit explained properly is the only way to stop that nightmare from happening to you. If you aren’t measuring the actual width of the chest, you aren’t designing a garment; you’re just gambling with your budget.
I’m not here to sell you on a “revolutionary” new silhouette or some overpriced marketing jargon. My goal is to give you the actual, unvarnished mechanics of how a garment sits on a body so you don’t end up with a drawer full of wasted inventory. We are going to strip away the hype and look at the real numbers—from how to measure accurately to why a single centimeter can change your entire fit. Consider this your no-nonsense guide to getting the dimensions right the first time.
The Truth About Garment Flat Lay Measurements
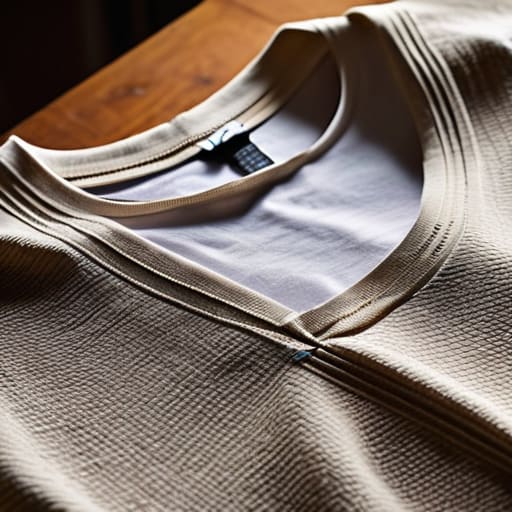
Here’s the thing about most size charts you’ll find online: they’re often just a guess. When I’m hunting through Depop or looking at new blanks for a run, I never trust a generic “Medium” label. I rely almost entirely on garment flat lay measurements because that’s the only way to see how the fabric actually sits. When a shirt is laid flat on a table, you’re seeing the true width of the construction, not some theoretical math based on a mannequin.
If you’re measuring vintage shirts online, this is where people usually mess up. They see a “chest circumference” of 40 inches and assume it’ll fit like a modern slim-cut tee. But that’s a trap. There is a massive difference between pit to pit vs chest circumference; one is a single linear measurement across the front, and the other is the total loop around your body. If you don’t account for that extra room needed for breathing and movement, you’re going to end up with a garment that feels like a straightjacket. Always measure the width from seam to seam to get the real story.
Why Understanding Clothing Size Charts Saves Your Margins
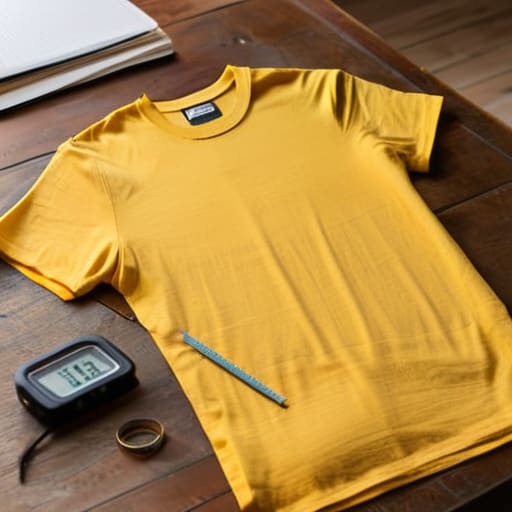
If you’re running a small brand or even just flipping vintage, ignoring the math behind the measurements is the fastest way to bleed cash. I’ve seen so many people get tripped up by the difference between pit to pit vs chest circumference; one is a flat measurement, and the other is the total loop around your body. If you list a shirt as a “Large” based on a generic brand chart but your actual blanks run small, you aren’t just losing a sale—you’re paying for return shipping and dealing with a frustrated customer.
When you’re measuring vintage shirts online, precision is your only defense against bad reviews. A single inch of difference in how a garment is laid out can make a shirt feel like a crop top instead of an oversized fit. I always tell people to stop guessing and start being hyper-specific with their numbers. If you take the time to get the garment flat lay measurements right the first time, you stop wasting your margins on the logistical nightmare of “it doesn’t fit” claims.
How to actually measure without losing your mind (or your profit)
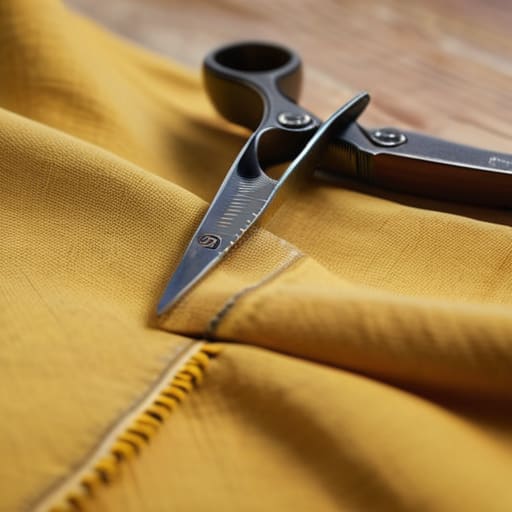
- Stop eyeballing it. If you’re measuring a blank that’s sitting in a pile, you’re going to get it wrong. Lay it perfectly flat on a hard surface—no soft tables or uneven beds—and make sure there isn’t a single wrinkle between the armpits, or your measurement is already a lie.
- Use a metal tailor’s tape, not a sewing tape if you can help it. Fabric tapes stretch over time, and if your tape is even half an inch off, you’re going to miscalculate your entire size run. I’ve seen too many small batches ruined because the “standard” tape was actually a bit wonky.
- Measure from the actual seam, not the edge of the fabric. A lot of people make the mistake of measuring the width of the garment body and then adding a little “buffer,” but that’s not how it works. You need to find the exact point where the sleeve meets the torso and go straight across.
- Check the “stretch factor” before you finalize your numbers. If you’re working with a heavy 300 GSM cotton that has zero elastane, your pit-to-pit measurement is non-negotiable. If it’s a blend with some stretch, you have a tiny bit of breathing room, but I’d still play it safe and stick to the rigid numbers.
- Always measure the same way every single time. If you measure one shirt while it’s laid flat and the next one while it’s slightly pulled taut, your size chart is going to be a mess. Pick a method—I always go for the “dead flat” approach—and stick to it religiously so your customers don’t end up with a box of shirts that don’t fit.
The bottom line on sizing
Stop relying on “Small, Medium, Large” labels; they mean nothing across different manufacturers, so always check the actual pit-to-pit measurement against a shirt you already love.
If you’re producing your own line, remember that a 1cm error in your tech pack might seem tiny, but it’s the difference between a perfect fit and a batch of returns that eats your entire profit.
Always measure your blanks on a flat surface—don’t try to eyeball it on a hanger or a mannequin, because you’ll end up with inconsistent specs that make your brand look amateur.
Frequently Asked Questions
If I'm measuring my own favorite vintage tees to find my perfect fit, should I be looking at the seam or just stretching it out?
Whatever you do, please don’t just stretch it out. If you pull a vintage tee to its absolute limit, you’re measuring tension, not the actual garment. You’ll end up ordering blanks that feel tiny because you based your “perfect fit” on a distorted piece of fabric. Lay it flat, keep it relaxed, and measure seam-to-seam. I want your new shirts to actually match the vibe of those nineties grails you’ve been collecting.
Why do some brands list a "pit-to-pit" measurement that looks totally different once the shirt is actually on my body?
It’s usually because they’re measuring a flat, lifeless piece of fabric, not a human body. When a shirt is lying flat on a table, the fabric doesn’t account for how it stretches over your chest or how it drapes around your ribs. If the brand is using cheap, low-GSM blanks with zero recovery, the garment won’t “give” when you put it on, making that measurement feel way off compared to your actual frame.
Is there a way to tell if a brand is lying about their sizing by looking at how they lay out their tech packs?
Honestly, yeah. If a brand is being sketchy, look at their tech packs—or more likely, their “sizing guides”—for missing details. If they only give you a generic S/M/L without specific point measurements like the neck width or sleeve length, they’re hiding something. A real pro includes tolerance levels (the +/- margin of error). If they don’t mention how much a garment is allowed to vary from the spec, they’re probably just eyeballing it.

