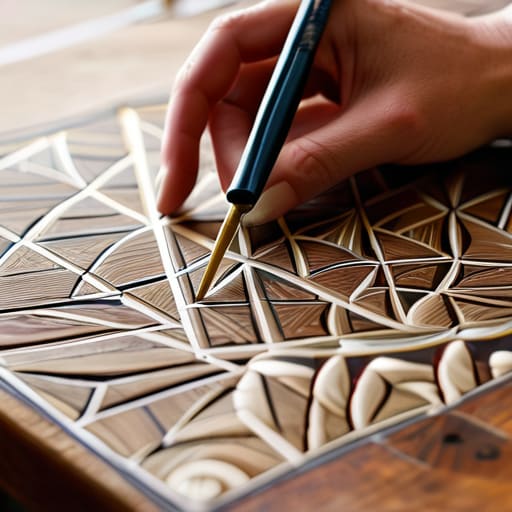
I still remember the exact moment I realized that most of what people call “design” is actually just expensive guesswork. I was hunched over a cutting table in a cramped, shared studio, surrounded by the smell of industrial steam and cheap synthetic blends, trying to figure out why the sample I’d spent weeks perfecting looked like a crumpled paper bag the second it hit a human body. I had all the “aesthetic” inspiration in the world, but I was failing because I hadn’t actually mastered the pattern making basics. It turns out, you can have the most incredible textile print in the world, but if your proportions are off by even half a centimeter, you aren’t making streetwear—you’re just making expensive trash.
I’m not here to sell you on some magical, high-tech software or tell you that you need a thousand-dollar studio setup to get started. My goal is to strip away the gatekeeping and give you the actual, gritty technical foundation you need to build something that lasts. We’re going to talk about the real stuff—the math, the geometry, and the unsexy details that actually dictate whether a garment hangs beautifully or falls apart after one wash.
Mastering Bodice Block Development Over Fleeting Aesthetics
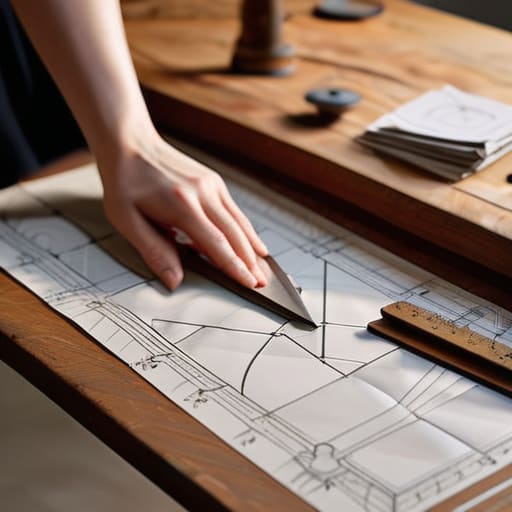
Look, I see so many people jumping straight into sketching “vibey” oversized silhouettes without actually understanding how a body occupies space. They want the aesthetic immediately, but if your foundation is shaky, that heavy jersey is just going to bunch up in all the wrong places. This is where bodice block development becomes your best friend. A block isn’t about style; it’s about the mathematical reality of a human torso. If you don’t nail the proportions of your basic template first, you’re essentially building a house on sand.
I spent months trying to “eye-ball” my measurements before I realized that sloper creation techniques are what actually separate a professional garment from something that looks like a DIY disaster. You need a reliable, neutral starting point—a blueprint that follows the curves of the body without any unnecessary bells and whistles. Once you have a solid, accurate block, you can manipulate it into whatever trend is currently blowing up on TikTok. But until you respect those garment construction fundamentals, you’re just playing dress-up with expensive fabric.
Why Precision in Sloper Creation Techniques Saves Your Margin
Look, I’ve seen too many small labels burn through their entire production budget because they tried to skip the “boring” parts. They jump straight into designing a killer silhouette without actually mastering sloper creation techniques, and suddenly, their sample run is a disaster. If your base pattern—your sloper—is even a few millimeters off in the armscye or the bust point, that error doesn’t just stay on the paper. It multiplies. You’ll end up with a stack of garments that fit like cardboard boxes, and suddenly you’re paying for expensive fabric scraps and wasted labor hours trying to “fix” a design that was fundamentally broken from the start.
Precision isn’t just about being a perfectionist; it’s about protecting your bottom line. When you nail your garment construction fundamentals during the drafting phase, you’re building a predictable roadmap. A solid sloper means that when you eventually move into size grading methods, your proportions actually scale logically instead of turning into a chaotic mess of weird folds and tension points. If you want to actually make a living in this industry rather than just subsidizing a hobby, you have to treat your initial patterns like the mathematical foundation they are.
Stop Guessing and Start Measuring: 5 Ways to Not Trash Your Fabric
- Stop treating seam allowances like an afterthought. If you’re just adding a random centimeter because “that’s what people do,” you’re going to end up with a garment that fits like a trash bag or, worse, falls apart at the first wash. Decide on your allowance before you even touch the paper.
- Respect the grainline or prepare to regret it. I’ve seen so many beautiful prints ruined because the pattern piece was slightly off-grain, causing the whole shirt to twist around your body after one wear. If your grainline isn’t straight, your garment isn’t professional.
- Don’t fall in love with your first draft. Your first pattern is basically just a suggestion. You need to make a muslin—a cheap, scrap fabric version—to see where the tension is actually happening. It’s much cheaper to cut up some old bedsheet than it is to waste five meters of high-GSM jersey.
- Check your ease, and I don’t mean “oversized” just because it’s trending. There is a massive difference between intentional design ease and a pattern that just doesn’t account for human movement. If you can’t sit down in it without feeling like you’re being strangled, your math is wrong.
- Document everything, even the mistakes. When I tweak a sleeve cap to get that perfect drop, I write down exactly why I did it. If you don’t keep a paper trail of your adjustments, you’ll never be able to replicate a successful fit, and you’ll spend your whole career chasing a ghost.
The Bottom Line: Why Your Patterns Actually Matter
Stop chasing the “look” of a silhouette until you’ve mastered the math; a trend is useless if the fit is so sloppy it ruins your fabric yield.
Treat your sloper like a sacred document, because every mistake you bake into your base pattern is just a compounding error that will cost you a fortune in wasted samples later.
Precision isn’t just about being “neat”—it’s about the difference between a garment that holds its shape after three washes and one that turns into a shapeless rag because your seam allowances were an afterthought.
Frequently Asked Questions
If I’m working with a heavy, high-GSM French terry, do I need to adjust my pattern measurements differently than I would for a lightweight jersey?
Absolutely. If you try to use the same pattern for a 400 GSM French terry that you use for a flimsy 150 GSM jersey, you’re going to end up with a garment that feels stiff and boxy in all the wrong places. Heavyweight fabric has more “bulk” and less drape, so I usually add a tiny bit of extra ease to the seams and armholes. Don’t let the weight fool you—precision still matters.
How much "ease" should I actually build into my blocks if I want that oversized streetwear look without the garment looking like a shapeless sack?
Look, if you just scale up your standard block, you’re going to end up with a shapeless mess that looks like a mistake rather than a design choice. For that intentional streetwear drape, don’t just add inches everywhere. Focus on adding “design ease” specifically to the chest and shoulder width, but keep the armhole depth controlled. You want volume that moves with the body, not a tent that swallows your silhouette whole.
Once I’ve perfected my paper sloper, how do I stop myself from making the same technical mistakes every time I move to a new design?
Honestly? You need to stop treating your sloper like a sacred relic and start treating it like a blueprint. The mistake most people make is trying to “eyeball” the transition from paper to fabric. To stop the bleeding, create a technical spec sheet for your base blocks. Document your exact seam allowances and notch placements. If you aren’t writing down the math behind your adjustments, you aren’t designing—you’re just guessing and hoping for the best.

