I was staring at a stack of vintage 90s blanks in my studio last week, absolutely gutted because the sleeve length was just off—too long, too baggy, and completely killing the silhouette of a heavy-weight cotton tee. Most people think shortening sleeves is just a matter of cutting fabric and sewing a straight line, but if you don’t account for the weight of the knit, you end up with a hem that curls like a dried leaf or, even worse, a sleeve that loses its entire structural integrity. I’ve seen too many “DIY” projects turn a perfectly good high-GSM garment into something that looks like it was hacked together in a middle school sewing class because they ignored the physics of the drape.
I’m not here to give you some aesthetic Pinterest tutorial that ignores how clothes actually function. Instead, I’m going to walk you through the real mechanics of shortening sleeves without ruining the garment’s balance. We’re going to talk about managing your seam allowance, choosing the right stitch for different fabric weights, and why you need to respect the original hem if you want the finished piece to look professional rather than cheap.
Guide Overview
Tools & Supplies
- Fabric scissors for clean cuts
- Sewing machine or needle and thread for stitching
- Pins to hold fabric in place
- Seam ripper to remove existing hems
- Fabric chalk or pencil for marking
- Iron to press hems flat
Step-by-Step Instructions
- 1. First, you need to actually put the garment on. Don’t just lay it flat on a table and hope for the best; that’s how you end up with sleeves that look like they were cut by someone who’s never seen an arm before. Pin the new length while you’re wearing it, or have someone help you, because you need to see where the fabric hits your bicep in real-time.
- 2. Once you’ve pinned it, take the shirt off and lay it on a flat surface. This is where people usually mess up—they forget to account for the seam allowance. If you want a finished sleeve that sits 1 inch above your elbow, you actually need to mark it at 1.5 inches to give yourself room to fold and sew, otherwise, you’re basically just cutting the shirt into a crop top.
- 3. Grab your fabric shears—and please, for the love of everything, make sure they are actually sharp. If you try to hack through a heavy 300 GSM jersey with dull scissors, you’re going to get jagged edges that make the whole hem look amateur. Cut along your marked line, but leave that extra bit of fabric for the hem; cutting right on the line is a one-way ticket to a ruined garment.
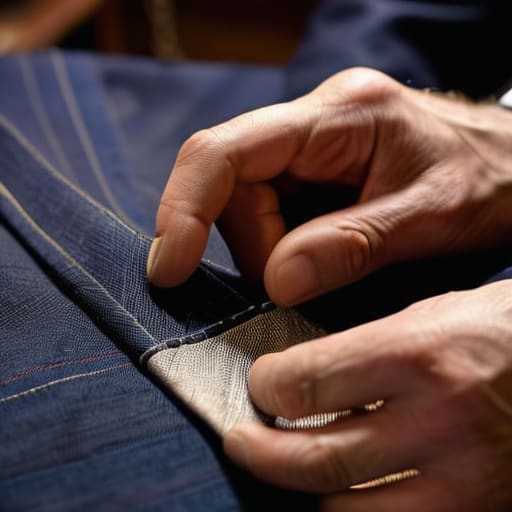
- 4. Now, fold the raw edge up toward the inside of the sleeve. I usually do a double fold—fold it once, press it with an iron, then fold it again. This encapsulates the raw edge so you don’t have any fraying threads peeking out from under your hem. If you skip the ironing step, your seam is going to look puckered and messy, and we aren’t about that life.
- 5. It’s time to stitch. If you’re using a standard sewing machine, you must use a ballpoint needle. Using a universal needle on a tight knit is a recipe for disaster because it’ll pierce the fibers and create those tiny, annoying holes that eventually turn into runs. Set your stitch length to something medium—too short and the thread will bunch, too long and it’ll look clunky and uneven.
- 6. Once you’ve finished the line, don’t just rip it off the machine and call it a day. Give the new hem a serious press with the iron. This sets the stitches into the fabric and makes the transition from the sleeve to the hem look seamless and intentional. If you don’t iron it, the sleeve will just sit there looking limp and cheap, no matter how much you paid for the original blank.
Why Adjusting Garment Sleeve Length Demands Precision Over Speed
Look, I get it. You’re staring at a pile of fabric and you just want to get through the task so you can move on to something more fun. But if you rush through adjusting garment sleeve length, you’re basically begging for a distorted silhouette. I’ve seen so many people try to hack a quick fix only to realize they’ve accidentally turned a structured streetwear piece into a shapeless rag. When you’re working with heavier weights—think a 300 GSM jersey or a thick canvas—the fabric doesn’t just “bend” to your mistakes; it fights back.
If you don’t take the time to pin accurately and check your grainline, your new hem is going to twist around your arm like a spiral staircase. It’s not just about the length; it’s about how the weight of the new edge affects the drape of the entire arm. You need to be intentional with your sewing machine techniques for sleeves, especially when you’re dealing with curves. If you don’t respect the original construction, you’ll end up with a hem that looks completely amateur the second you actually put the garment on.
Essential Sewing Tools for Alterations That Protect Your Fabric Integrity
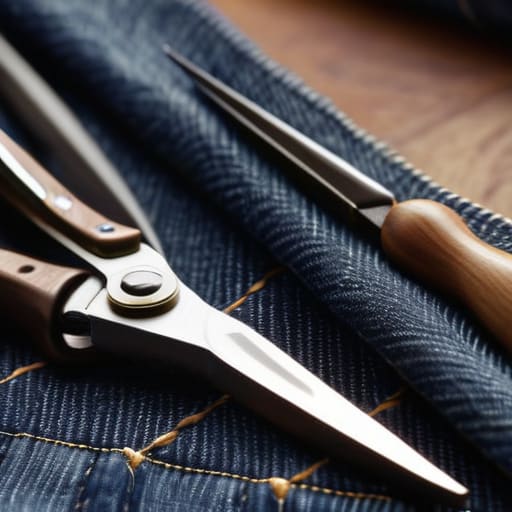
Look, you don’t need a professional atelier to do this right, but you do need more than just a pair of kitchen scissors and a prayer. If you’re serious about adjusting garment sleeve length without making it look like a DIY disaster, please invest in some decent fabric shears and a high-quality seam ripper. I’ve seen so many people try to hack through heavy jersey or thick denim with dull blades, and all you end up with are frayed, jagged edges that make the whole piece look cheap. A sharp edge is non-negotiable if you want to maintain the structural integrity of the hem.
When it comes to the actual sewing tools for alterations, don’t sleep on your marking tools. I swear by tailor’s chalk or even a disappearing ink pen; guessing where your new line is going to sit is a one-way ticket to a ruined sleeve. Also, if you’re working with anything heavier than a standard tee, grab some heavy-duty pins or even sewing clips. It keeps the fabric from shifting while you’re navigating those tricky sewing machine techniques for sleeves, ensuring your hem stays perfectly level instead of puckering into a mess.
Five ways to avoid turning your favorite shirt into a scrap heap
- Always check the weight of the fabric before you even touch the shears; if you’re working with a heavy-weight 300 GSM jersey, you can’t just fold a massive hem up without it feeling like a stiff cardboard cuff.
- Don’t forget to account for the seam allowance in your initial measurement, because if you cut exactly at the length you want, you’re going to end up with a sleeve that’s way too short once you actually sew it.
- If you’re dealing with a delicate knit, use a ballpoint needle instead of a standard universal one, otherwise you’ll end up with tiny little holes that make the whole sleeve look like it’s been through a war zone.
- Watch your tension when you’re finishing the edge; if your stitch is too tight, the fabric will bunch up and pucker, and suddenly that clean streetwear silhouette you were going for looks like a total mess.
- Before you commit to the permanent cut, pin it and actually wear the garment for a bit—I’ve seen so many people rush the process only to realize they’ve accidentally turned a standard sleeve into a cap sleeve.
The Real Cost of a Quick Fix
Don’t rush the measurement; if you don’t account for the fabric’s weight and how it’s going to drape once it’s shorter, you’re just going to end up with a sleeve that looks stiff and awkward.
Respect your seam allowance—cutting too close to the edge to “save” length is a rookie mistake that’ll cause the whole thing to fray or lose its structural integrity after one wash.
Always check the inside of the garment before you start; you need to see how the original construction handles the tension so you aren’t fighting against the grain of the fabric halfway through the job.
Frequently Asked Questions
If I'm working with a really heavy, high-GSM heavyweight fleece, will shortening the sleeve mess up the way the cuff sits on my arm?
Honestly, yeah, it absolutely can. When you’re dealing with high-GSM fleece, the weight is doing a lot of the heavy lifting for the silhouette. If you just chop the sleeve and sew it back up, you’re messing with the tension. The fabric is so dense that if your seam allowance isn’t perfectly balanced, the cuff will start riding up or looking “bunched” instead of sitting clean against your arm. Don’t rush it.
Do I need to worry about the thread tension changing if I'm sewing through a thick seam allowance that I've just shortened?
Oh, absolutely. If you’re hitting a thick junction where you’ve folded over extra fabric, your tension is going to freak out. I’ve seen so many people plow through a heavy seam only to end up with a massive bird’s nest of thread on the underside. Don’t just wing it. Slow your machine down, maybe ease up the top tension slightly, and for the love of god, test it on a scrap of the same weight first.
What happens to the overall balance of the shirt if I take too much off the sleeve—will it make the shoulders look weirdly wide?
Absolutely. If you chop too much length off, you’re basically shifting the visual weight of the whole piece. When the sleeve ends too high up the arm, it draws the eye straight to the shoulder seam, making your shoulders look unnaturally wide or “boxy” in a way that feels accidental rather than intentional. You lose that natural drape, and suddenly the shirt looks like it just shrunk in a hot wash. Balance is everything.

